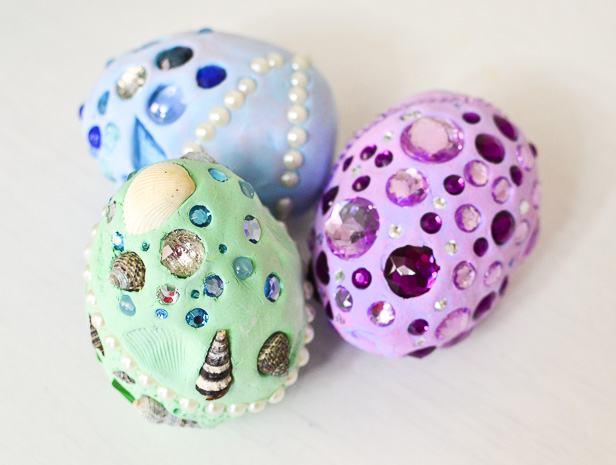
Introducing DIY with FDL — a way to share our projects, art tutorials, crafts, and more while the library is closed for COVID-19. Our first project is making Fantasy Eggs with Melissa! Follow along with the video above or use the written instructions below and enjoy!
Materials
- Styrofoam, Plastic, or Wooden Egg
– Alternatives: wooden egg or aluminum foil core
- Air-dry clay: White
- Acrylic paint & gloves to protect skin
– Alternatives: liquid watercolors or food coloring
- Sequins, beads, jewels, seashells, beach glass, etc.
- Tools for adding texture and carving the clay
- Pine cone, golf ball, toothpick, bubble wrap, etc.
Instructions
- Mix clay and paint. If making an opening for a creature, mix 2 portions of clay.
- Flatten clay into a large oval (~1/3—1/2 inch thickness).
- Cover the egg core with clay and add texture and carving details. If making a creature opening, work on the creature portion first.
- Decorate with desired embellishments.
- Let the eggs dry for about 24 hours. Additional details can be painted after drying.
