
Have you ever thought about how your toys work? There is more to a top or kaleidoscope than meets the eye! Follow these instructions to become a toy-maker and a scientist as you learn the physics behind some of your favorite toys.
Below you will find instructions for making four toys: Spinning Top, Kaleidoscope, Parachute, and Ping Pong Ball Launcher. You will also find explanations for the physics of how these toys work.
Kits are available at the FDL drive-up window (while supplies last). There are some materials you will have to supply yourself such as tape, scissors, etc. The materials in the kits may vary. If you didn’t make it to the library to pick up a kit, most of the materials are things that you may be able to find in your home.
Please always ask a parent’s permission before using supplies from home.
Spinning Tops
Based on the Book Junk Drawer Physics by Bobby Mercer
You will need the following supplies. Items with an asterisk (*) next to them will be included in a supply kit you can pick up via the library’s drive-up window.
Materials List:
- Old CD*
- Marble*
- Soda bottle cap*
- Markers, crayons or colored pencils
- Hot glue or liquid glue
Instructions:
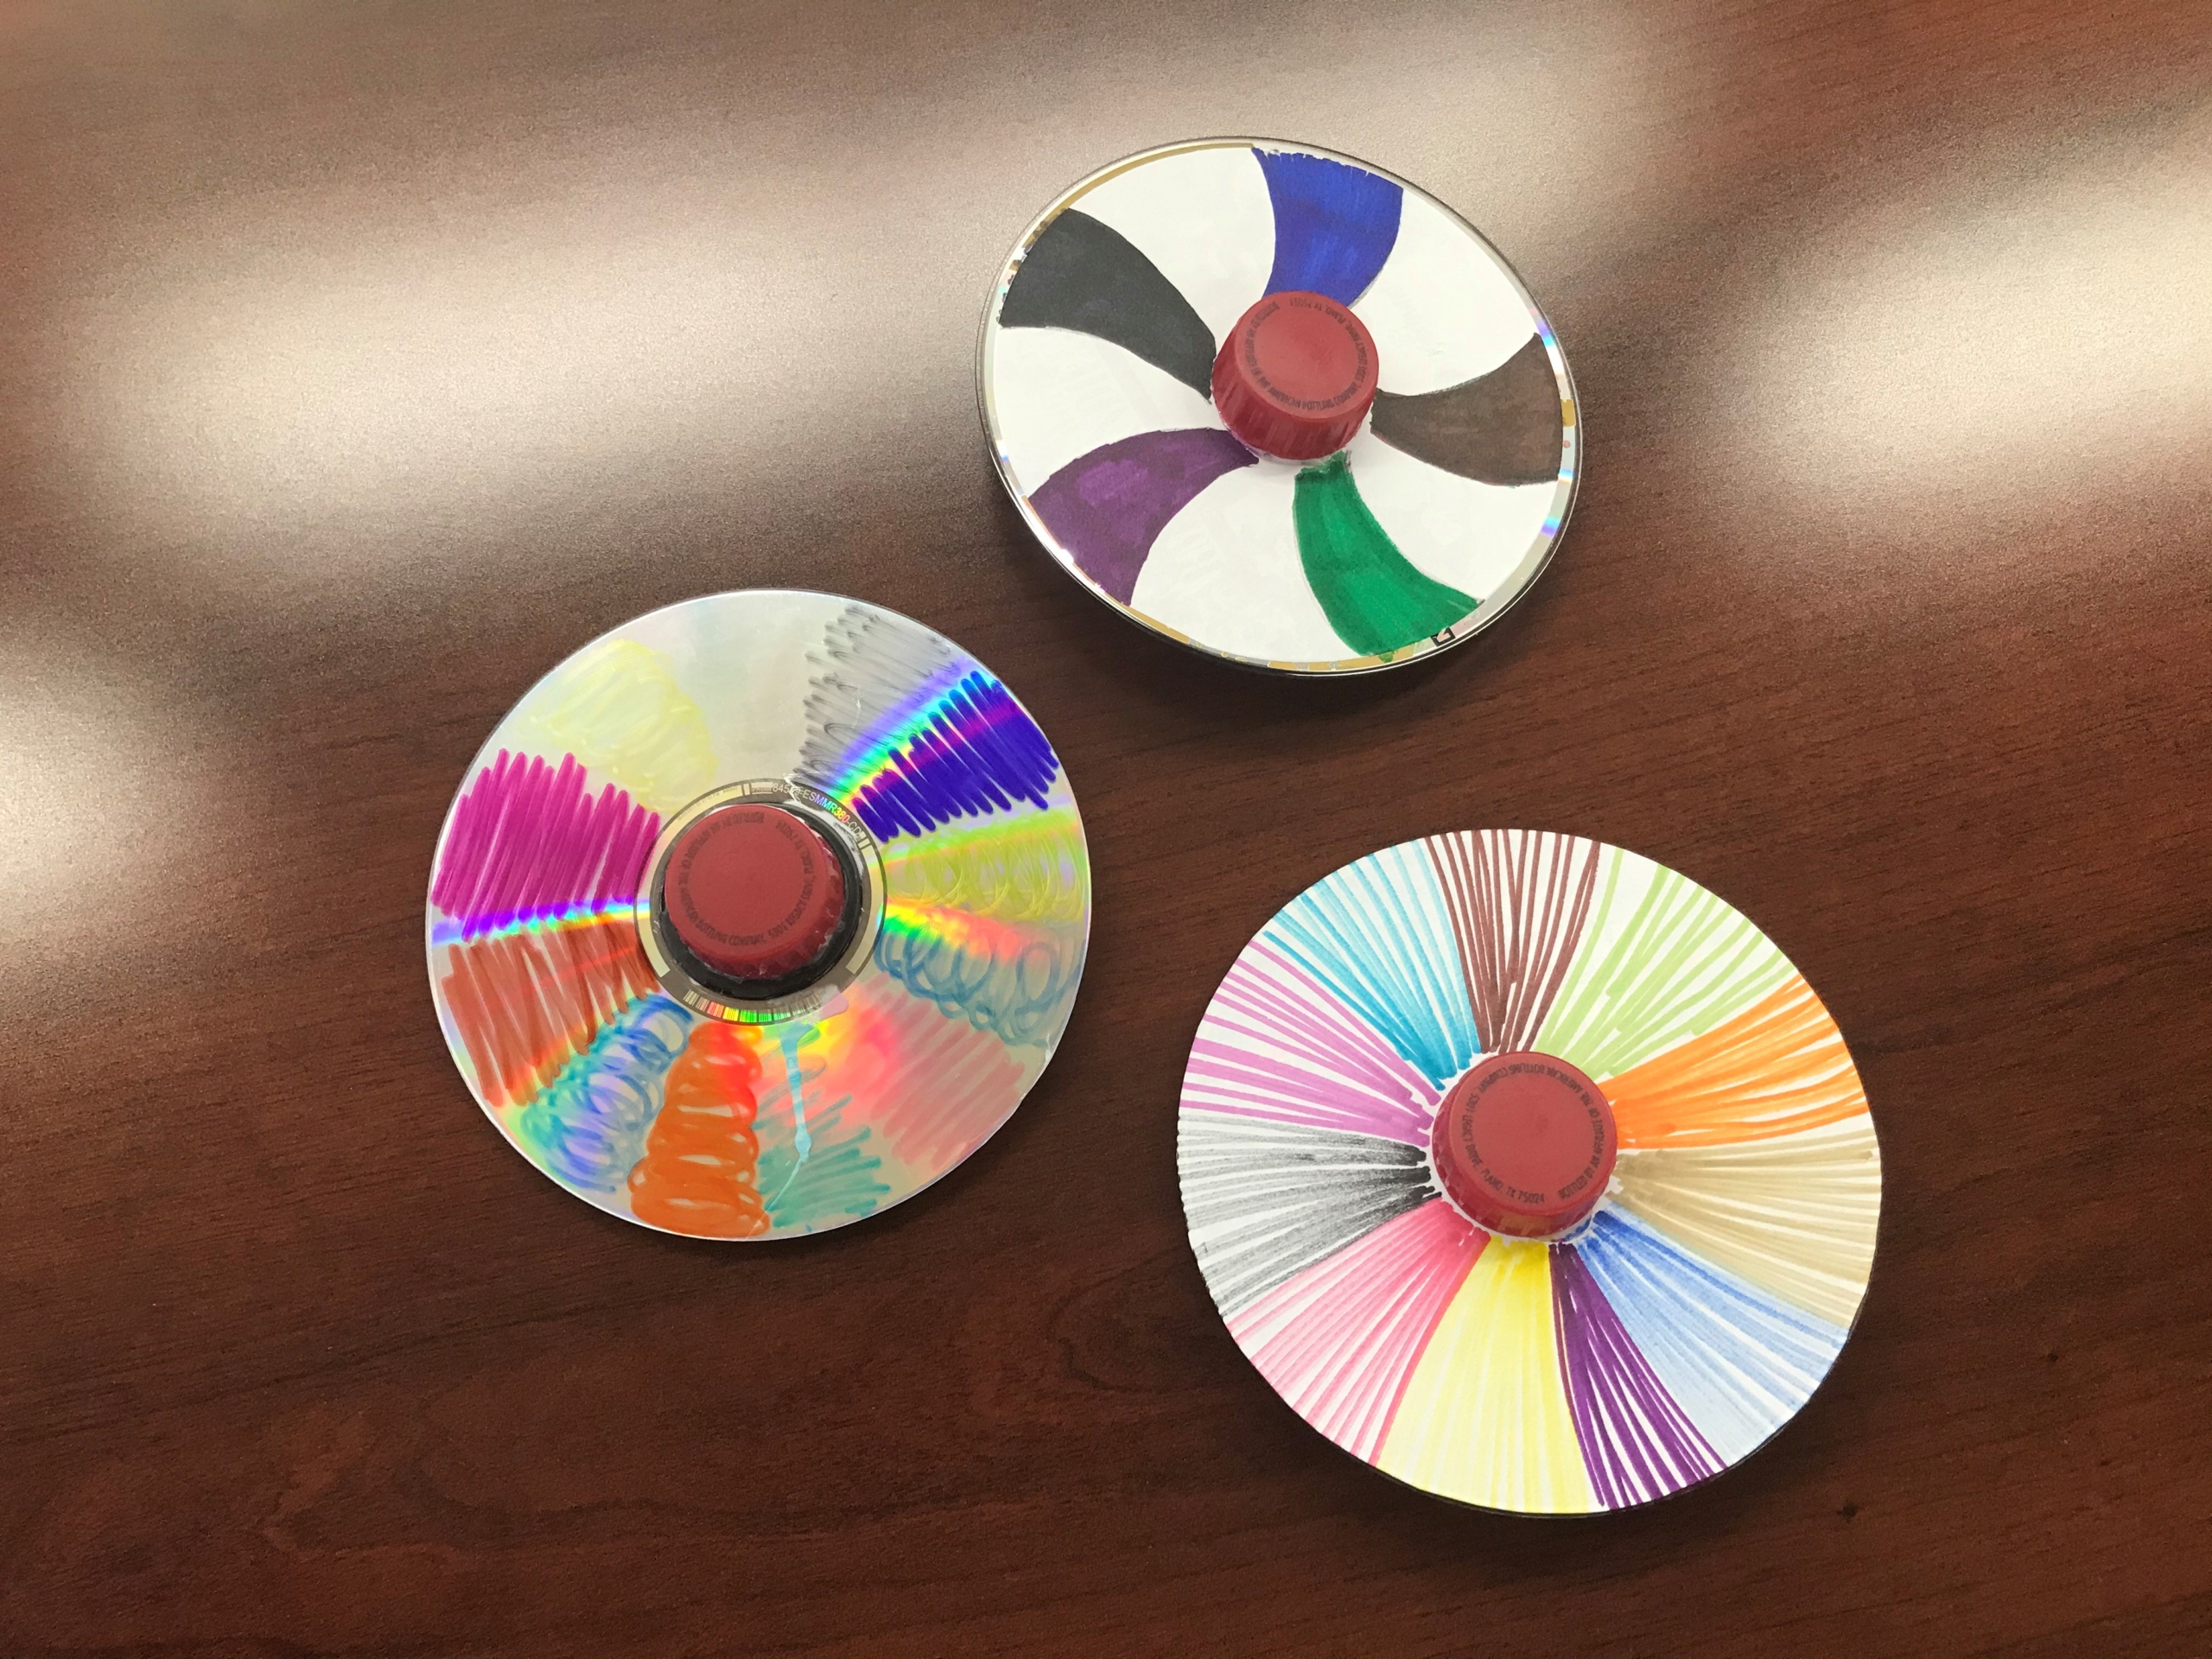
- Glue your marble to one side of the CD.
- Glue the soda bottle cap, in the center of the other side of the CD.
- Decorate your CD.
The Science Behind It
While the spinning top may seem very simple, there is actually a lot of advanced physics and mathematics that go into making a top spin. The spinning tops illustrates several physics concepts including angular momentum, inertia, momentum, centripetal force, potential energy, kinetic energy, torque, friction and gravity.
You are applying a force called torque to start the spinning, and that converts the top’s potential energy into kinetic energy.
- A potential energy is the energy that an object has because of its position on a gradient of potential energy called a potential field, or just a potential.
- The kinetic energy of an object is the energy that it possesses due to its motion.
- Torque is the tendency of a force to turn or twist. If a force is used to begin to spin an object, or to stop an object from spinning, a torque is made.
Now our tops are spinning. The way the top spins around the rotation axis gives it angular momentum, and the angular momentum will remain constant until an external source of torque acts on the spinning top. (Think of a figure skater spinning.)
- The Axis of rotation is an imaginary line passing through the center of mass of an object, around which the object rotates.
- The angular momentum of an object rotating about an axis is the product of its moment of inertia and its angular velocity.
- Moment of inertia, also called “angular mass“, is the inertiaof a rotating body with respect to its rotation.
- In physics, the angular velocity specifies the angular speed at which an object is rotating along with the direction in which it is rotating.
This means, if a perfectly balanced, upright, spinning top achieves angular momentum after a source of torque makes it start spinning, the top will keep spinning until an outside source affects it, such as friction, gravity, or someone touching it.
However, our tops are not perfect and that allows other forces, including friction and gravity, to be applied to the top.
- Friction is a force that acts to stop the movement of two touching things.
- Gravity, or gravitation (in the everyday sense), is the force which causes objects to fall onto the ground.
As friction begins to slow down the spin of the top, it begins to wobble. That tilts the top of the axis to the side, and that allows gravity to exert a force on the top, causing it to begin to spin about another axis, that’s called gravitational torque.
The top continues to slow down and the wobbling get worse eventually the top falls and comes to a stop.
Sources:
Kaleidofoilscope
Based on the book Junk Drawer Physics by Bobby Mercer
You will need the following supplies. Items with an asterisk (*) next to them will be included in a supply kit you can pick up via the library’s drive-up window.
Materials List: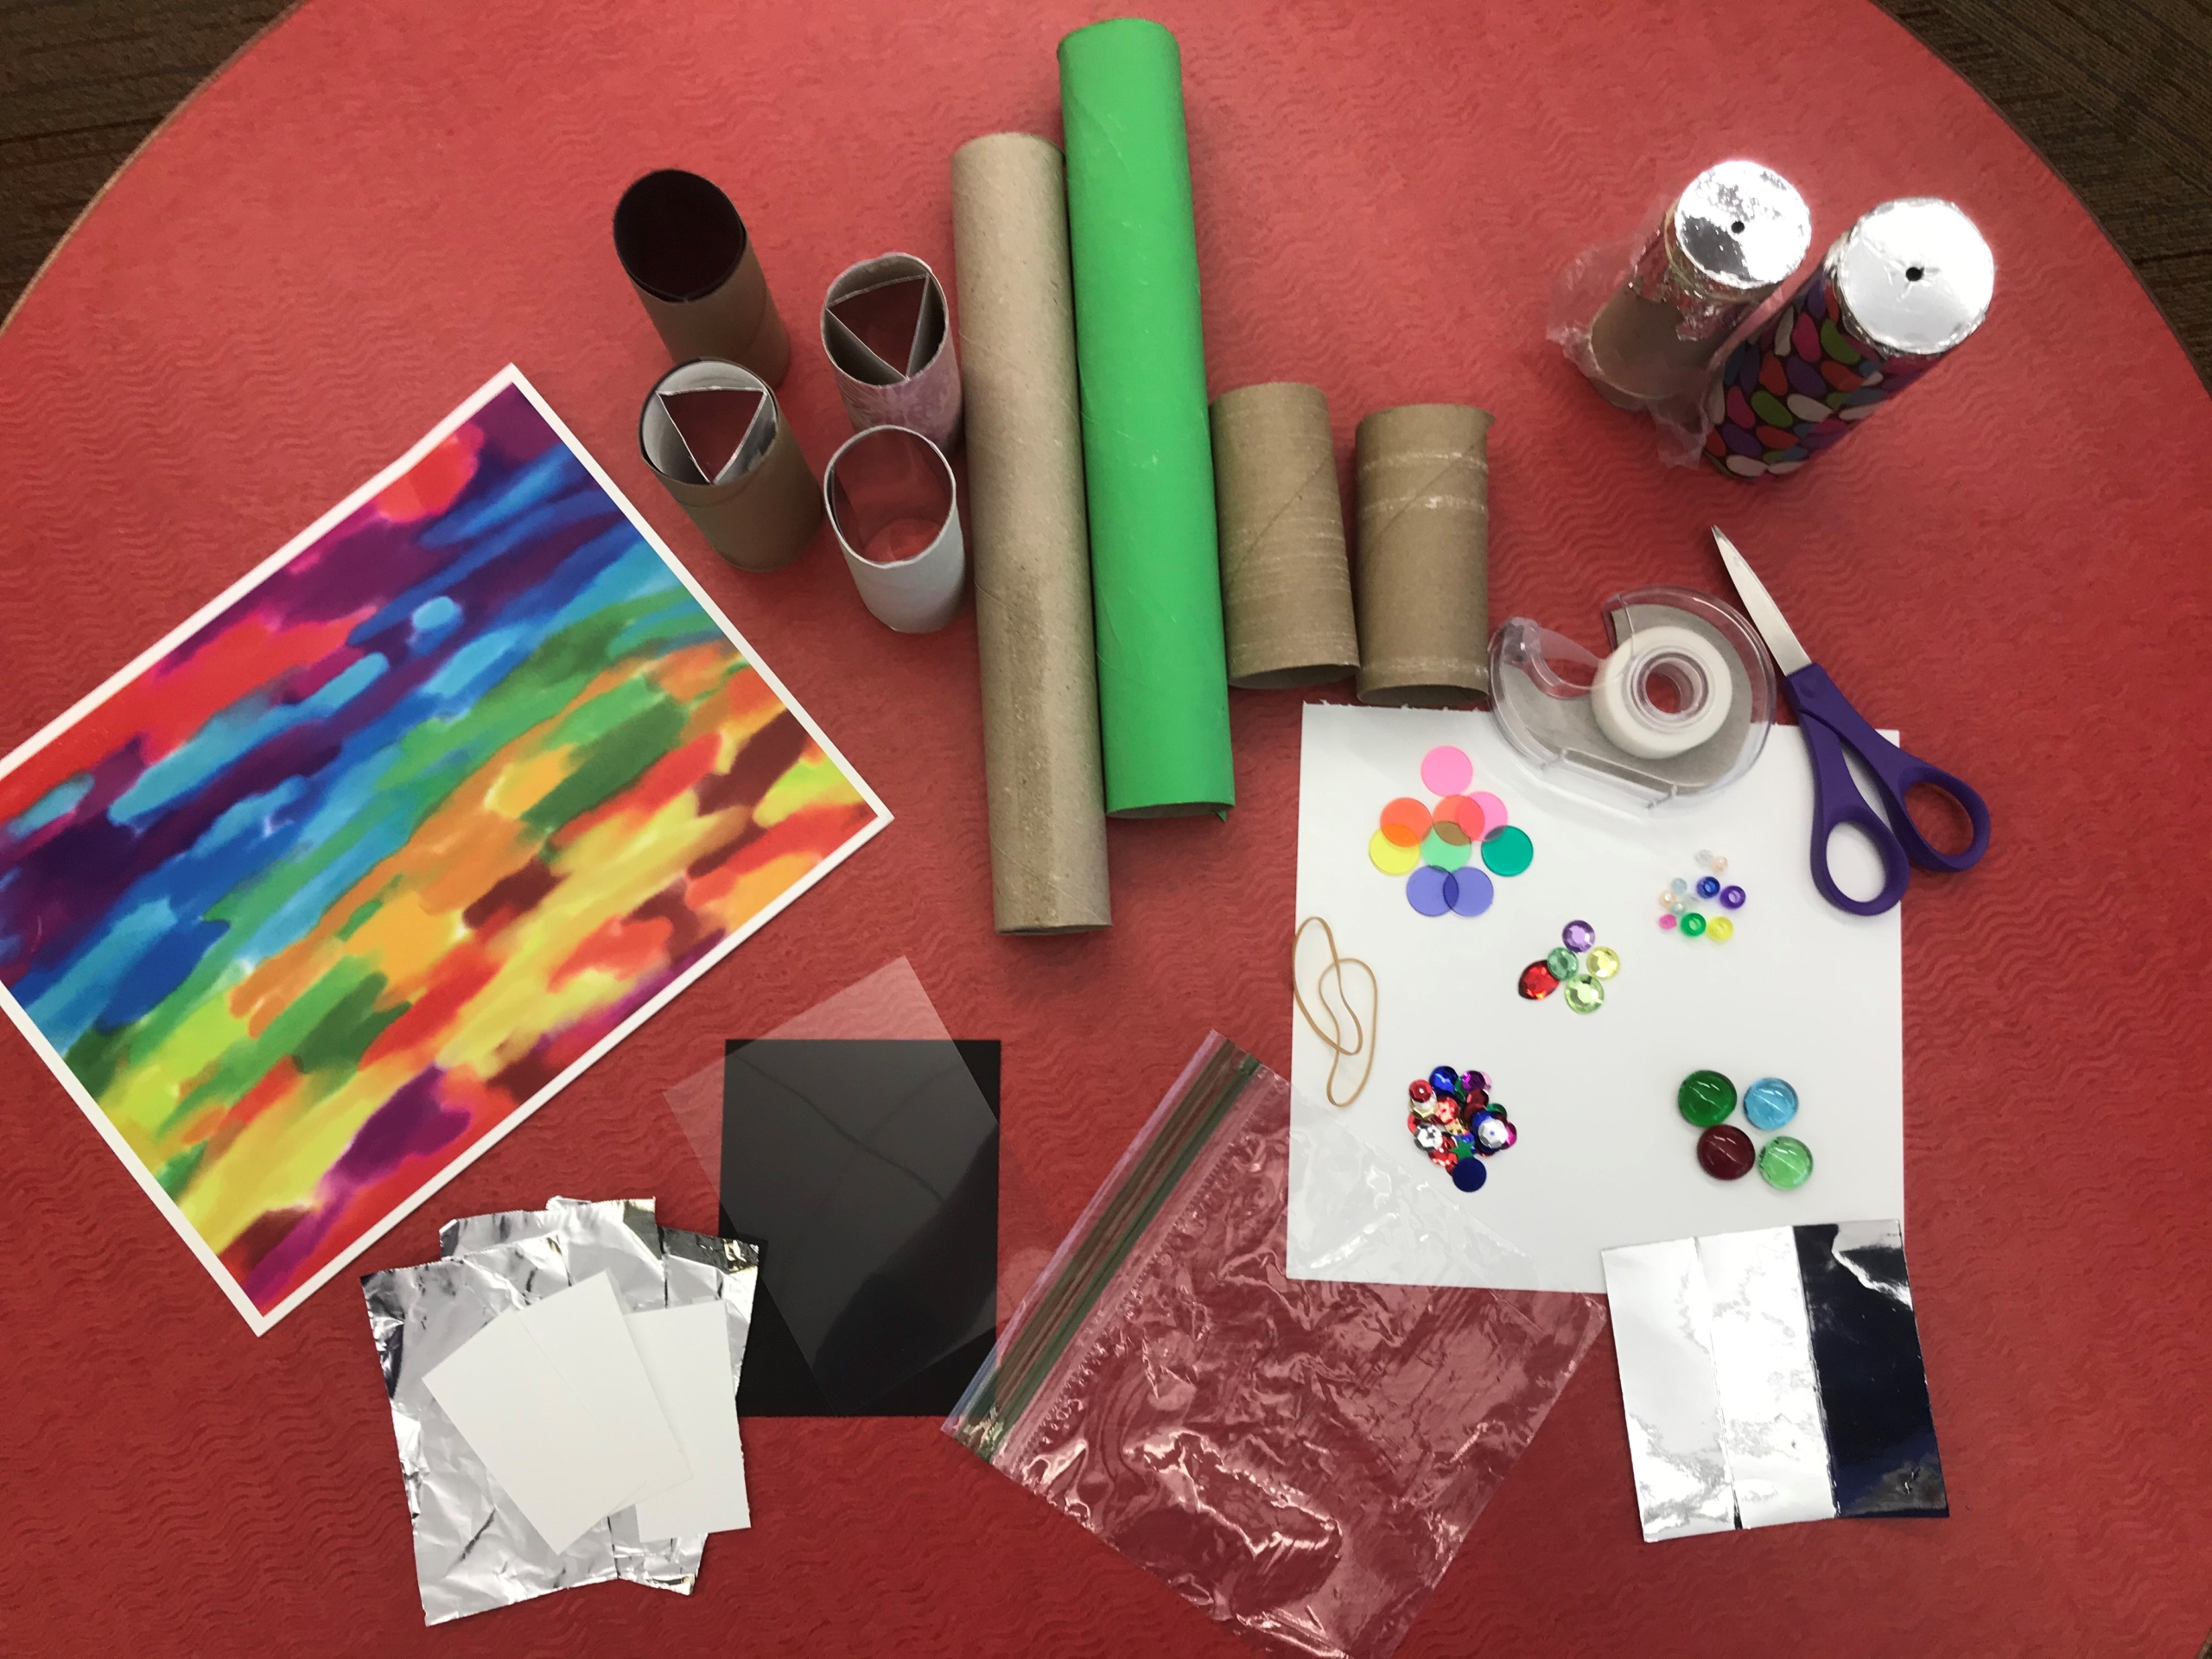
- Cardstock,* scrapbook paper, or duct tape
- Cardstock*/Aluminum foil or reflective paper (4 x 4”)
(If you are using cardstock/aluminum foil from home: cut 3 pieces of cardstock 1-5/16” x 4”, cover them in aluminum and tape them into a triangle shape with the shiny side toward the middle.)
- 2 clear plastic disks*
- 1 clear plastic disk with a hole in the center*
- Sandwich bag or plastic wrap*
- Small colorful objects*
- Empty toilet paper roll or paper towel roll (4-1/4” long)*
- 2 rubber bands*
- Scissors
- Pen
- Tape
Instructions:
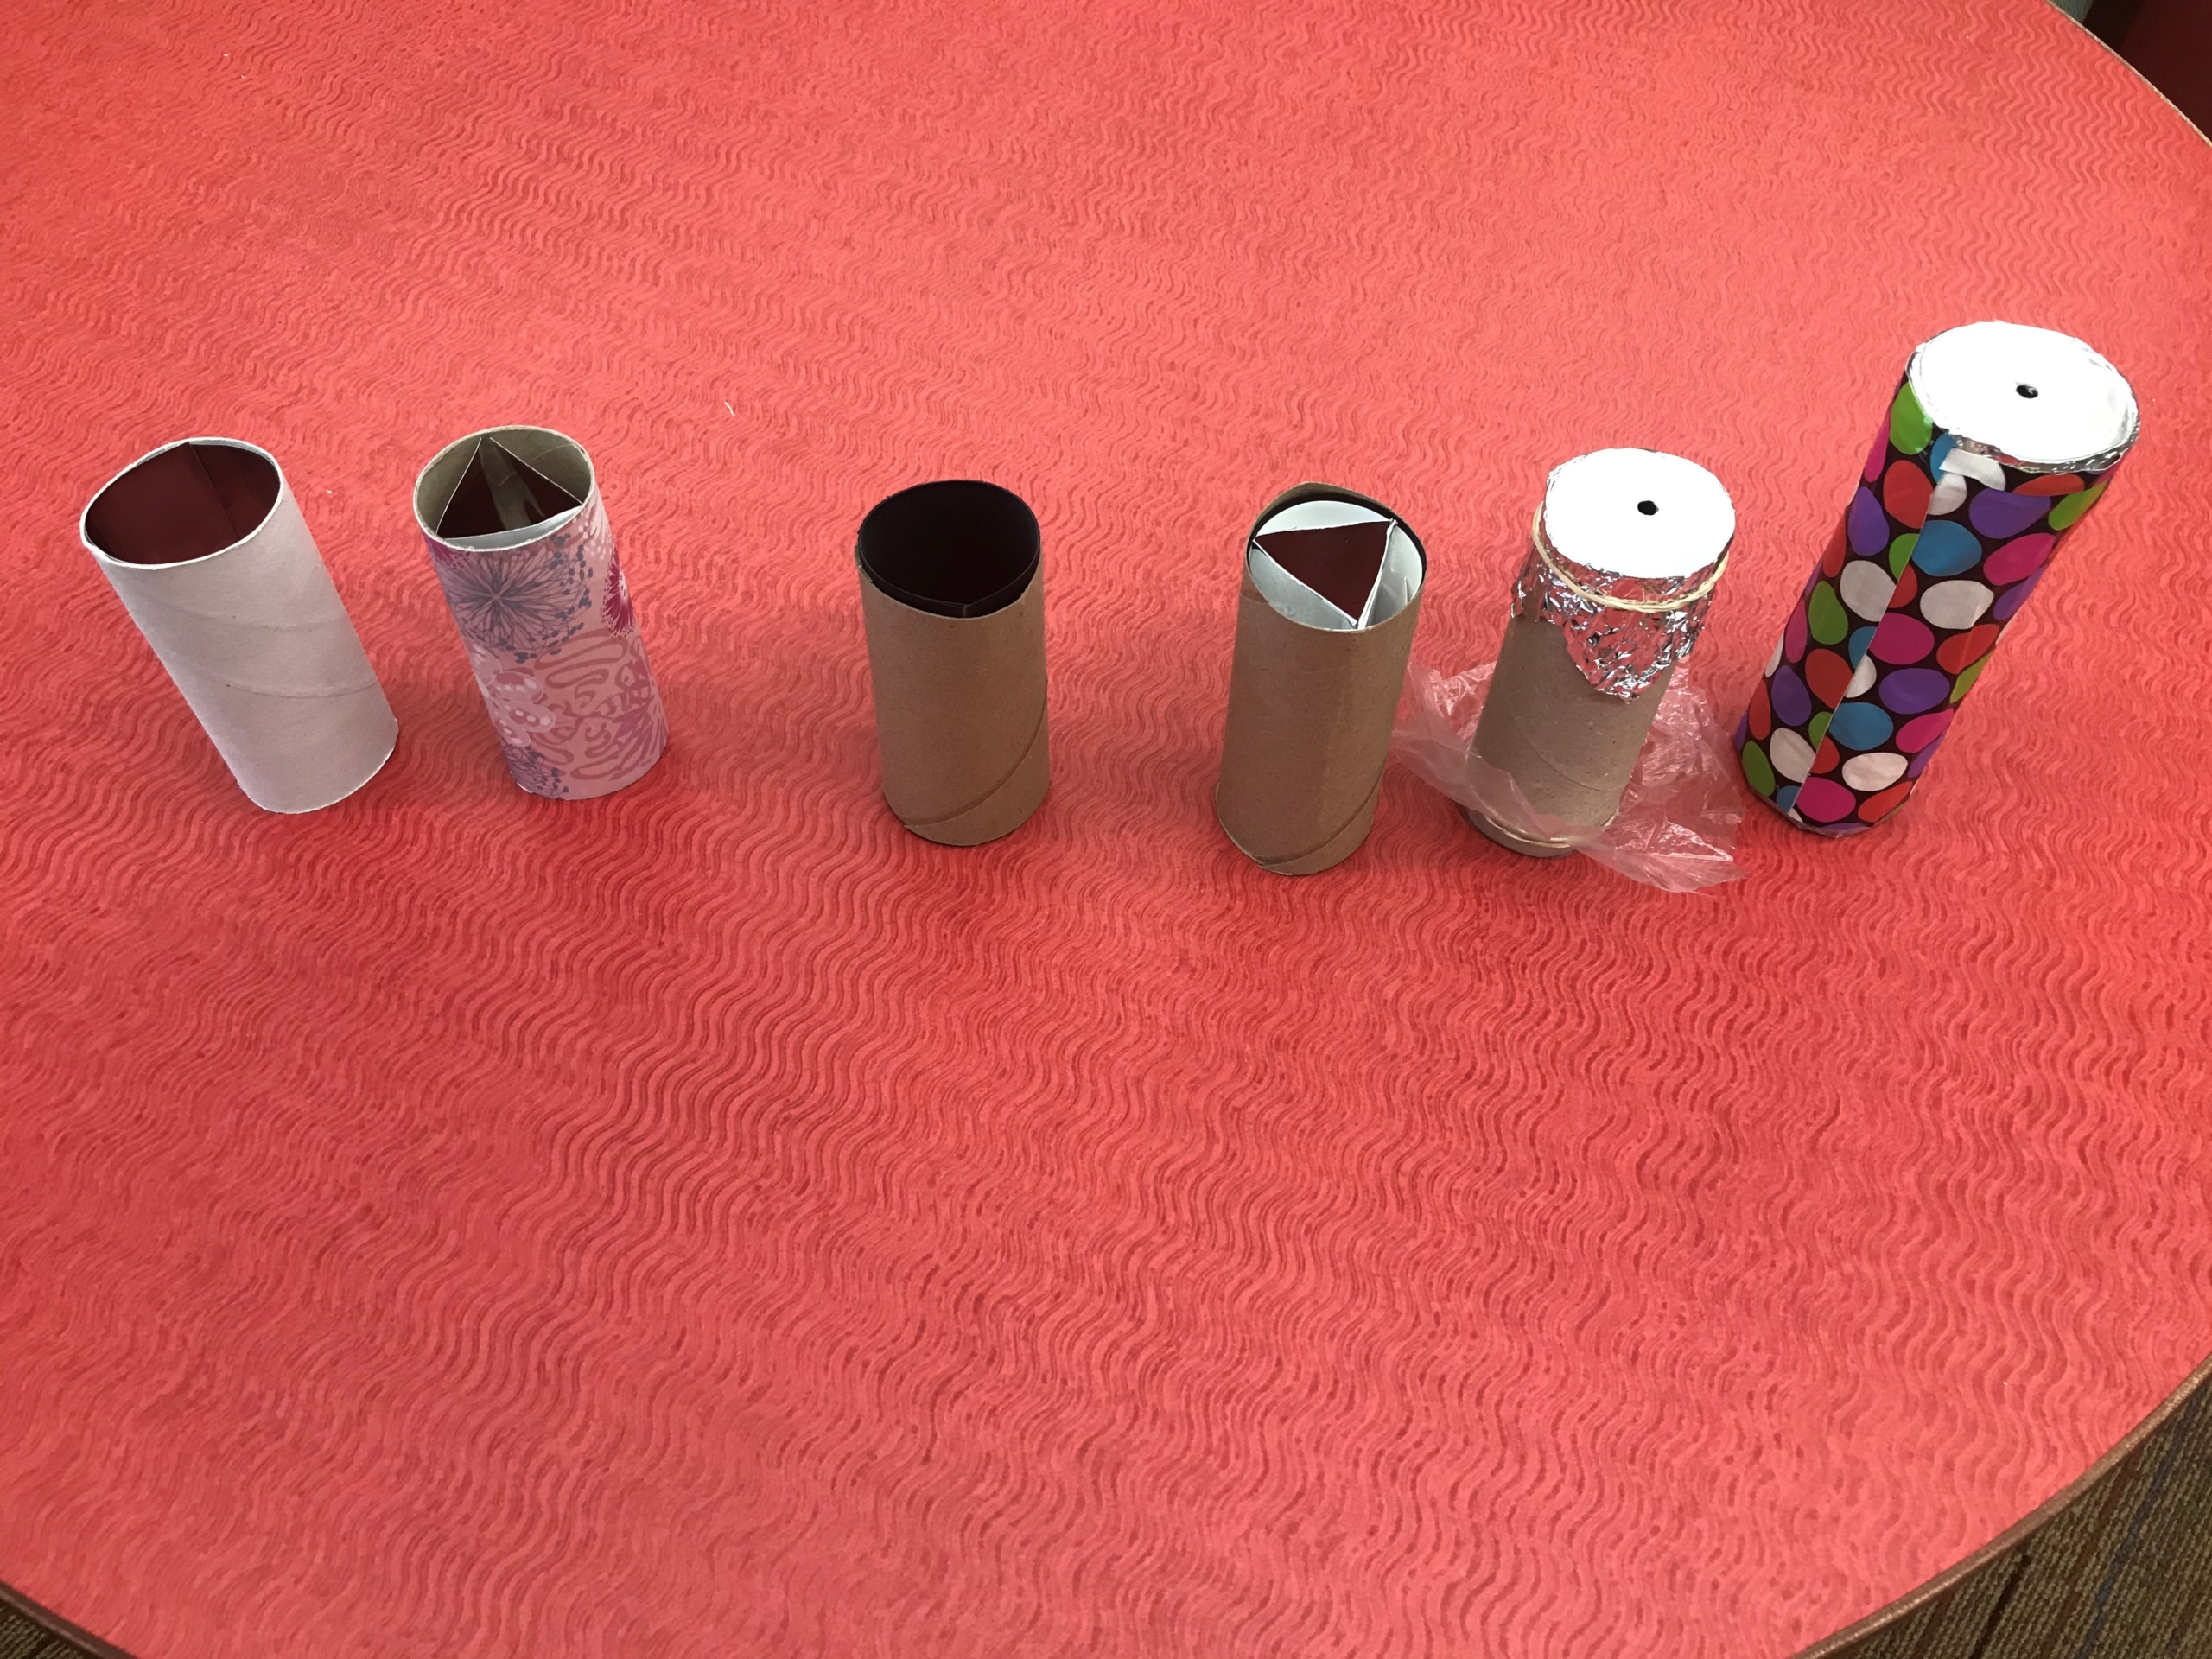
- Fold your reflective paper into a triangle and tape the sides and slide it into the paper towel roll. The triangle will be about ¼” shorter that the tube.
- Place one clear disk into the top of the tube, resting on the triangle.
- Add the shiny objects on top of the clear disk.
- Set the other clear disk on the top of the shiny objects.
- Cover the end of the tube with the plastic wrap and secure it with one rubber band.
- Carefully turn the tube over.
- Glue the clear disk with the hole onto the center of the aluminum foil. Poke a hole in the aluminum foil, matching the hole in the clear disk.
- Put the clear disk/aluminum foil onto the end of the tube and secure it with a rubber band.
- Test it out. Does light go into the bottom of the tube? Can you see the colorful objects? Do the objects move when your turn the tube? If the answer to any of these questions is no, adjust the end of the tube with the shiny objects. Maybe find some different objects or take a few out so that there is room for the objects to move.
- Trim the plastic wrap and aluminum foil so that they are not too bulky.
- Decorate the tube with paper or duct tape.
The Science Behind It
A kaleidoscope works by reflecting light, using shiny surfaces and colorful objects.
- Reflection is the change in direction of a wave at a boundary between two different media, so that the wave moves back into the medium it came from.
We used reflective paper or aluminum foil for our shiny surface.
The light coming in the bottom of the tube travels in a straight line. When the light hits the colorful objects, it changes directions, and the colors are reflected back and forth between the shiny surfaces inside the tube.
As you turn the kaleidoscope, the colorful objects move and create new images.
Sources:
The Indianapolis Public Library
Parachute Toy
You will need the following supplies. Items with an asterisk (*) next to them will be included in a supply kit you can pick up via the library’s drive-up window.
Materials List:
- A napkin*
- Four (4) 12-inch pieces of string*
- A small, lightweight toy to suspend from the parachute
- Scotch tape (optional)
- Hole punch (optional)
Instructions:
- Unfold your napkin and lay it on a flat surface.
***Skip Steps 2 and 3 if you do not have a hole punch.***
2. Reinforce the corners of the napkin with 4 pieces of tape.
3. Punch a hole through each piece of tape for a total of 4 holes.
4. If you used a hole punch, thread each of the 4 strings through a corner hole of the napkin and knot them twice so they stay in place. If you do not have a hole punch, you will instead tie each piece of string to a corner of the napkin using a double knot.
5. Gather the threads together tie them to each other like you would tie a knot to close up a balloon. Leave enough string after the knot so you can tie the ends of the strings to your toy.
6. Take your toy and use the ends of the strings to tie it to the parachute. Alternatively, you can use scotch tape to secure your toy to the ends of the strings.
7. Test out your parachute toy! Throw the parachute high in the air and watch it slowly fall to the ground, or drop it from a high place with adult supervision. You and a friend or sibling can both make one and see whose can stay in the air the longest when dropped from the same height. Have fun!
The Science Behind It
Gravity is the force that exists between any two objects that have mass. Weight is a measure of the force of gravity pulling on an object. So, does that mean heavier objects will fall faster?
In about 1590, as the story goes, Galileo Galilei went to the top of the Leaning Tower of Pisa and simultaneously dropped many pairs of items, such as cannon balls, musket balls, gold, silver and wood. Each time, one object was heavier than the other, yet they otherwise had the same shape and size. They both hit the ground at the same time! Up until then, people figured that heavier objects fell faster than light objects. But Galileo determined that gravity accelerates all objects at the same rate, regardless of their mass or composition.
So, what happens if you drop two items that weigh the same but are different in size or shape? You can test this yourself using objects around your house to see that some objects will fall faster than others. Resistance and friction are what cause these changes in acceleration. Air resistance (also called drag) slows down the heavier objects. Drag opposes the direction that the object is moving and slows it down. So, regardless of weight, the more resistance/friction an object has, the slower the fall.
To slow down a fall of an object, you will want to create more drag. That’s the goal of a parachute! The larger the surface area of the parachute, the more air molecules that will be slowed down through air resistance and slow the fall of the object.
Source:
Ping Pong Ball Launcher
You will need the following supplies. Items with an asterisk (*) next to them will be included in a supply kit you can pick up via the library’s drive-up window.
- A plastic bottle with a cap* (The bottle has been cut in half and the cap has a small hole poked through it)
- 2 rubber bands*
- A heavy bead*
- 1 12-inch piece of string*
- A ping pong ball*
- Scissors
Instructions:
- Take the pre-cut water bottle from the supply kit and cut four equally-spaced, one-inch long slits in the edges of the plastic.
- Insert one side of your first rubber band into two slits that are across from each other. Wrap the rest of the rubber band around the outside of the water bottle. Your rubber band should look like a half-circle. Repeat this step with the second rubber band and the remaining two slits.
- A small hole has already been made in the lid of your water bottle. Thread a 12-inch strand of string through the hole and tie it around the place where the two rubber bands meet, or the middle of the X.
- Tie the heavy bead to the other end of the string.
- Your ping pong ball launcher is ready to test out! Just place the ball inside the open end of the bottle on top of the rubber bands, pull the string, and send your ball flying!
The Science Behind It
Energy is the ability to do work. There are many different kinds of energy, such as light, sound, and heat.
We need energy for our homes to power lights, refrigerators, air conditioners, and computers. We use energy when we drive cars or pedal a bike. We power our devices with energy stored in batteries. Even sleeping requires energy!
Energy transfer takes place when energy moves from one place to another. Energy can move from one object to another, like when the energy from your moving foot is transferred to a soccer ball.
When we pull back the string on our ping pong ball launcher, we are using kinetic energy, or the energy an object has due to motion. That kinetic energy is then released when we let go of the string, and the rubber bands attached to the string pull the bead forward, which smacks against the lid of the water bottle. This allows the transfer of energy to take place between the bead and the ping pong ball resting on top of the rubber bands, sending it flying.
Experiment with your launcher by trying it out before tying the bead to the end of the string. Notice how far the ball moves. Now tie the bead onto the string and try it again. Does the ball move farther or less far? Why do you think the bead makes such a big difference?
Sources:
– Created by Kris and Haley