
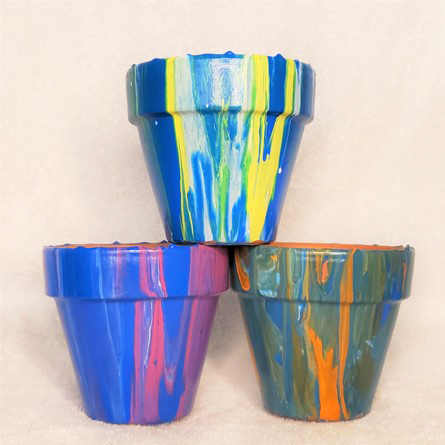
Pour painting is a fascinating fluid painting technique that produces unique, eye-catching works of art. This technique can be used to create decorative useful items, as well as unique gifts. As an introduction into this medium, we’ll use this technique to decorate terracotta pots using two pouring options: dirty pour and clean pour. The dirty pour technique involves adding multiples colors to one cup prior to pouring out on your pot. In the clean pour method, colors are poured over the pot one at a time. This process is as mesmerizing as it is beautiful.
Supplies: 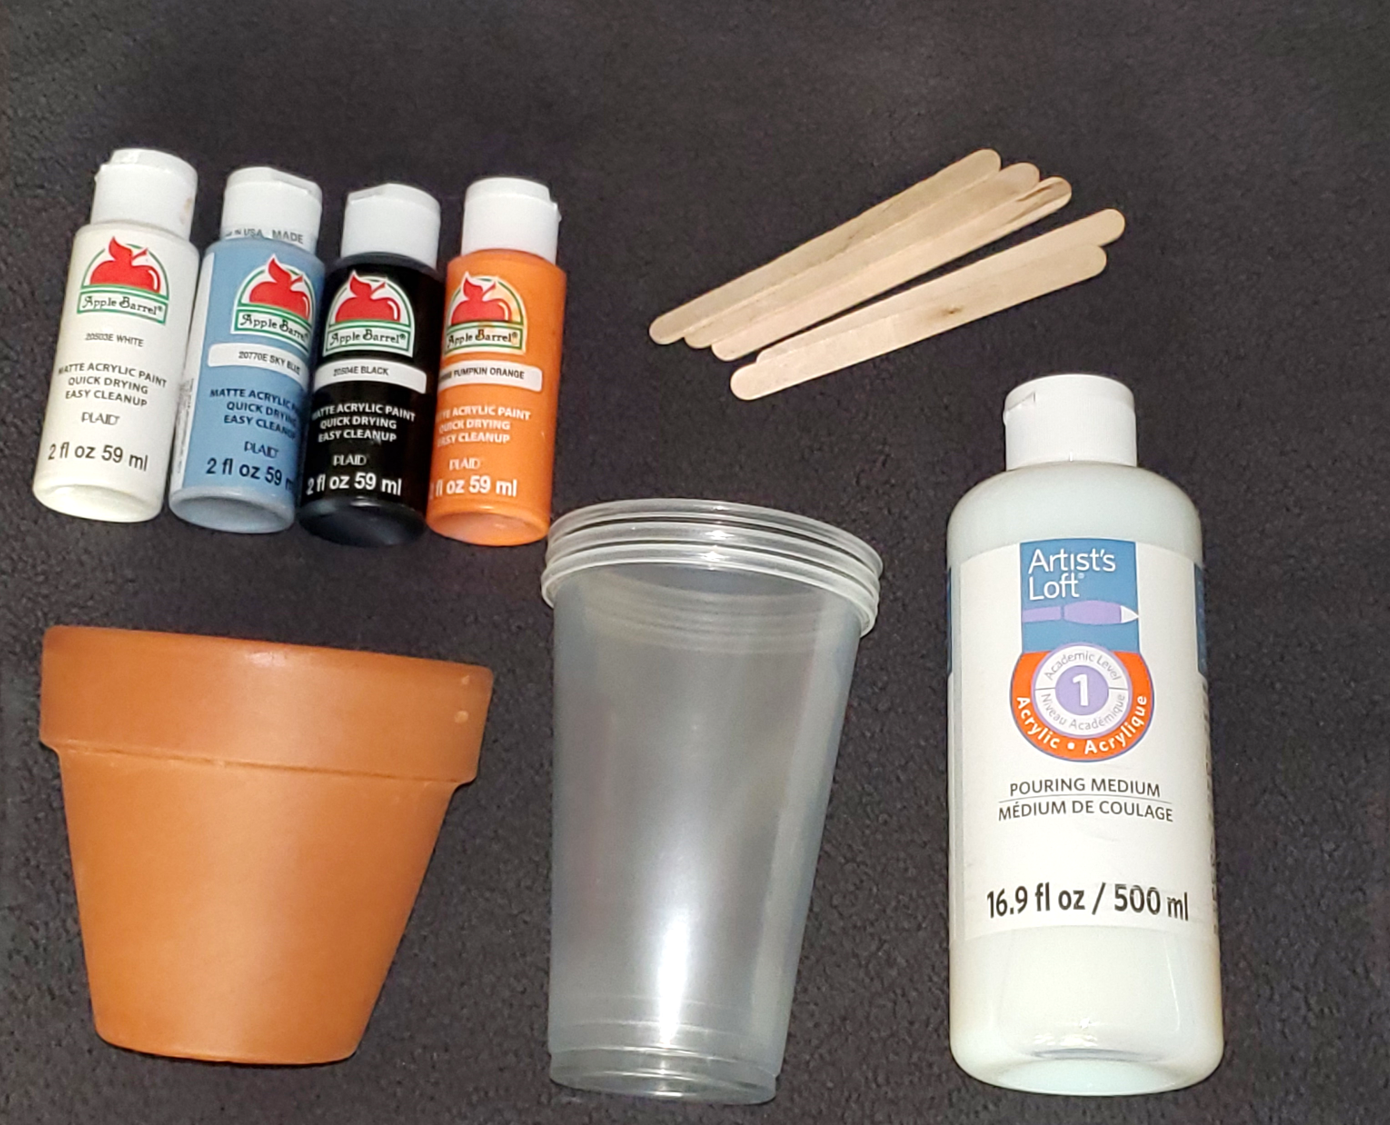
Terracotta Pot
Plastic Cups (16 oz. shown)
Acrylic Pouring Medium
Acrylic Paint (various colors)
Craft Sticks (for stirring)
Gloves
Plastic (to protect cover works surface)
Optional:
11” cake turntable
Painter’s tape
Both Methods
Step 1: Cover work surface. If using a turntable, you can cover that as well.
Step 2: Cover the bottom of the pot with painter’s tape. This is an optional step that I did so I didn’t lose paint down into the inside of the pot.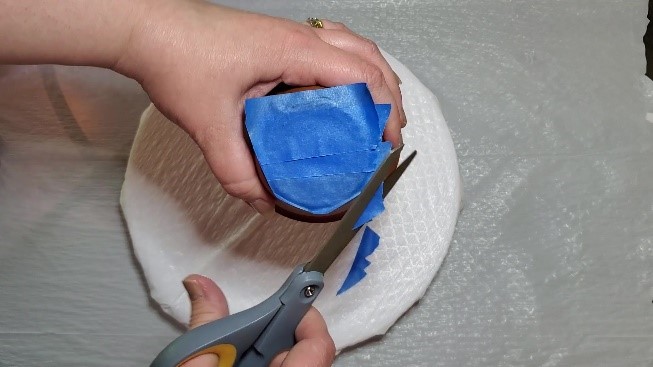
- Add a folded over piece of tape to cover the hole.
- Place pieces of tape across the pot of bottom.
- Trim the excess tape around the bottom edge.
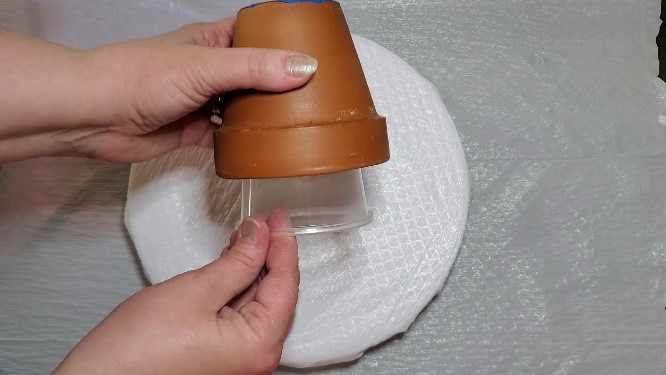
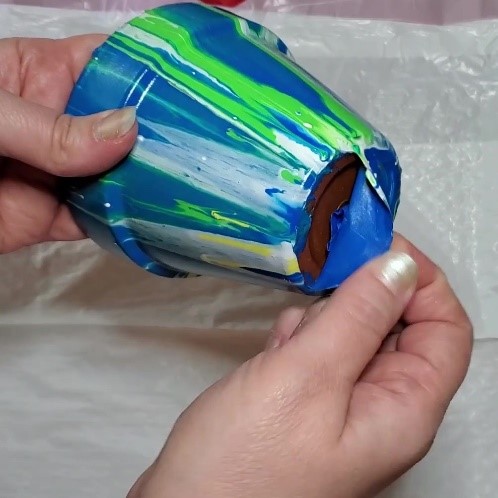
Step 3: Place one of the plastic cups inside the pot. This allows for ease of moving the pot before it is dry.
Step 4: Mix paint with pouring medium and stir. 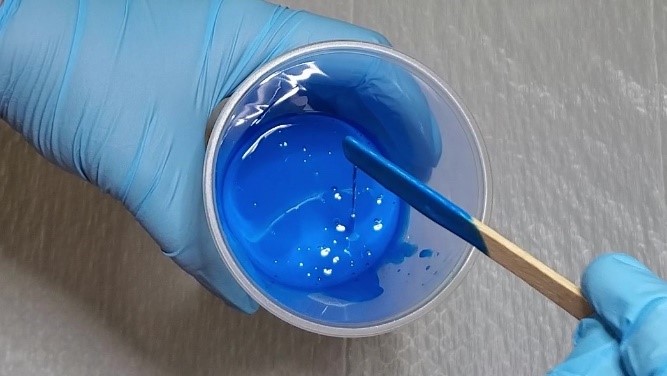
- The ratio of pouring medium to paint depends on the thickness of the paint.
- Thinner paint may only need 1 part pouring medium to 1 part paint.
- Thicker paint may need 3 or 4 parts pouring medium to 1 part paint.
- The pouring consistency you want is about the same as thin salad dressing.
Dirty Pour Method
Step 5: Pour colors together into one cup and then cover the pot with that combination. There is a lot of variation that can happen here. You can push paint over the edge with the craft stick if it is pooling on the painter’s tape. You can also add more paint to the pouring cup and pour again.
Clean Pour Method
Step 5: Pour each color separately onto the bottom of the pot. Again, there are lots of variations. It all depends on how much you want colors mixing.
Both Methods
Step 6: Allow to dry completely.

Step 7: Carefully remove painter’s tape, if needed.
Now your unique pot is ready to be planted!
-Melissa, Reference Assistant