
This week, we encourage you to stop and smell the flowers! Have you ever wondered why daisies are white and roses are red? If you watch our video read-aloud of Sara Levine’s book Flower Talk: How Plants Use Color to Communicate, a sassy cactus will let you in on the secrets behind the colors of different flowers.
Discover more books about flowers on hoopla, including:
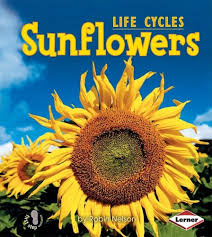
Sunflowers by Robin Nelson

Forever Flower Fun by Susan Yoder Ackerman
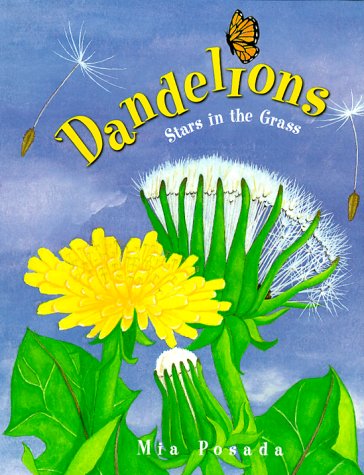
Dandelions: Stars in the Grass by Mia Posada
One way we can enjoy flowers all year round is to flatten and dry the petals and leaves between the pages of a heavy book. This is called “pressing flowers.” Keep reading to learn more about the different crafts you can make with pressed flowers! Adult supervision is recommended.
How to Press Flowers
You will need:
- Flowers, greenery, leaves, etc.
- Note: We recommend flowers and greenery that can be easily flattened, so nothing too bulky. Certain flowers also dry faster than others, so we recommend pansies, violets, daisies, snapdragons, and roses.
- A heavy book (or any book and a heavy object to place on top)
- Any kind of thin, absorbent paper (e.g. parchment paper, tissue paper, newspaper, notebook paper, printer paper, paper towels, etc.)
- Time (three to five weeks)
Steps:
- Open your book to its last few pages and lay down one sheet of paper inside the book on the right hand side.
- On top of the paper, lay your flowers in the position you want them to stay in once they are dry.
- Carefully lay a second piece of paper on top of your flowers. These papers will protect your book from being damaged by the moisture in the flowers.
- Close the book. If the book is not very heavy, carefully place a heavy object on top of the book.
- Wait approximately three to five weeks before checking your flowers to see if they are dry. If they still appear wet, check again in one week. Try not to disturb them often.
- Once the flowers are dry, they can be used for crafting projects immediately or stored safely in manila envelopes. You can also store them by spreading them out on a piece of acid-free card stock and placing the card stock in a plastic sleeve.
Tips and Craft Ideas:
- If you would like to have multiple pages of pressed flowers, make sure each pressing is at least 50 pages away from the others.
- Once your flowers are dry, they will be very fragile and easy to break. It is best to handle them with a pair of tweezers or by gently sliding them from one paper to another.
- The crafting possibilities for these pressed flowers are endless! You can make bookmarks, birthday cards, sun catchers, a flower journal, and so much more! Just use a thin layer of glue to stick the flowers onto paper and display your creation.
- To protect your flower creations, you can seal them to the paper with contact paper or clear packing tape.
- Check out these 40 creative pressed flower crafts at coolcrafts.com/pressed-flower-art/ for inspiration and detailed instructions.
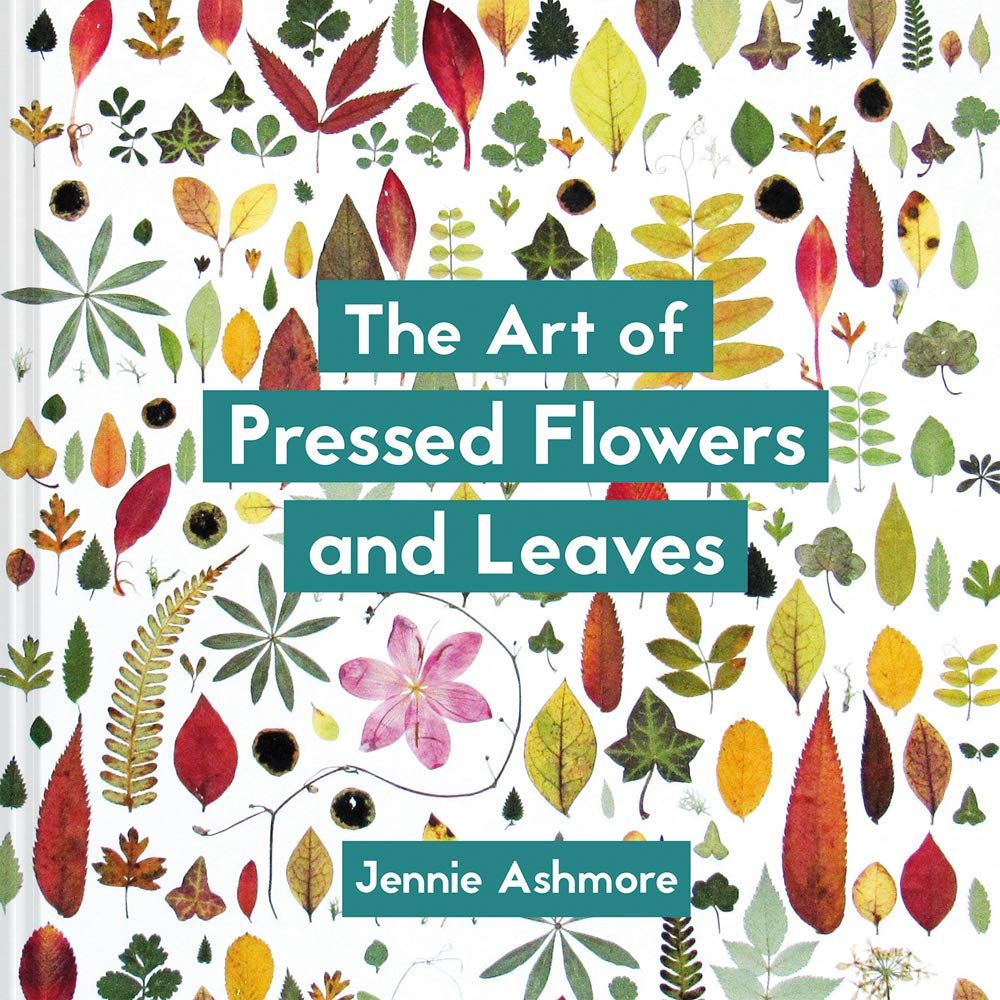
- Explore more ideas by reading The Art of Pressed Flowers and Leaves by Jennie Ashmore.
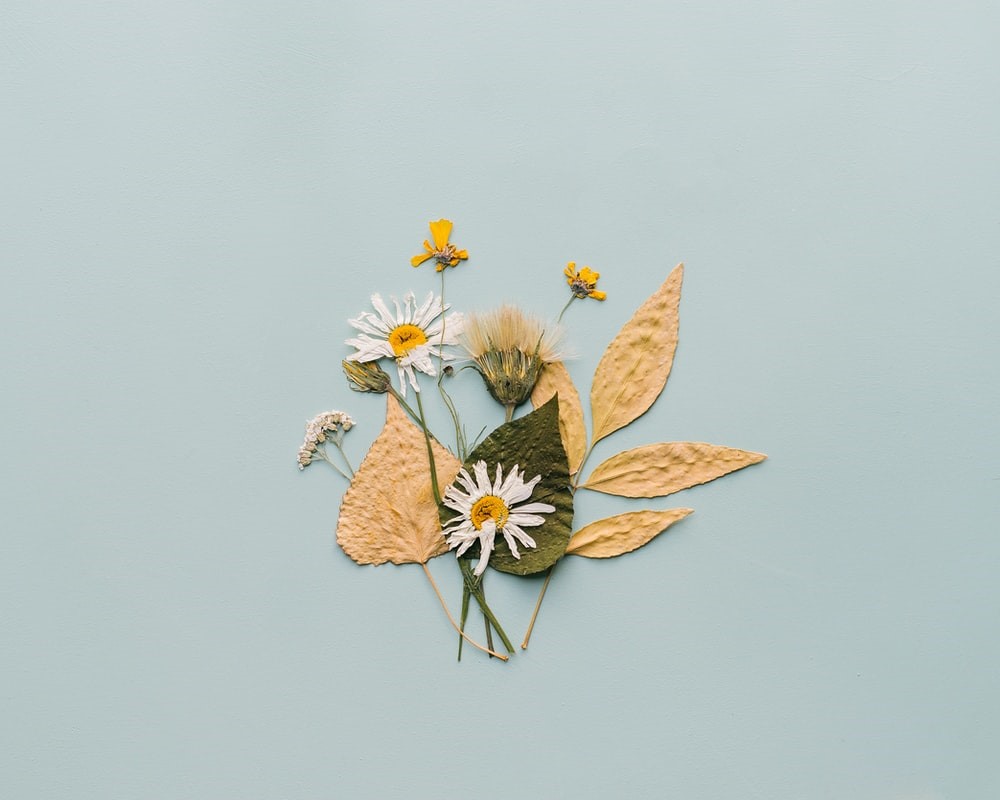
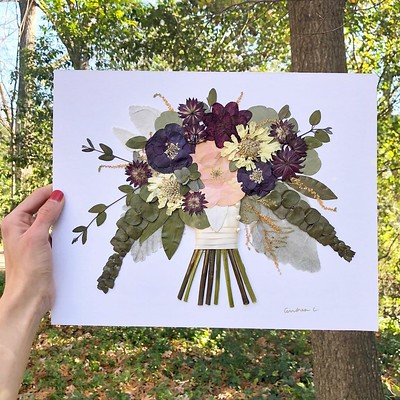
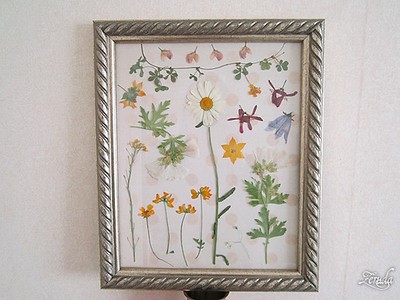
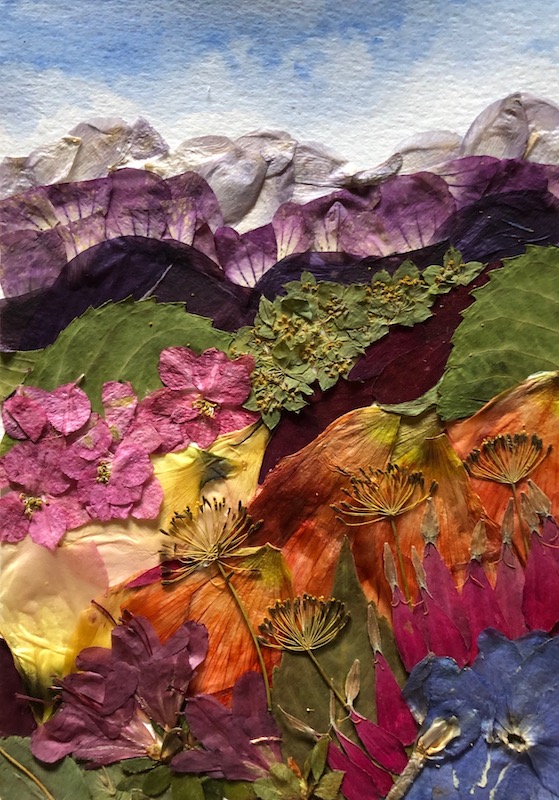
Take a look at the images below for inspiration!
Sources
“40 Stunning Pressed Flower Art Ideas.” CoolCrafts.com, Cool Crafts, 20 June 2016, www.coolcrafts.com/pressed-flower-art/. Accessed 25 July 2020.
Uyterhoeven, Sonia. “Tip of the Week: Techniques for Pressing Flowers.” NYBG.org, New York Botanical Garden, 1 June 2010, www.nybg.org/blogs/plant-talk/2010/06/tip-of-the-week/tip-of-the-week-techniques-for-pressing-flowers/. Accessed 25 July 2020.
Uyterhoeven, Sonia. “Tip of the Week: Using Pressed Flowers.” NYBG.org, New York Botanical Garden, 24 May 2010, www.nybg.org/blogs/plant-talk/2010/05/tip-of-the-week/tip-of-the-week-using-pressed-flowers/#:~:text=Designing%20with%20Pressed%20Flowers&text=Use%20white%20PVA%20glue%20such,make%20it%20easier%20to%20apply. Accessed 25 July 2020.
– Haley, Youth Services Assistant