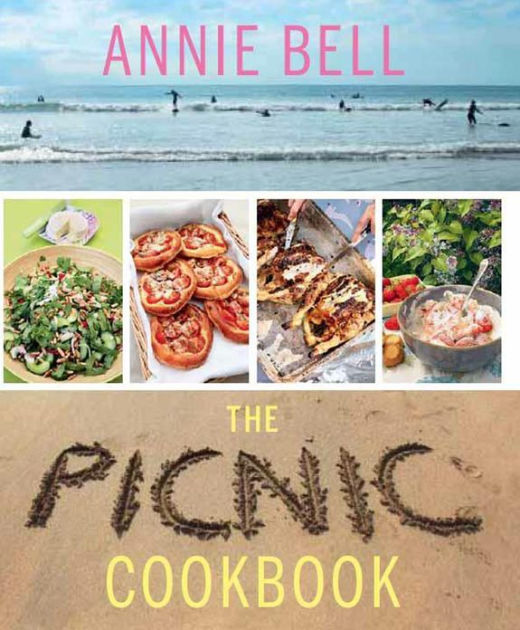
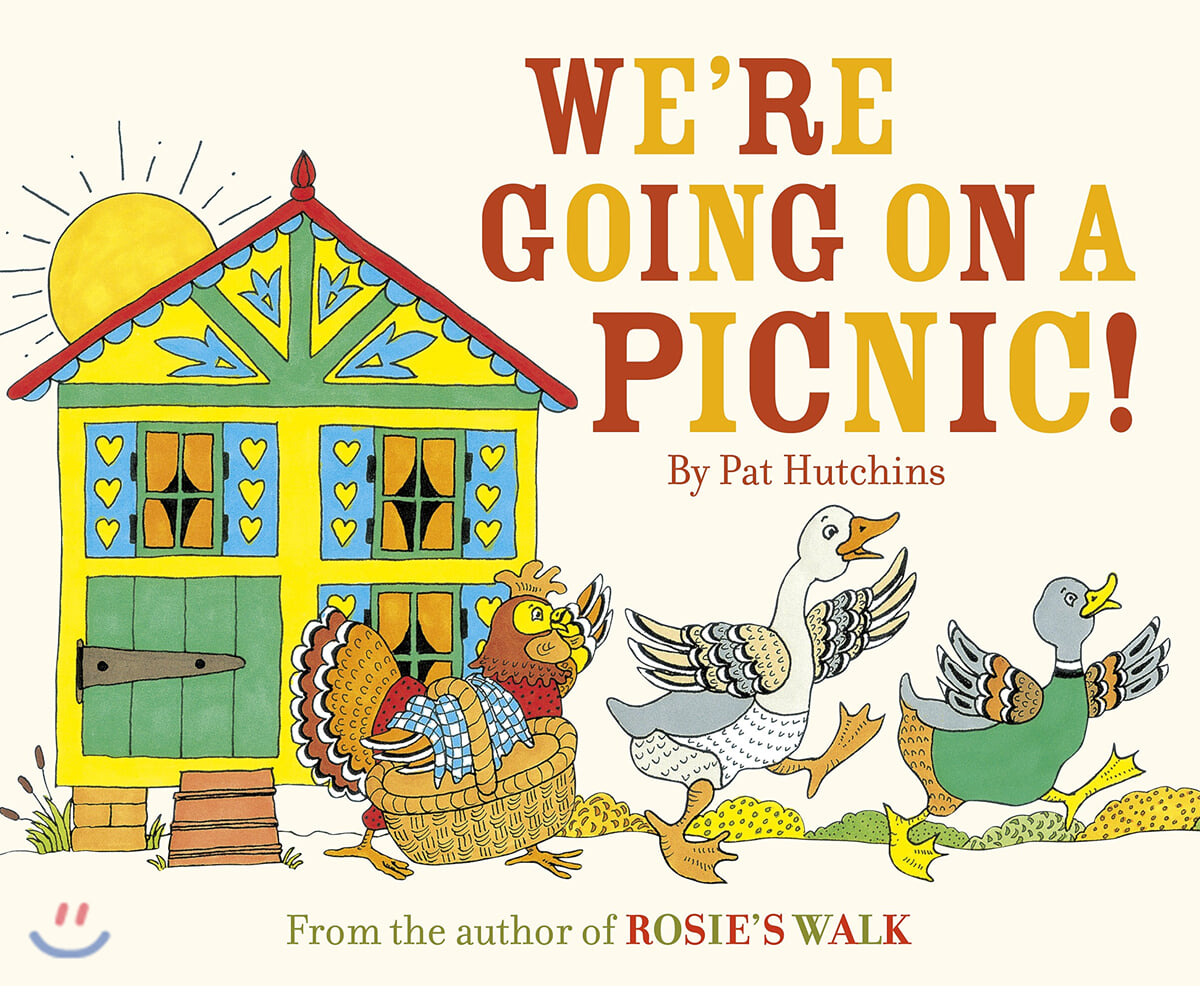
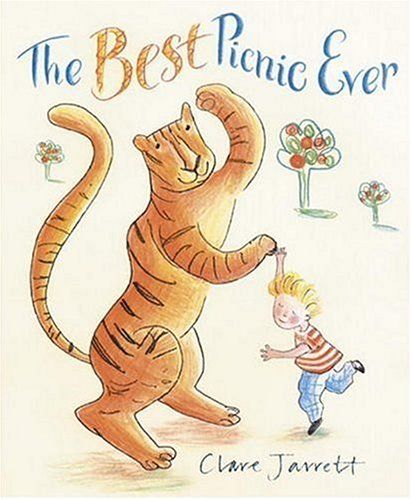
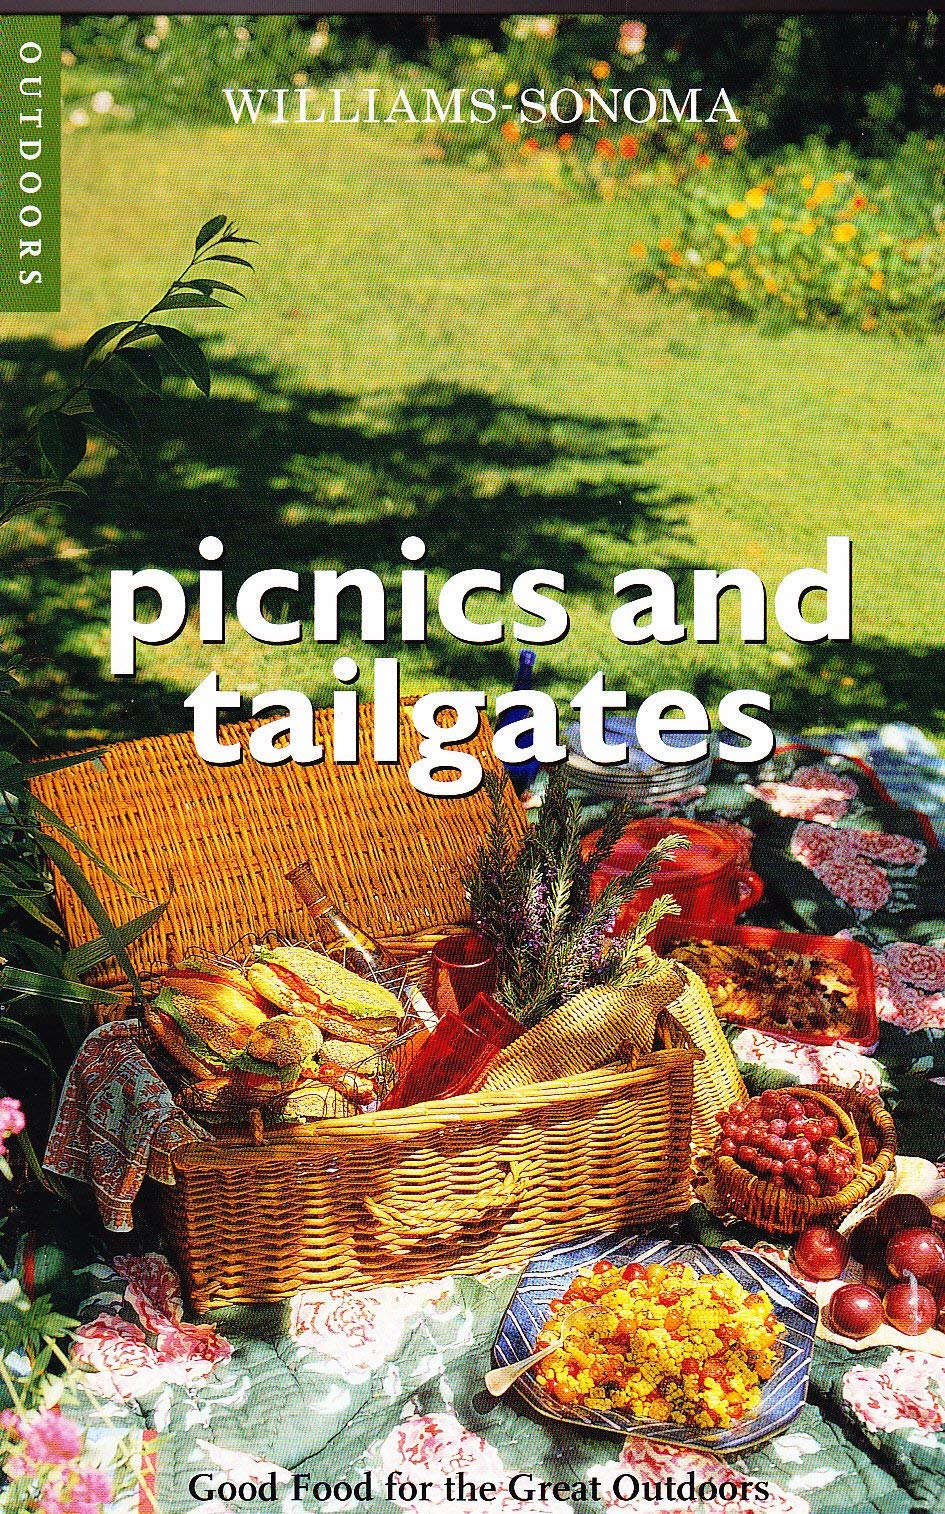
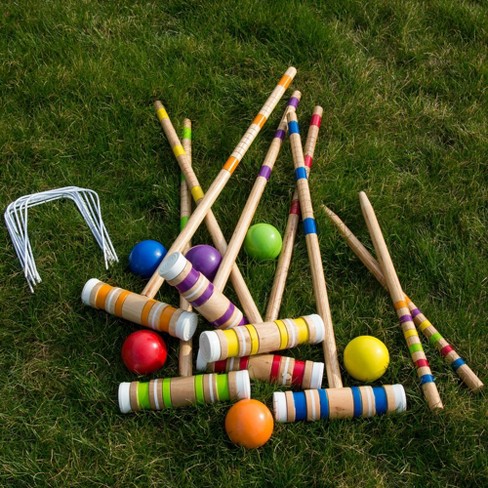
There’s still time to enjoy the outdoors, explore local parks, and level-up your picnic style this fall! These recipes, stories, yard games, and more will inspire new family fun for all ages. Place a hold online or discover more at FDL.
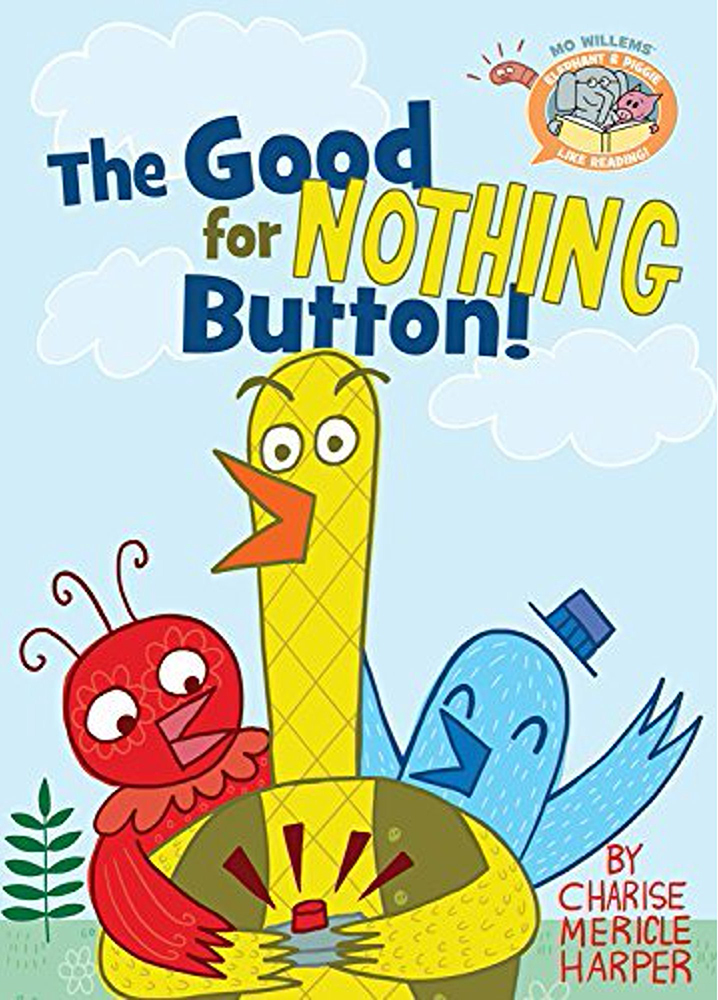
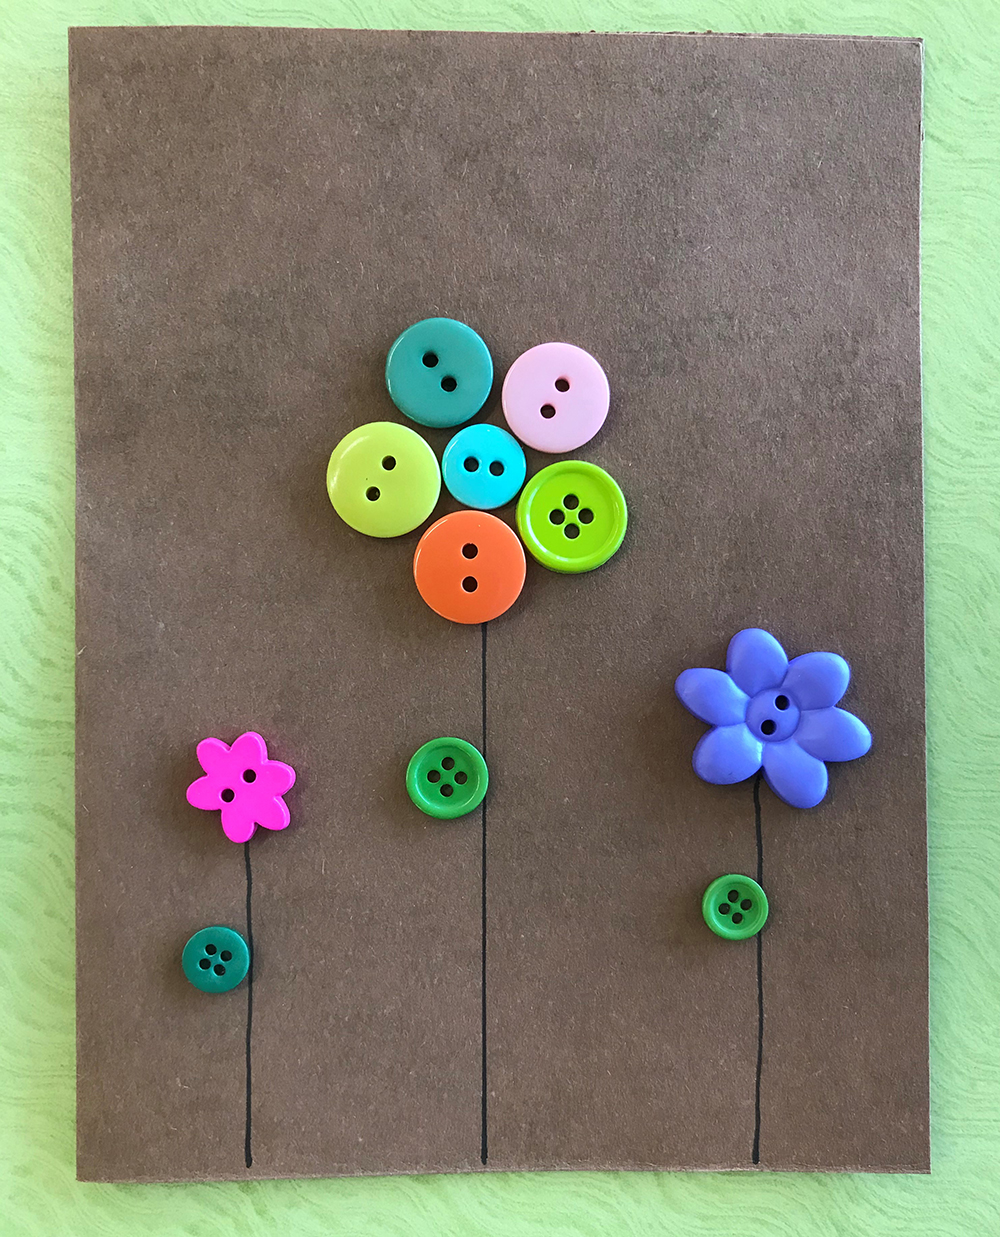
Button, button, who’s got the button? I do! This story time is all about buttons! We will read a couple of books, sing a few songs, and play a game. There is also a button craft kit that you can pick up in the Youth Services department or at the drive-up window while supplies last.
Song: Clap and Sing Hello!
We clap and sing hello,
We clap and sing hello,
With our friends at story time,
We clap and sing hello!
(Wave and sing hello; stomp and sing hello.)
Movement: Open Shut Them
Open, shut them, open, shut them,
Give a little clap, clap, clap.
Open, shut them, open, shut them,
Put them in your lap, lap, lap.
Creep them, crawl them,
Creep them, crawl them,
Right up to your chin, chin, chin.
Open up your little mouth,
But do not put them in.
On the move! Movement for children of all ages is important. From tummy time for babies to crawling and walking for toddlers to running and jumping for preschoolers, movement help children develop both large and small muscles. Children develop their large muscles through movements like: reaching, crawling, climbing and walking, which lead to the development of small muscle movements like holding a spoon or using a crayon… and buttoning a button! So rhymes that use motions, like the “Itsy Bitsy Spider,” acting out the stories that we read, such as “We’re Going on a Bear Hunt” and playing games, like “Button, Button, Whose Got the Button?” help support your child’s development.
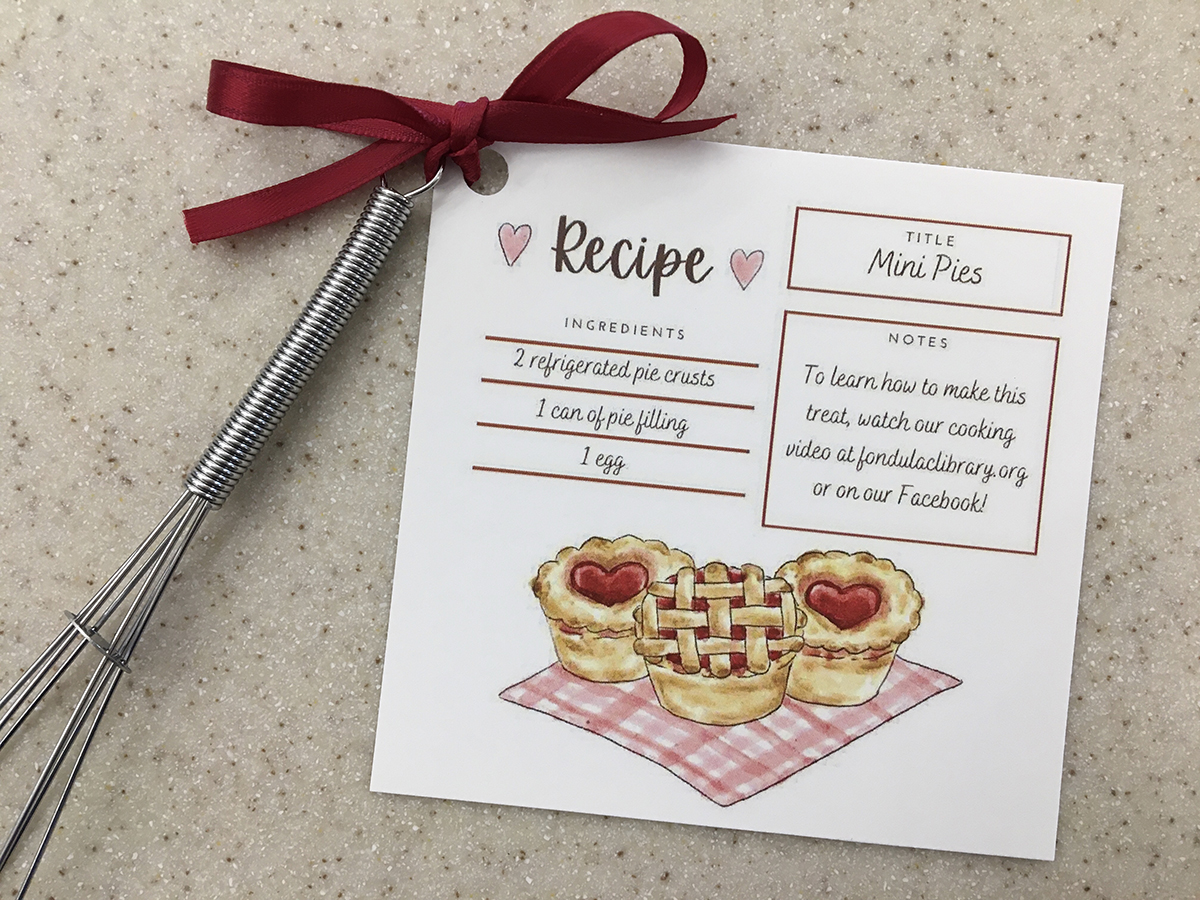
Mini pies are a fun and easy treat to make at home! The hardest part is picking a pie filling… Watch this video to learn how to make your own mini pies and be sure to pick up a recipe card and a mini whisk from the Youth Services department while supplies last!
Ingredients:
2 refrigerated pie crusts
1 can of pie filling
1 egg
Makes 12 servings
Steps:
Preheat oven to 350°F. Grease your muffin tin with cooking spray.
Using a round object like a bowl or lid, cut out a 4-inch circle of dough (twelve times). Press the circles of dough into the cups of your muffin tin.
Fill each cup almost to the top with pie filling.
Use a slightly smaller circle shape to cut out tops for your mini pies. Use a stencil or cookie cutter to create designs or cut into strips to weave a lattice. Press the top circles onto your mini pies, pinching around the edges.
Whisk one egg to make a glaze and paint it over top each pie.
Bake for 30-40 minutes or until golden brown.
Remove from the oven and let cool for at least 15 minutes before serving. Enjoy!
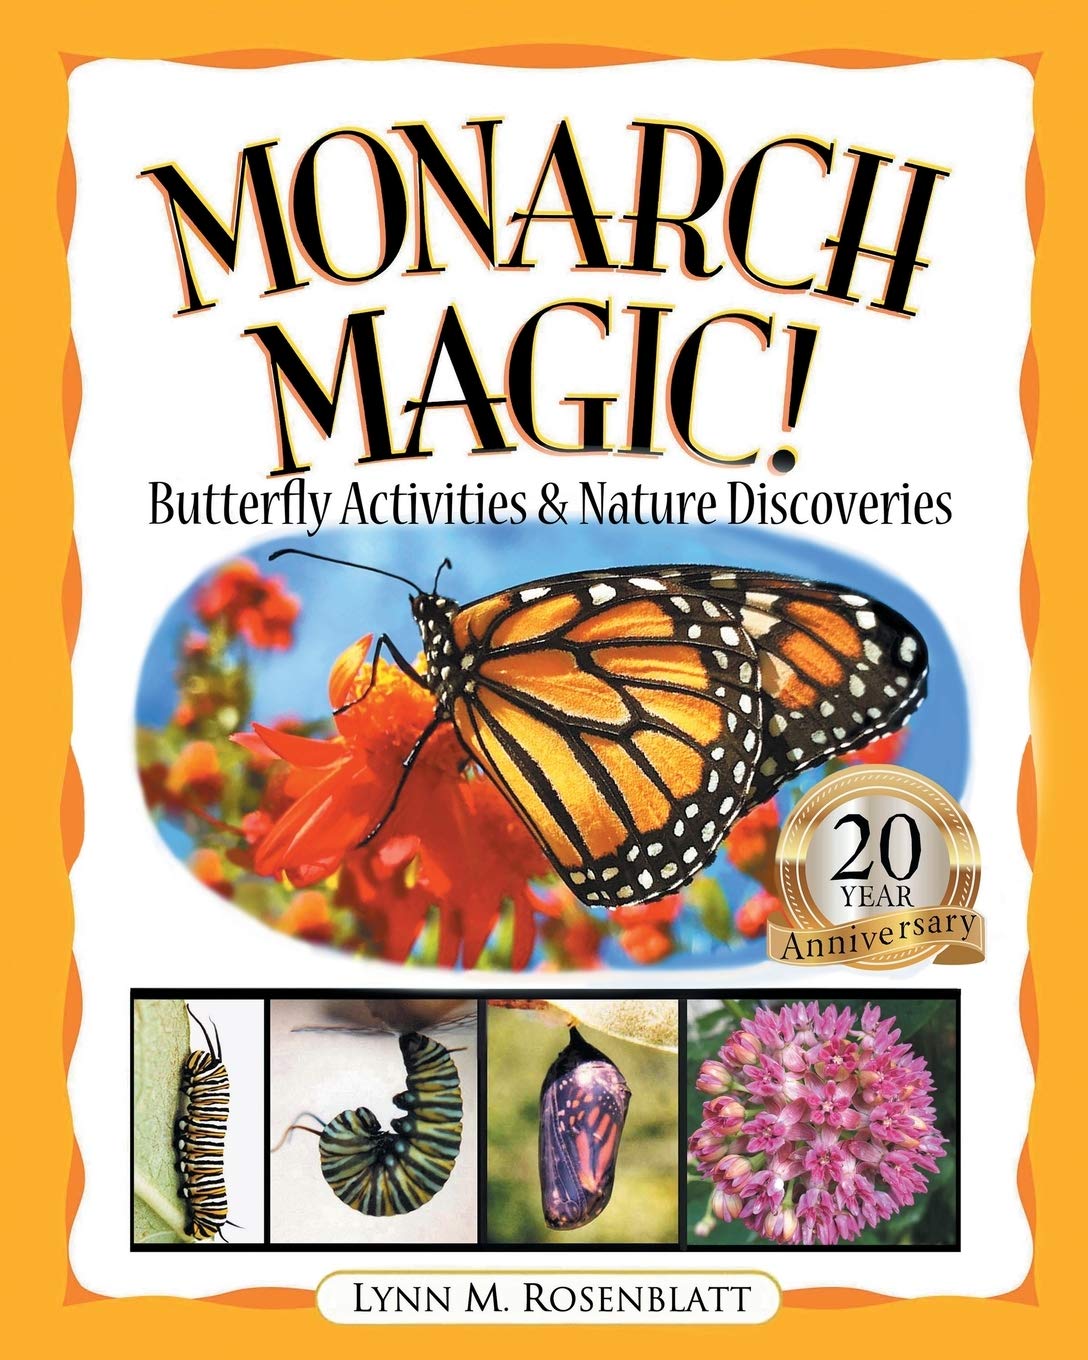
Our Reading Garden is absolutely buzzing with life this time of year! Come take a walk, smell the flowers, and see if you can find all the plants and critters listed on our Nature Walk Scavenger Hunt board.
If you still want to explore outside but need some new ideas, head into the library and check out one of the books below for inspiration.
And Q, R, S, and T, U, V. Still more—W and X, Y, Z.
The whole alphabet’s up the…
Oh! No! Chicka Chicka Boom Boom!
Skit, scat, scoodle-doot,
Flip, flop, flee.
Everybody running to the coconut tree.
Mamas and papas and uncles and aunts
Hug their little dears
Then dust their pants.
Craft: Alphabet Coconut Tree
Pick up a craft kit from the Youth Services department or the drive-up window to make your own alphabet tree! Available while supplies last. Your kit includes a paper towel tube, 4 construction paper leaves, and foam alphabet letters. You will need scissors for this craft.
Instructions:
Cut out the leaves. Cut a slit in the leaf where indicated.
Stick the alphabet letters on the paper towel tube.
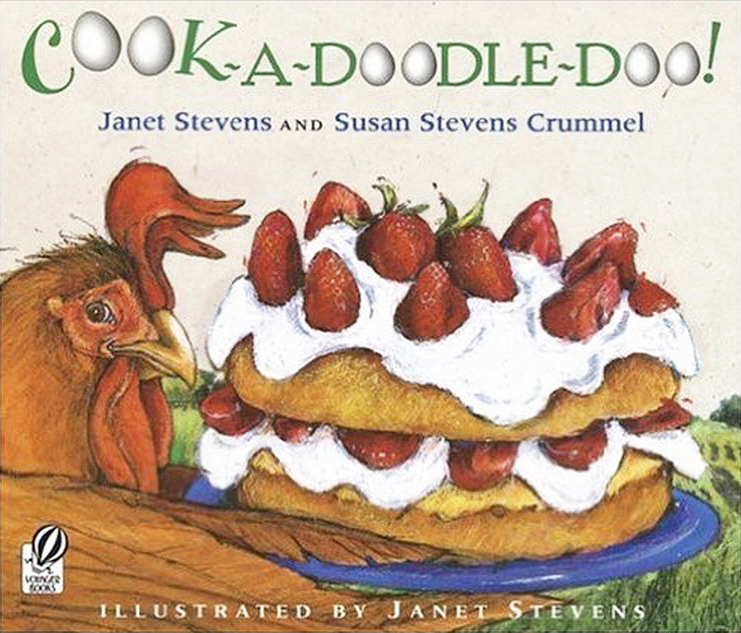
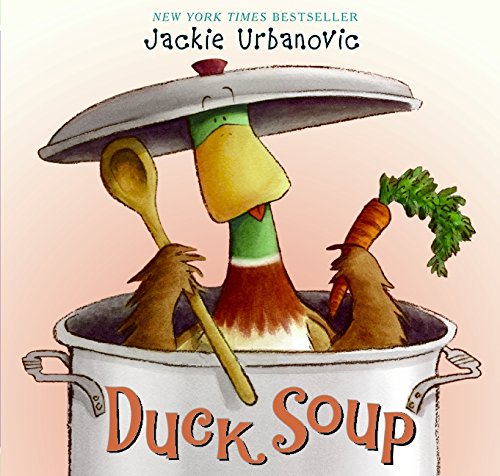
Did you know there are more than 70 books connected to the popular Warriors series? And there are still more being written! Kids can check how many they’ve read so far by looking at this list at warriorcats.com/books, or move on to Erin Hunter’s other three series: Bravelands, Survivors, and Seekers. If it’s time for something a little different, these books also feature adventurous animals and magical worlds:
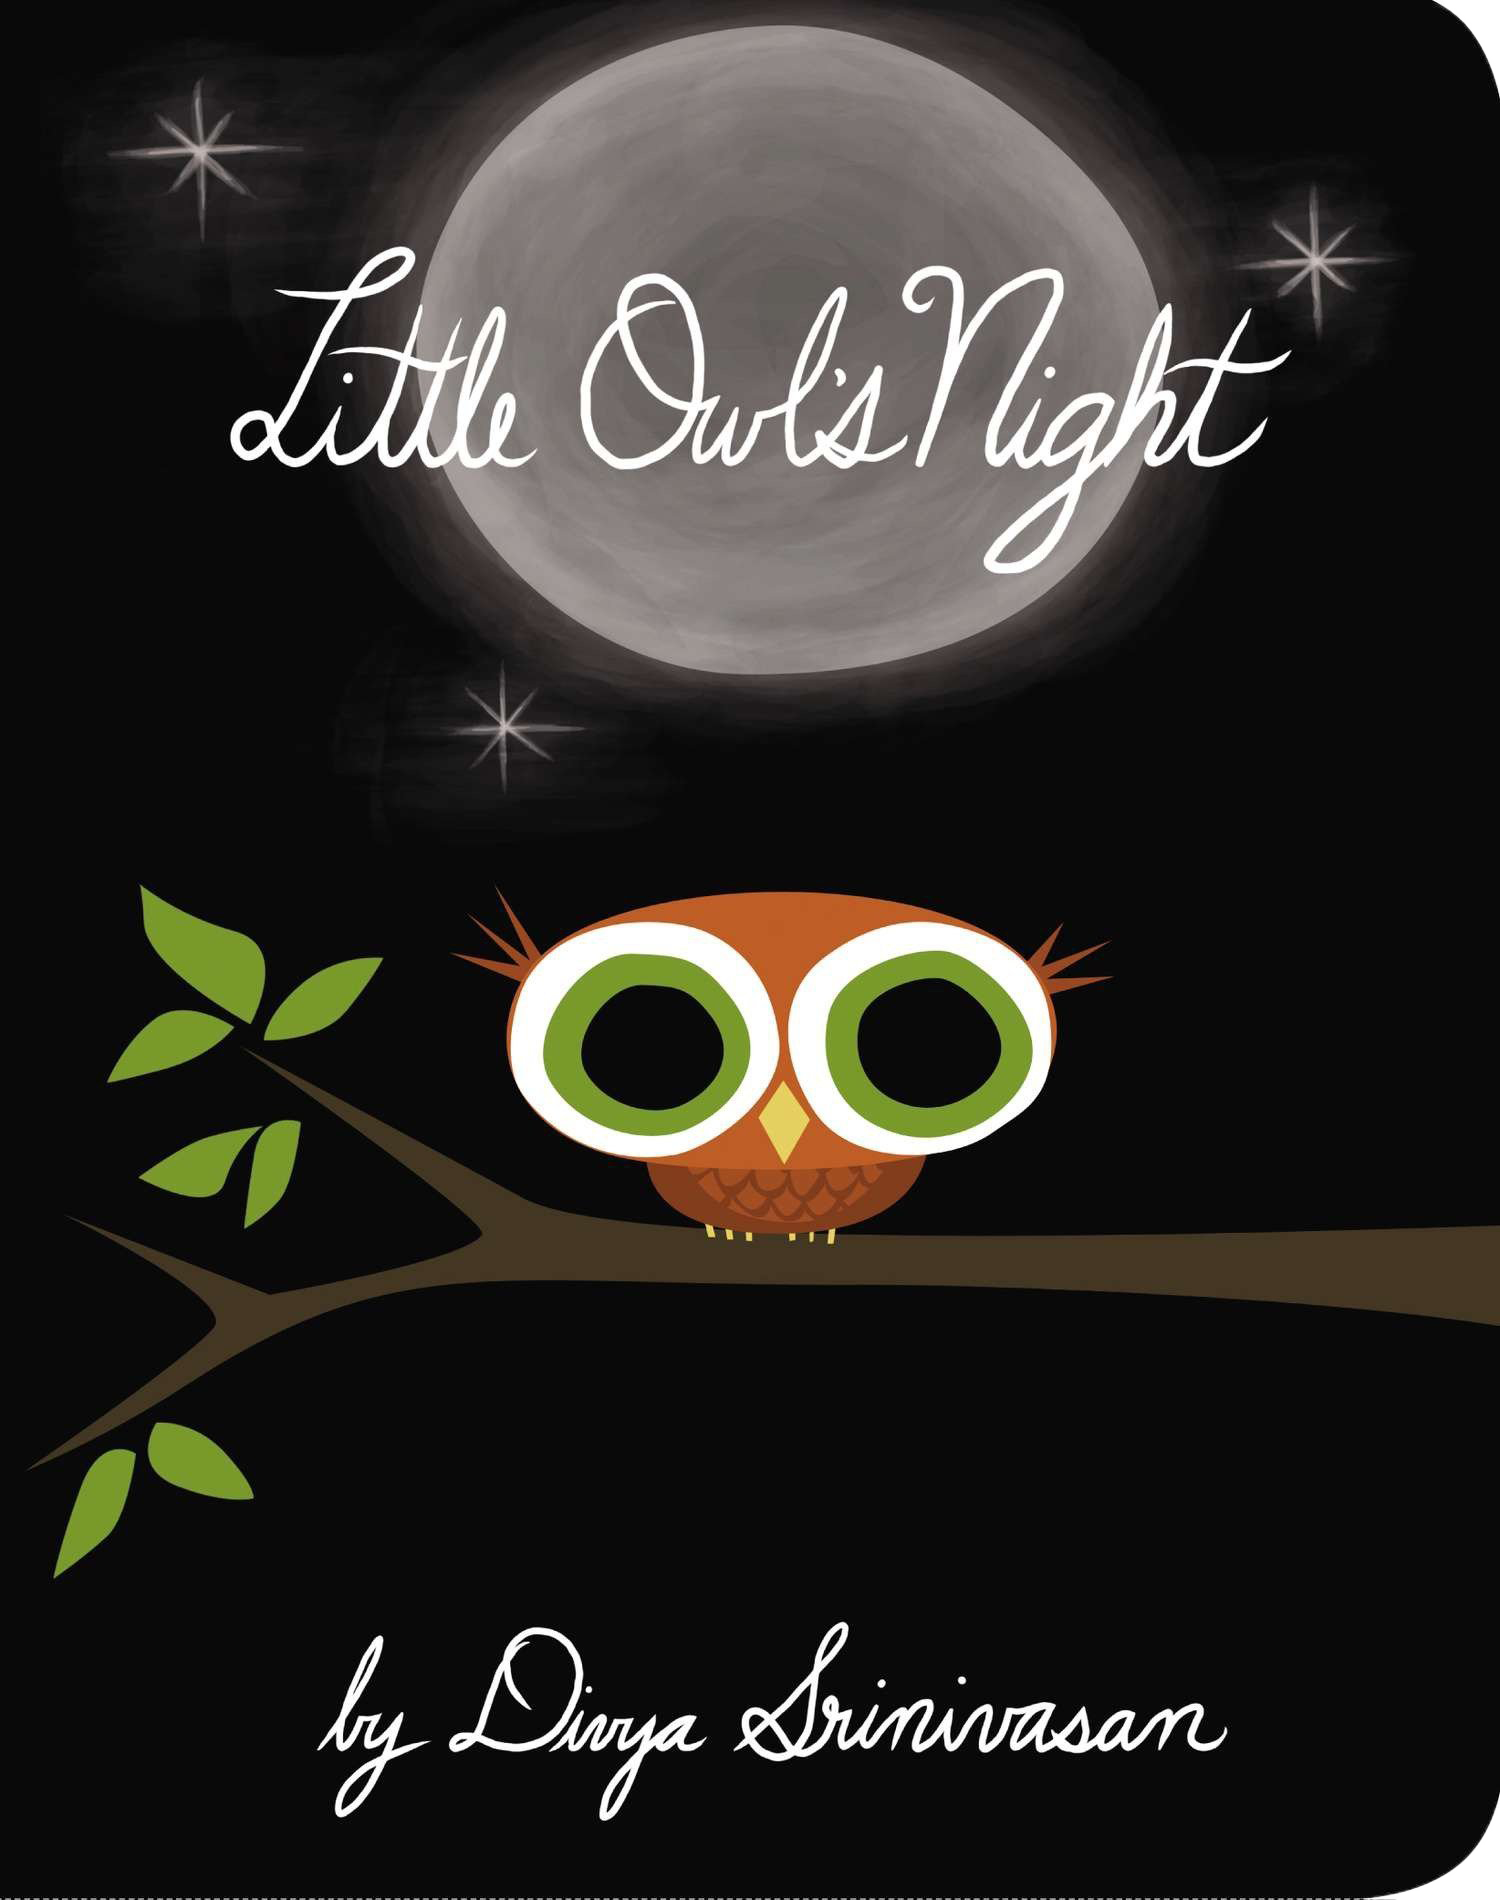
Welcome, friends! My name is Miss Laura, and I am so happy are joining us for Story Time (Online). Today we are going to be talking all about owls! Did you know that there are over 200 types of owls in the world? The ones you might see in a tree in your yard are barn owls, screech owls, or the great horned owl, which we call hoot owls! Let’s give a hoot!
Before we start reading about owls, let’s get ready for story time by dancing our fingers. Can you dance your fingers along with me?
Dance Your Fingers Up
Dance your fingers up!
Dance your fingers down
Dance your fingers side to side
Dance them all around
Dance them on your shoulders
Dance them on your head
Dance them in the trees!
And put them into bed Credit: Early Literacy Storytimes @ Your Library by Saroj Nadkarni Ghoting, Pamela Martin-Diaz
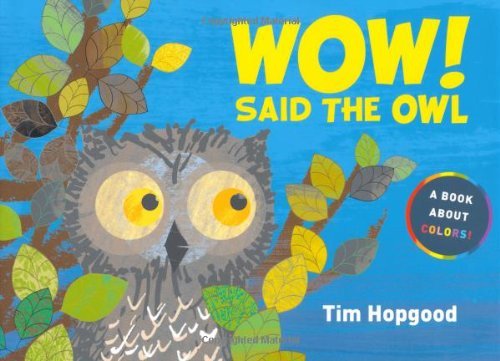
Thanks to Penguin Random House for permission to read this book!
Literacy Tip:
Books like this that have descriptive words like this are great to support reading. The more words kids hear, the more words they learn, which will help them develop as readers.
Action Song:If You Want to Be an Owl
(tune of: If You’re Happy and You Know It)
If you want to be an owl, flap your wings
If you want to be an owl, flap your wings
If you want to be an owl, then your wings will surely show it
If you want to be an owl flap your wings
If you want to be an owl, say hoo, hoo!
If you want to be an owl, say hoo, hoo!
If you want to be an owl, then your “hoo” will surely show it
Thanks to Macmillan for permission to read this book!
Literacy Tip:
When you are at home or talking a walk, talk to your kids about what they see, like colors or shapes. Talking about colors and shapes early and often, like asking them about the difference between objects, will help prepare your kids to red!
Rhyme: Wide-Eyed Owl
There’s a wide-eyed owl (circle your eyes with your hands)
With a pointed nose (make a beak with your fingers)
Two pointed ears (make ears with your fingers)
And claws for toes (wiggle your toes)
He lives way up in the tree (point way up)
And when he looks at you (point to children)
He flaps his wings (flap your wings)
And says, “Hoo! Hoo!” (say “hoo”)
Credit: Wilmette Public Library
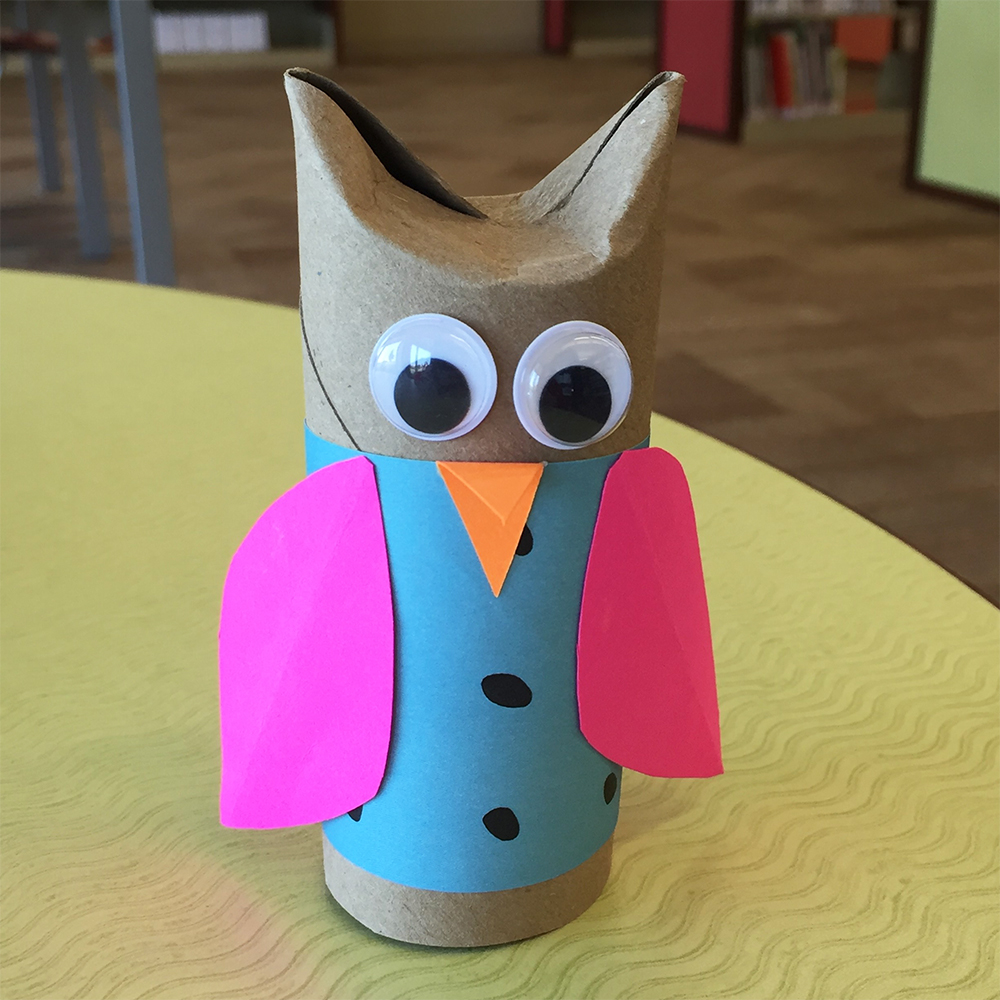
Craft: Paper Roll Owl Craft
Pick up a craft kit at the library drive-up window or in the Youth Services department! Available while supplies last.
Supplies included in the kit:
Paper roll
2 googly eyes
2 glue dots
Pieces to cut out for wings
Orange paper for beak
Paper for owl’s body
You will need:
Scissors
Glue or glue stick
Instructions:
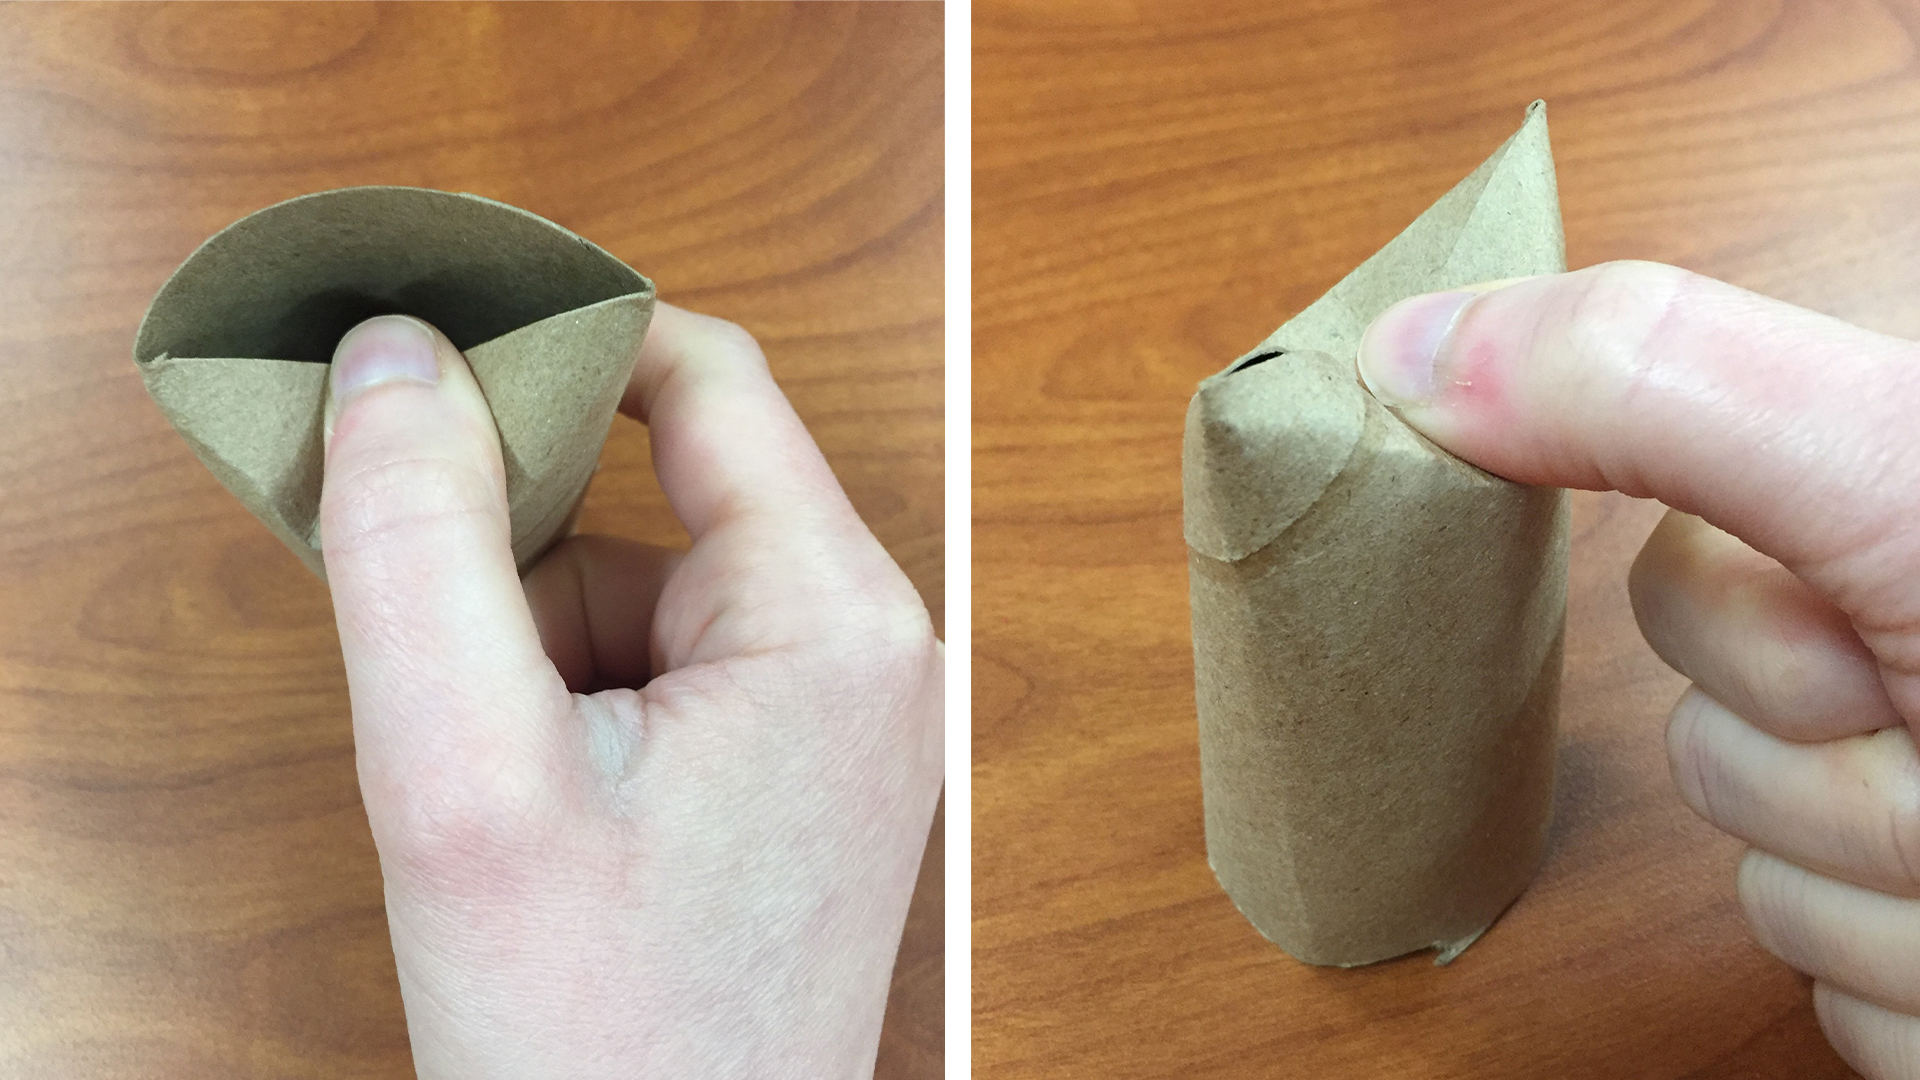
Fold in the top of the paper roll tube to make the ears. You will do this by folding the two edges of the tube toward the middle. The sides should stay pointed, like ears, and the middle will cave in.
Use the glue dots to stick on the owl’s eyes.
Glue the colorful paper around the tube. (You may need to trim the paper.)
Cut out the wings, then fold each wing in half.
Put glue on just one half of the wing, then glue it to one side of the roll. Repeat with the other wing.
Cut a beak out of the orange paper. You can do this by folding the paper in half, and then cutting
out a triangle with one edge of the triangle on the folded side. Glue one side of the beak on below the owl’s eyes. Ta-da! You now have an owl friend!
Thank you so much for reading and talking about owls with me today! I thought it was a hoot, and I hope you did, too. Let’s say goodbye with a rhyme called “tickle the clouds.”
Goodbye: Tickle the Clouds
Tickle the clouds
and tickle your toes
Clap your hands
and tickle your nose
Library cards are the first step on the path to academic achievement and lifelong learning, and every student should have one! The school year is going to be very different this year, but regardless if your classes are taking place in-person or online, the library still has resources available to help students reach their goals. Librarians can help with research or finding materials (even through online chat), and our online databases can help with language, reading, math, testing, news and journal articles, sociology and geography, and even life skills. Computers and study rooms are currently available by reservation for brief periods. The library also has a variety of homeschooling resources for families who are trying that route. And don’t forget Mango, our free, award-winning language learning app! Stay tuned for updates as we hope to announce the availability of more services and programs throughout the school year!
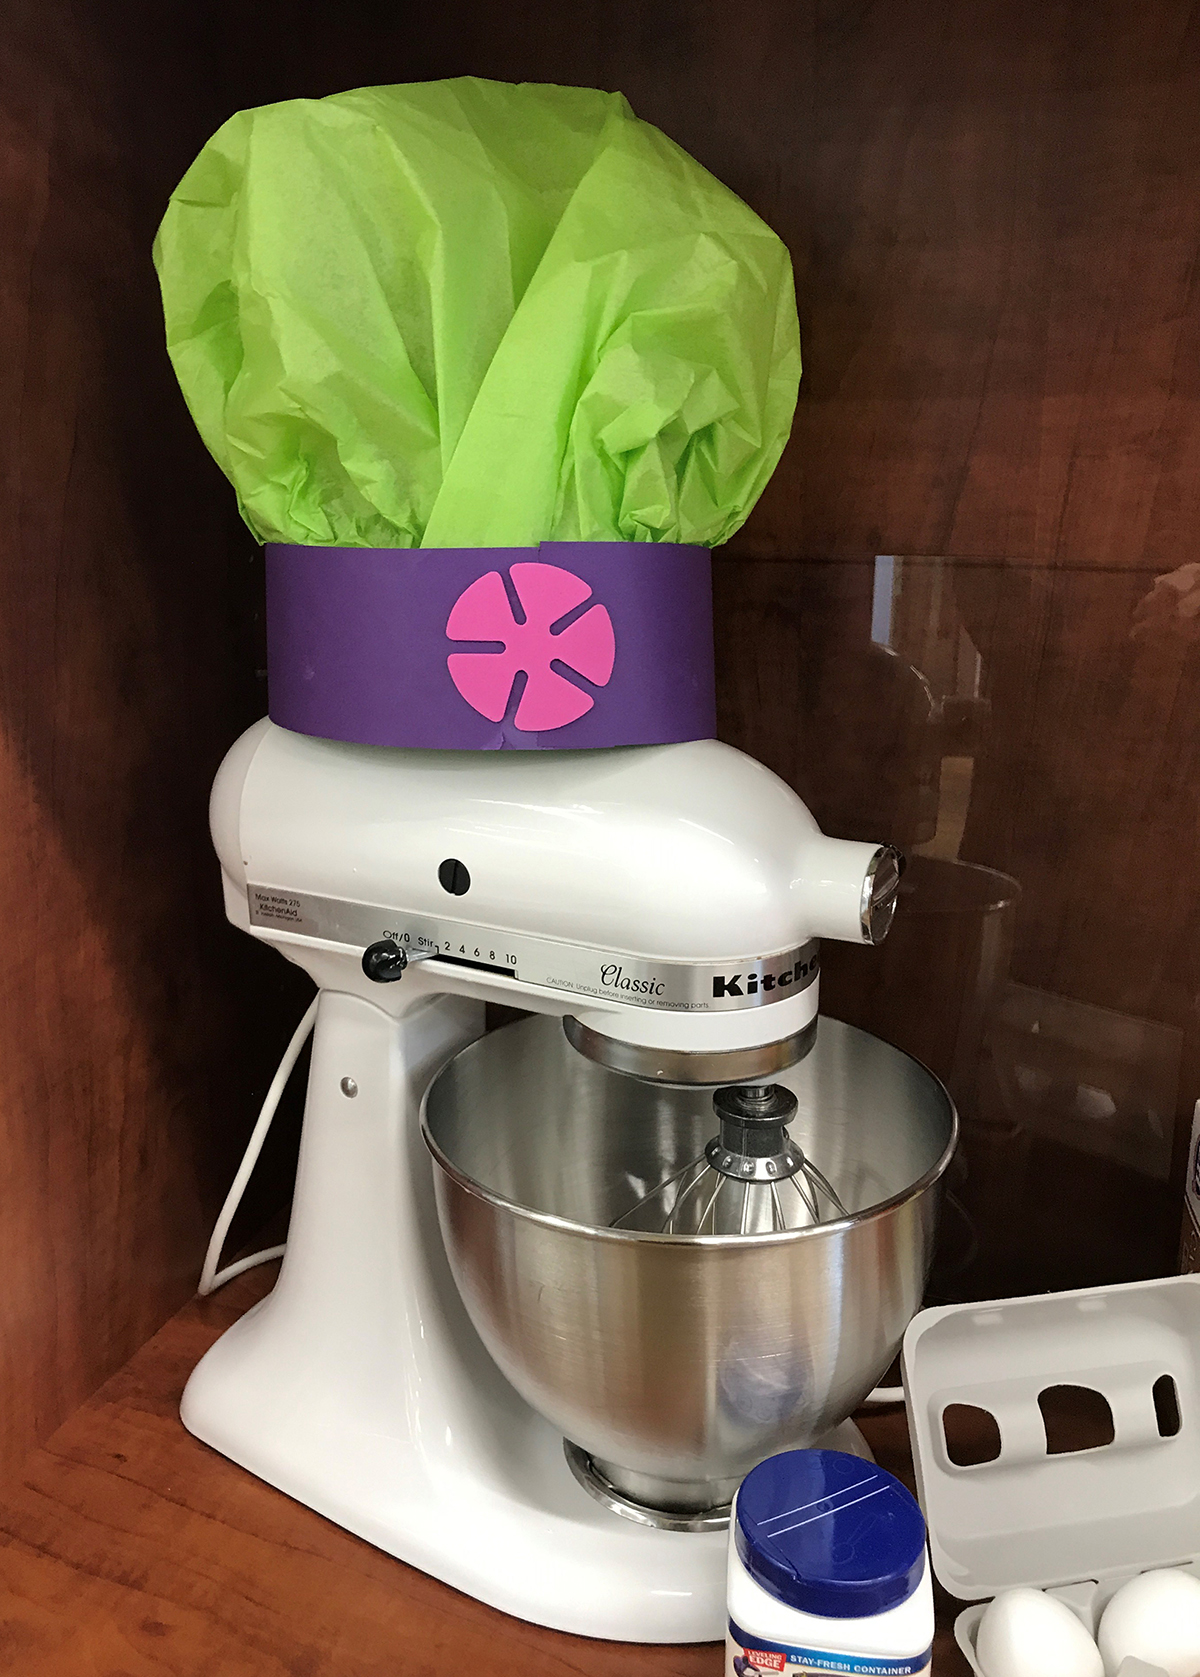
Hi kids and welcome to story time! Today we’re going to read some books about cooking! How many of you have helped mom or dad in the kitchen? Think about it, what was your favorite thing to cook?
Pick up a craft kit at the library to make your very own chef hat, available in the Youth Services Department or from the drive-up window while supplies last.
Cut a strip of card stock to the circumference of your child’s head. Use a string to measure around your child’s head and cut a strip of card stock to that same length. It may be necessary to tape or staple two strips together to get enough length.
Begin taping the tissue paper to the card stock, pleating a bit as you go. For most small children, 1 piece of tissue paper is enough.
Close the band of card stock with tape or staples (your tissue paper won’t be all around yet).
Gently tuck the tissue paper into the opposite inside side of the band of card stock. Only cover the same amount of the band as the other side, there will still be open spots… that will be fixed later.
Repeat taping and pleating, just as the previous side.
Pull the sides of the tissue paper into the open sides of the card stock, tape and pleat as before. Now all of the band should have tissue paper.
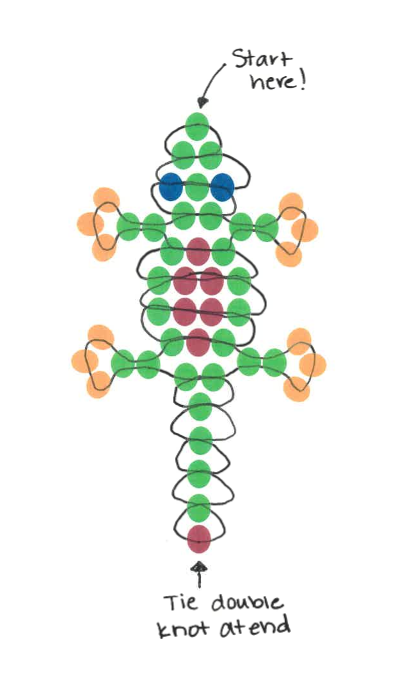
Use a simple threading technique and pony beads to make a lizard keychain! Hang it on your backpack, in your room, or as a keychain for your library card. Pick up a craft kit in the Youth Services Department or at the drive-up window, available while supplies last. Recommended for ages 6 and up.
In this kit:
String
28 green beads
12 orange or yellow beads
7 purple beads
2 blue beads
1 keyring
You will need:
Scissors
Directions:
Place one green bead in the middle of the string. This will be your lizard’s nose. Now you have a right string and a left string (they should be about the same length).
String two green beads onto the right string. Now, thread the left string back through the two green beads. Pull it tight to make a triangle. These beads are now double-threaded. This is the technique you will use to make the rest of the lizard!
Thread a blue, green, and then blue bead onto the right string. Put the left thread back through the three beads, and pull tight.
String two green beads onto the right string. Put the left string back through, and pull tight.
Now you will make the lizard’s front feet. Thread two green beads and three orange beads onto the right string. Using the same right string, thread it back through only the two green beads, and pull tight. You may need to hold onto the lizard or also pull on the left side to get it pulled tight enough. Keep pulling it snug; you’ll get there!
Repeat step 5 using the left string. Thread two green beads and three orange beads onto the left string. Using the same left string, thread it back through only the two green beads, and pull until snug.
Thread a green, purple, green bead onto the right string, and put the left string back through to double thread.
Continue double threading following the color pattern on the first page (the Pattern Page included shows the same pattern; it just shows you how the string looks on the inside). Repeat steps 5 and 6 to make the lizard’s back legs.
Once you get to the end of the pattern, tie a double knot and make sure it’s secure.
Tie the remaining string onto your keychain. Tie a double or triple knot to make sure it’s good and secure. Cut the ends of the thread.