I love being creative, but one of my struggles with creativity is staying inspired. There’s inspiration everywhere, sure, but that’s not helpful when I’m stuck at home and in an uninspired mood. Today we will take a few simple things — Zentangle, an inspirational quote, shaving cream, and paint — and put them together to create something beautiful that will inspire you for years to come!
Zentangle
With just a pen, pencil and paper, you can create beautiful works of art — even if the words “I can’t draw” often cross your mind, because they certainly do mine. You can even learn a simple way to relax your mind to allow your own creativity to shine through. Remember to keep it simple. Even the most complex looking patterns you will find in Zentangle inspired art are broken down into simple lines and circles. Focus on one line, one step at a time, and you will be surprised with the results!
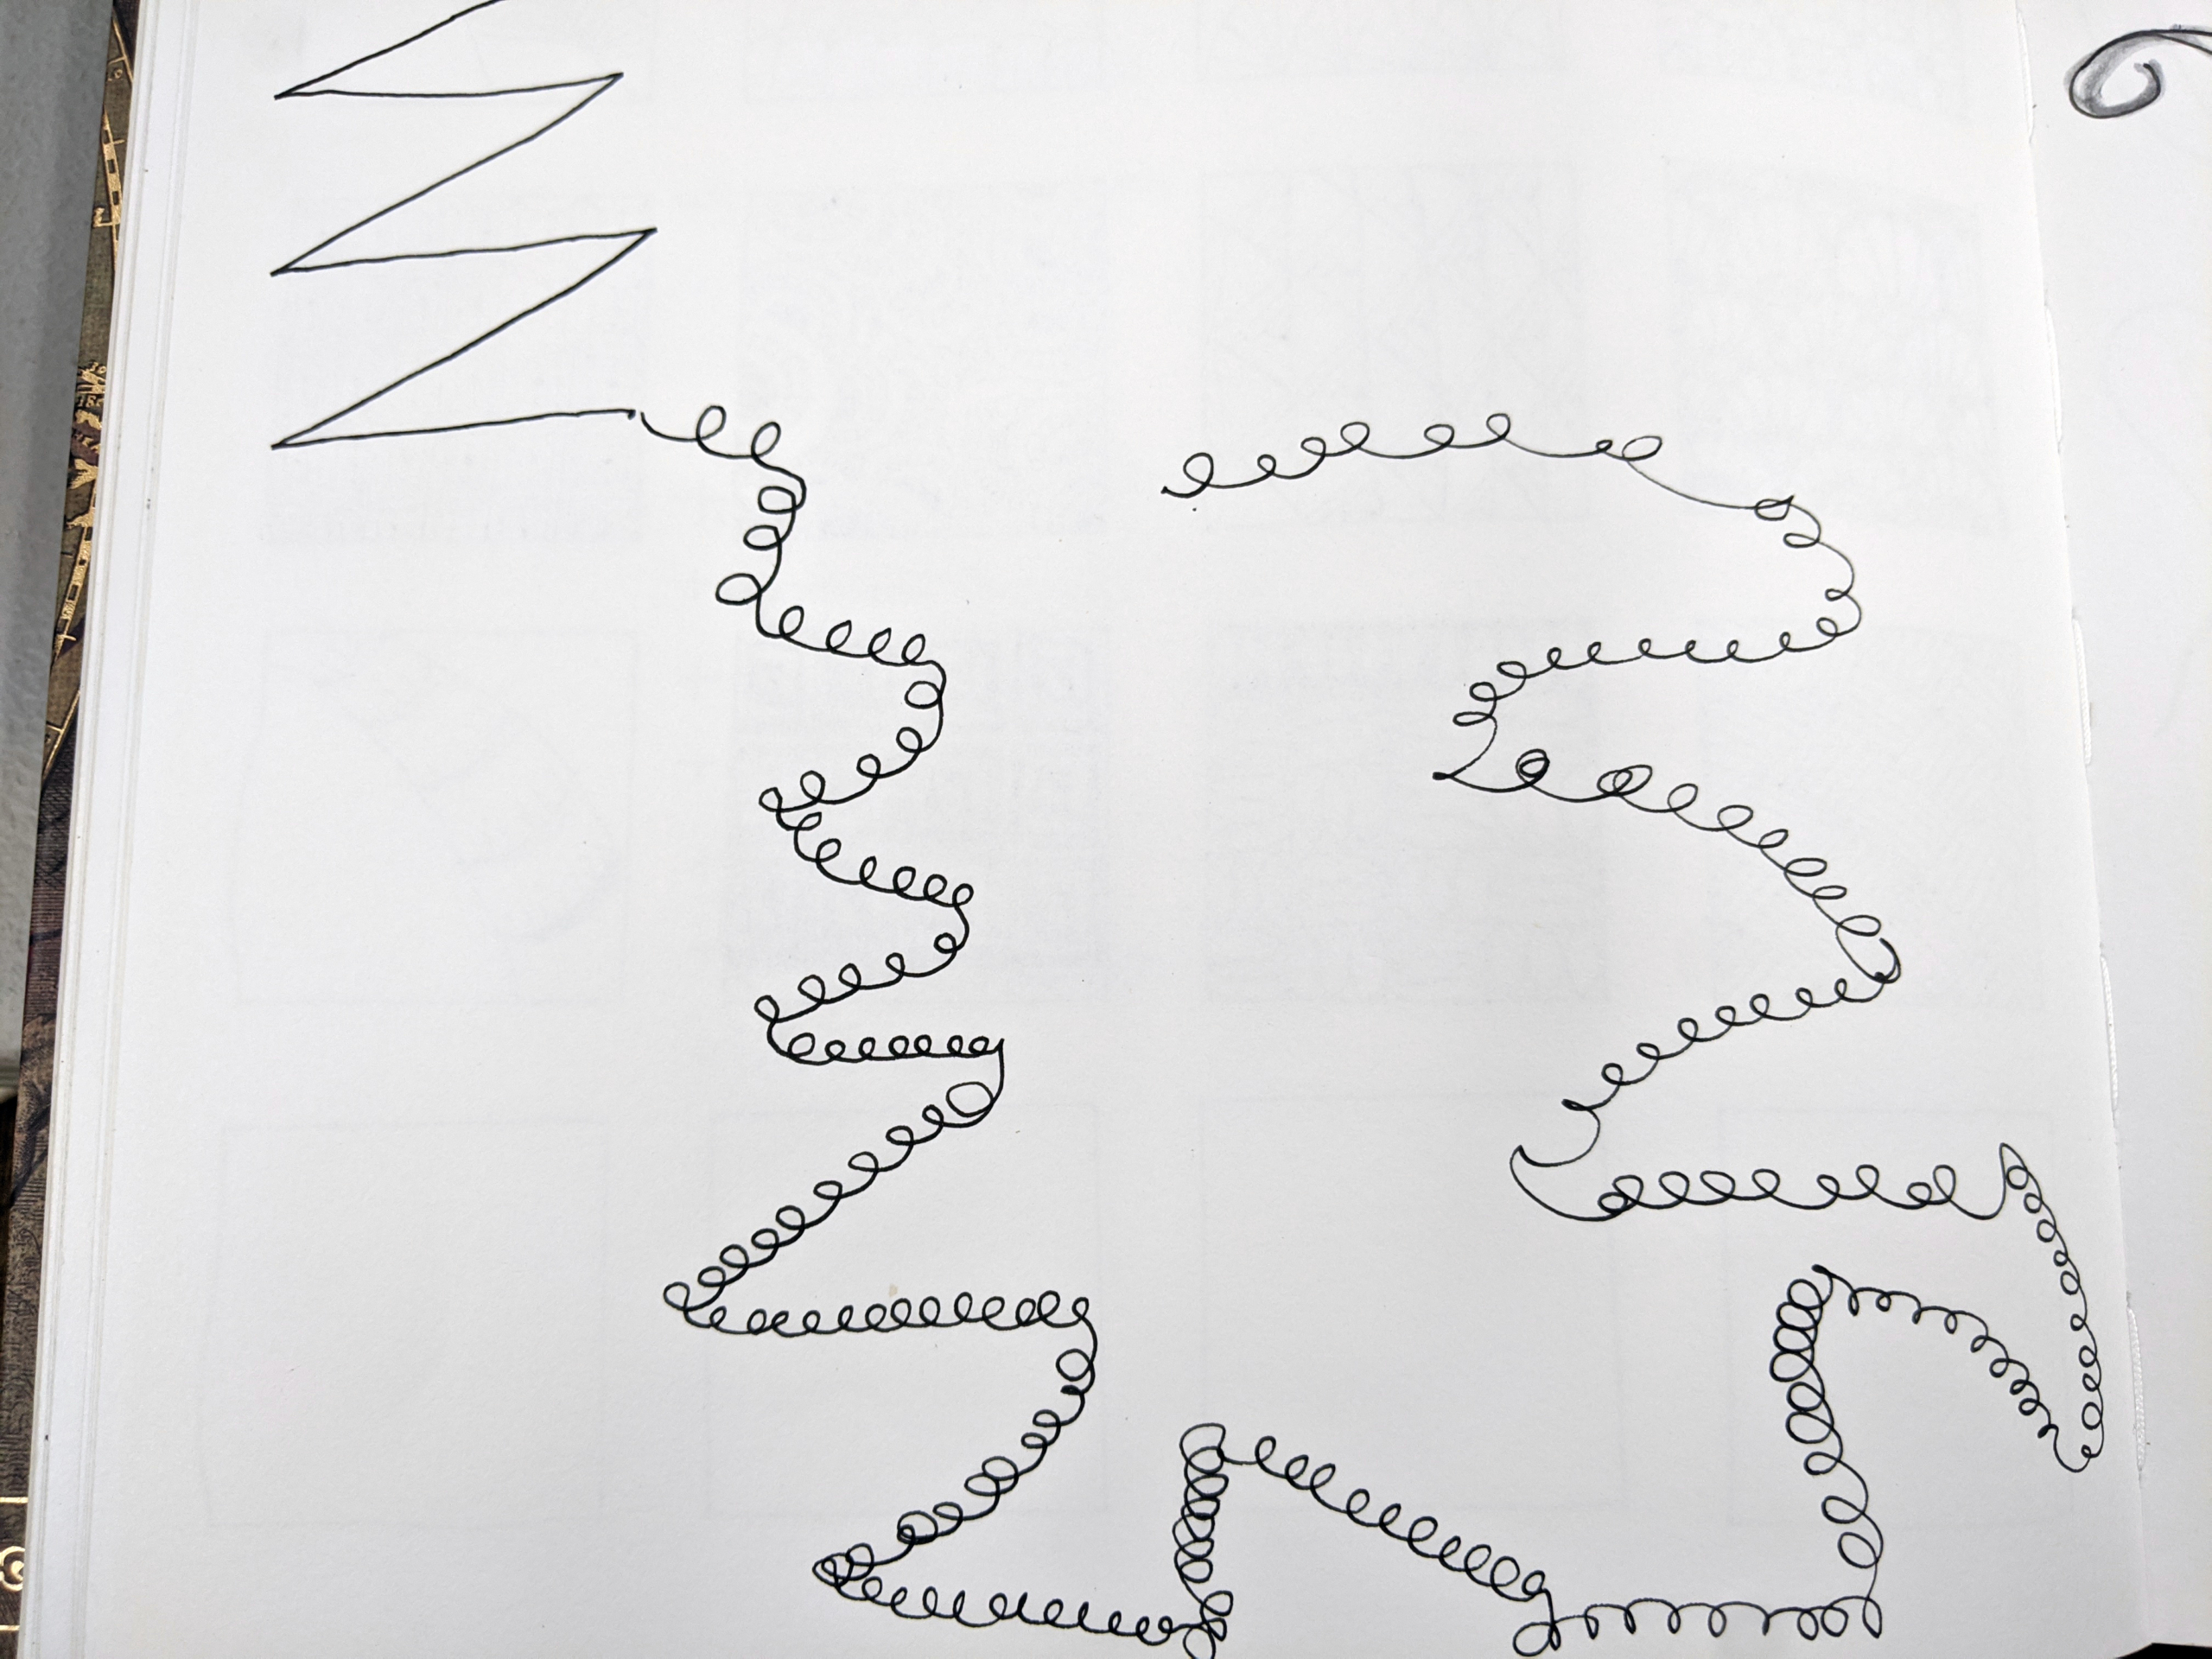
We will start with a simple exercise — drawing with your breath.
Decide your guidelines for marking the page with each breath — maybe you will draw squiggles on way on the inhale and the other direction on the exhale.
How will your marking shift when you realize you have stopped following the breath?
You will create a repetitive pattern that changes with a change in your awareness marking each breath.
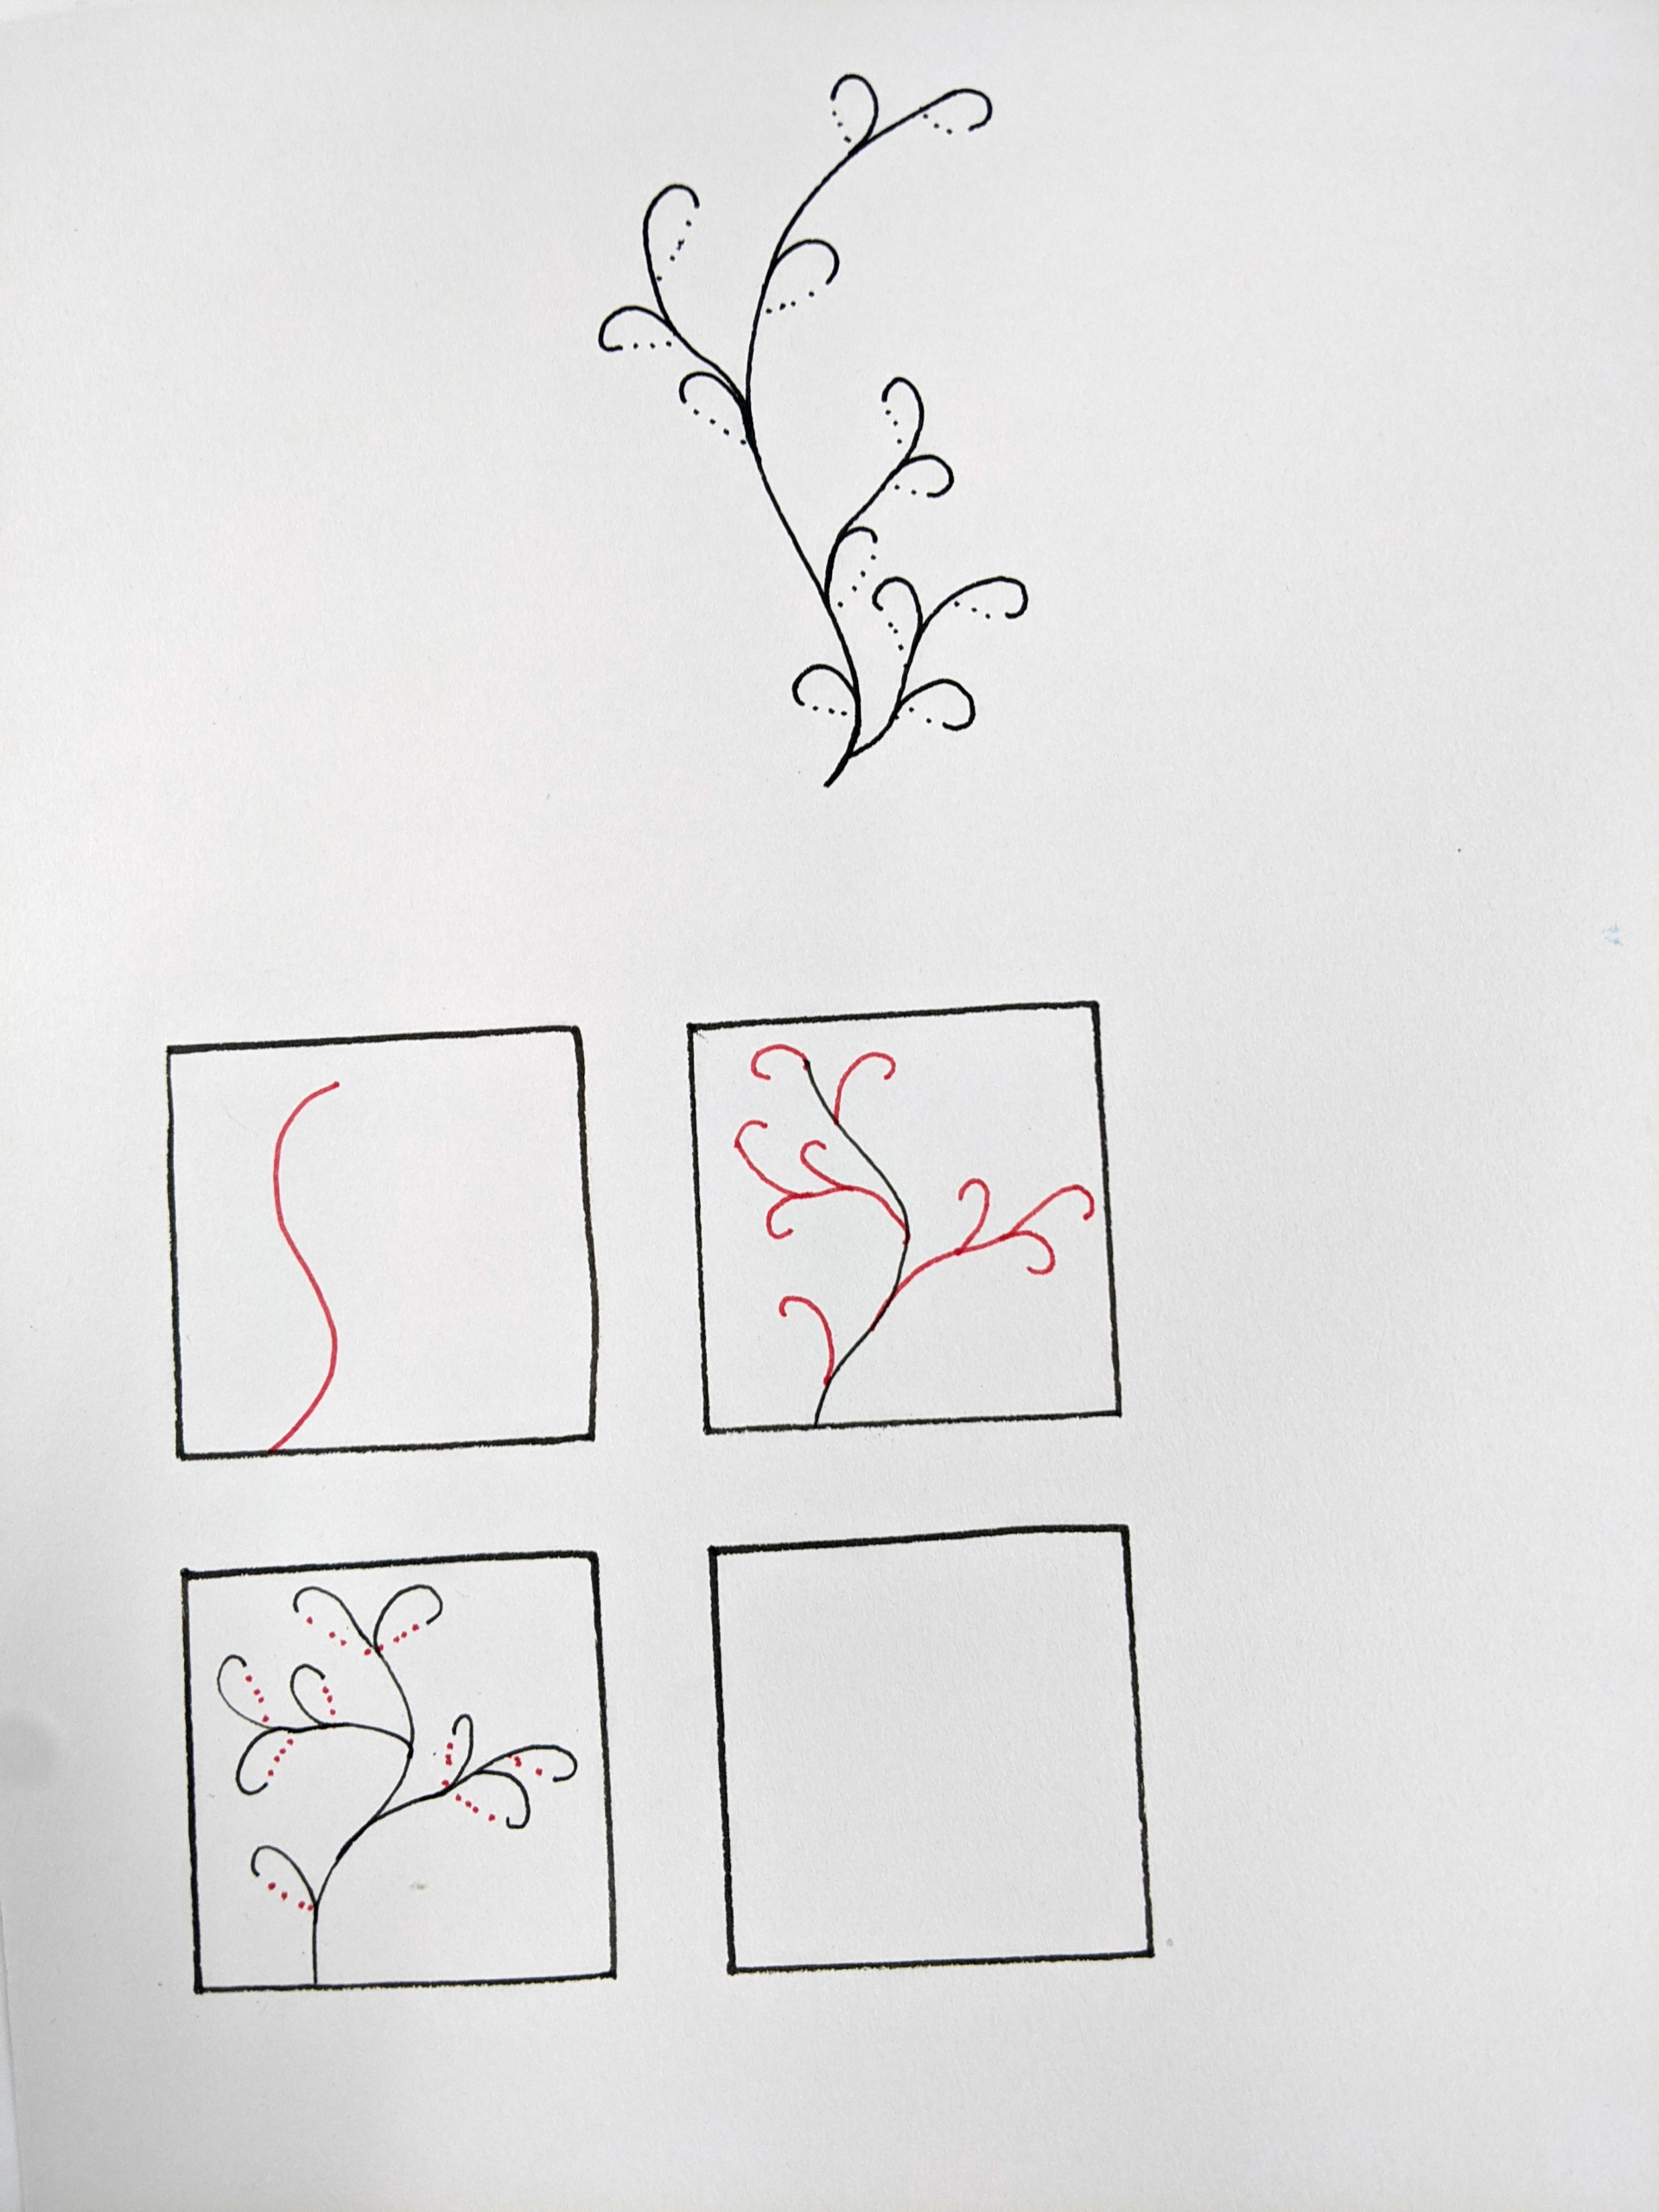
Now let’s learn some Zentangle patterns! Grab a pen and some paper and follow the steps in the videos. Remember these are just basic lines and shapes, so once you’ve practiced one way, add your own flair to each pattern!
Pattern 1 (Each of these patterns have names, but the names aren’t as important as simply drawing.)
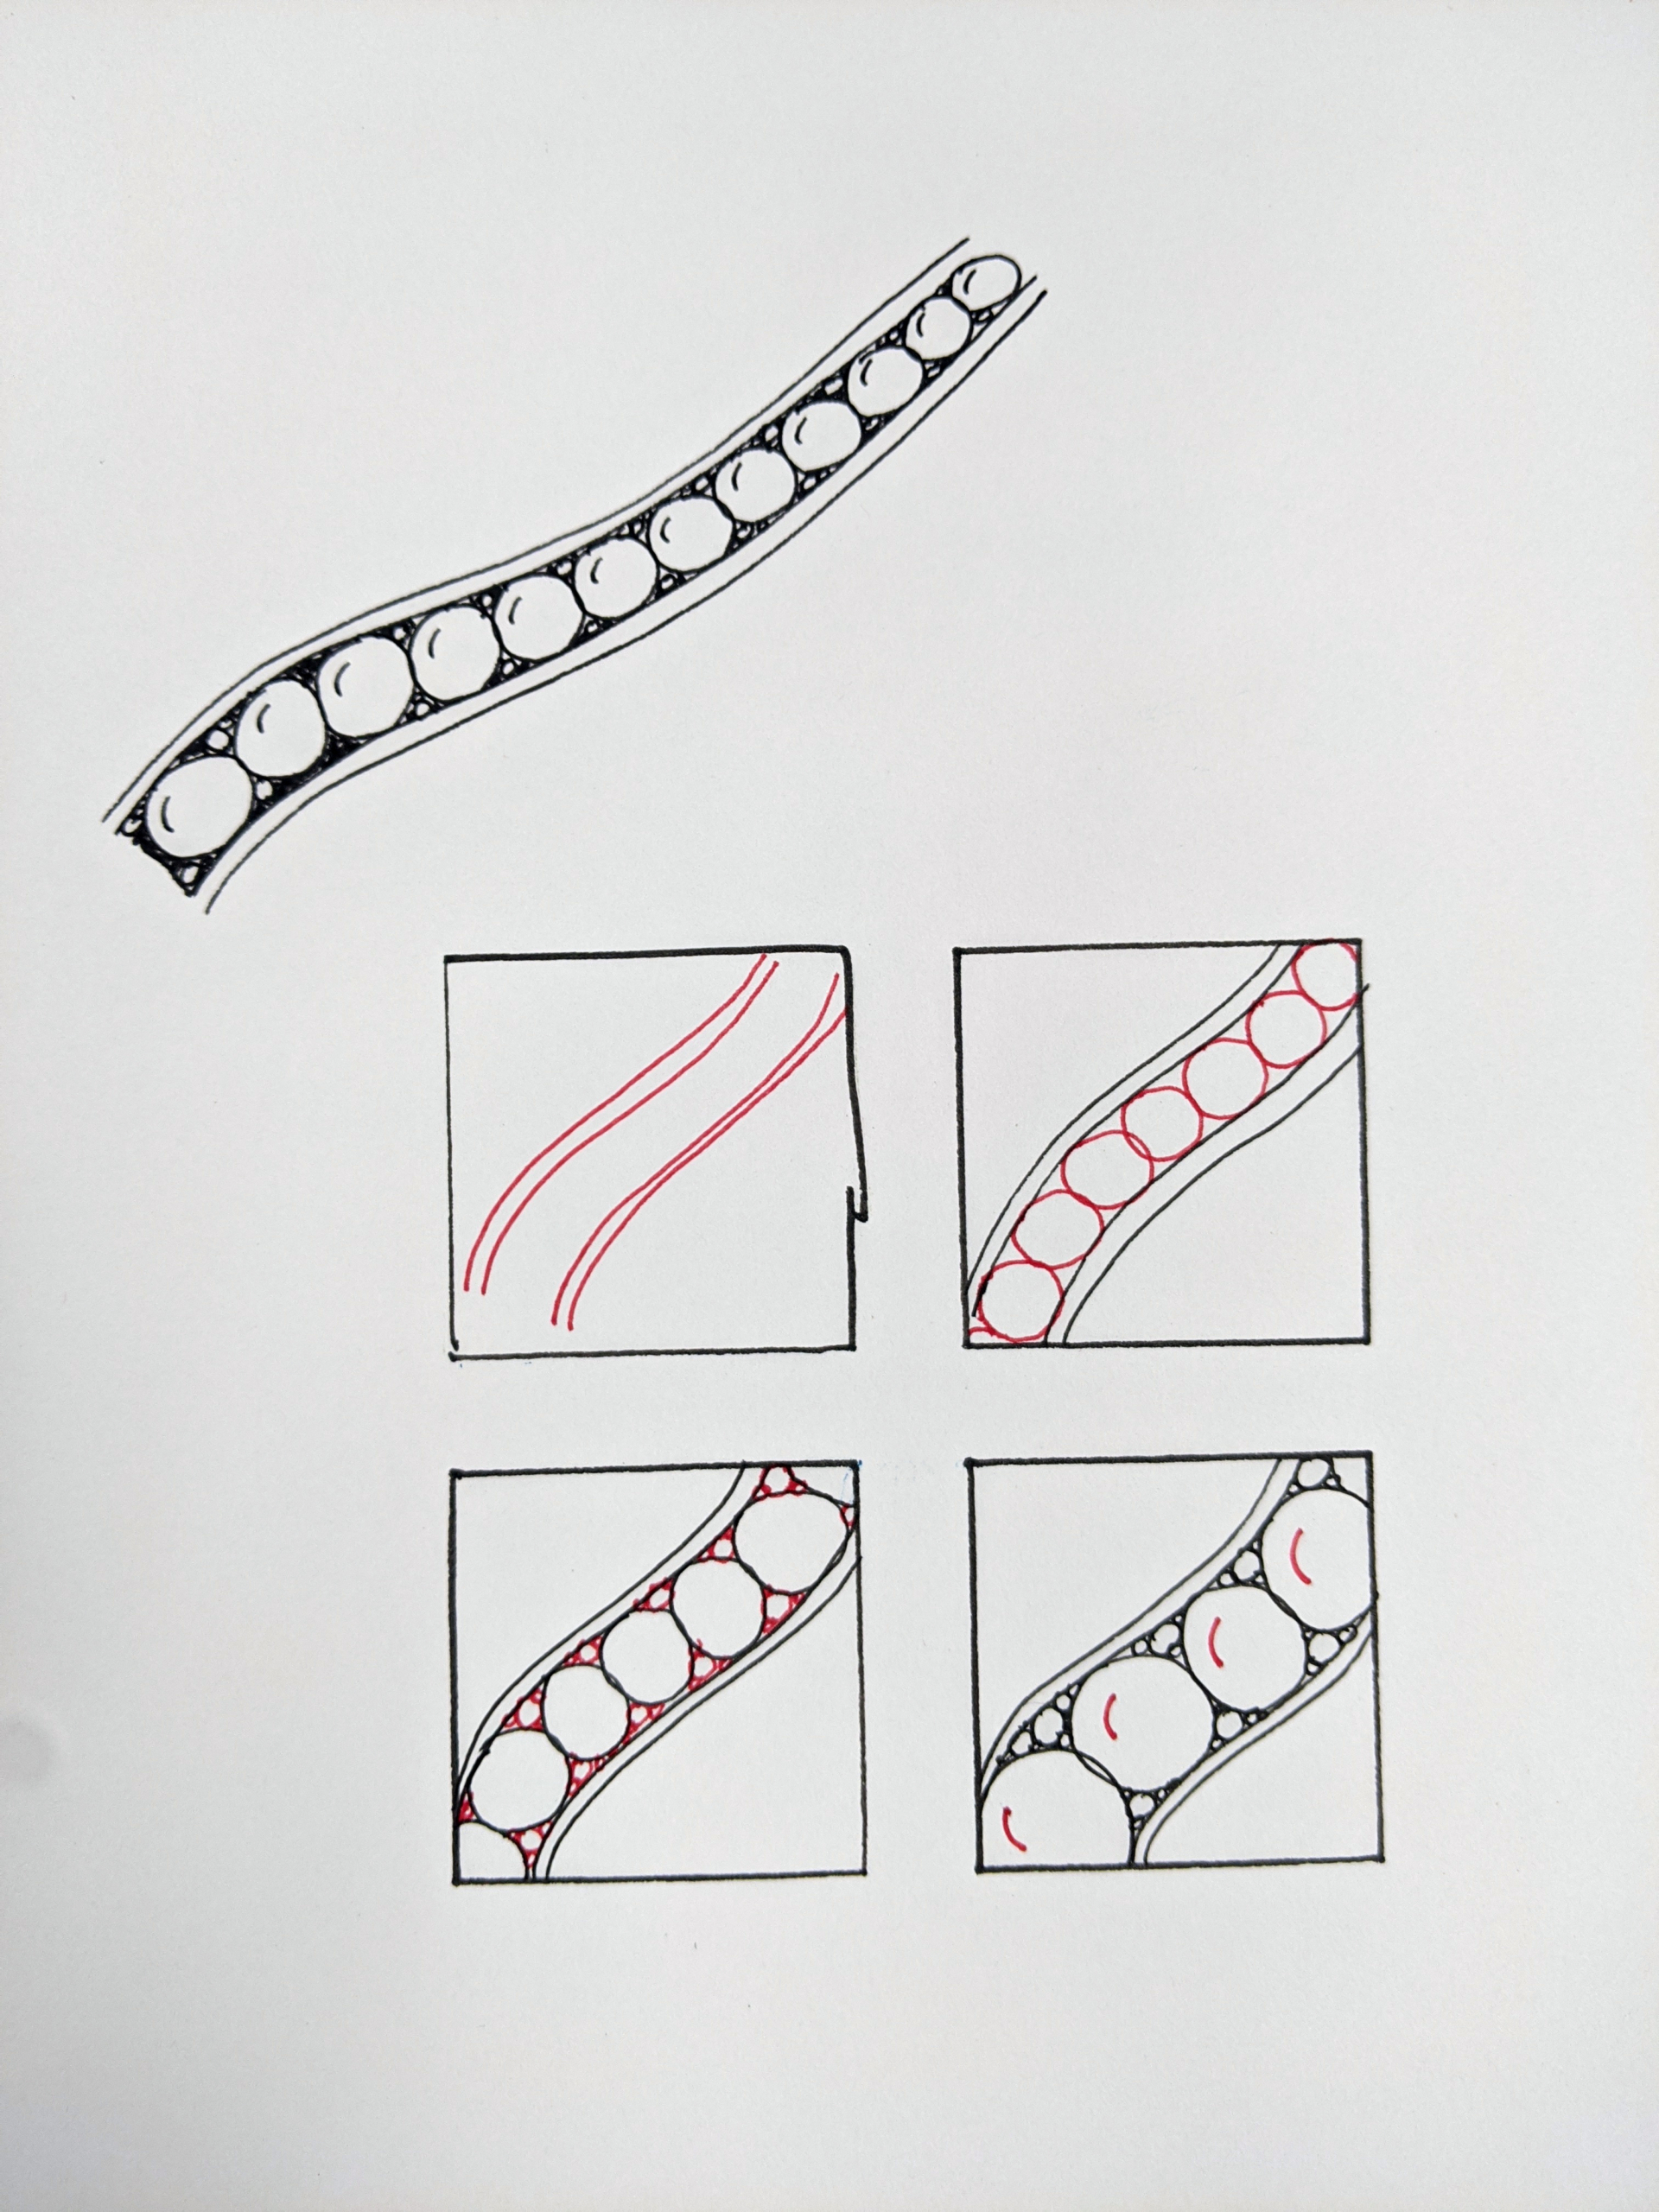
Pattern 2
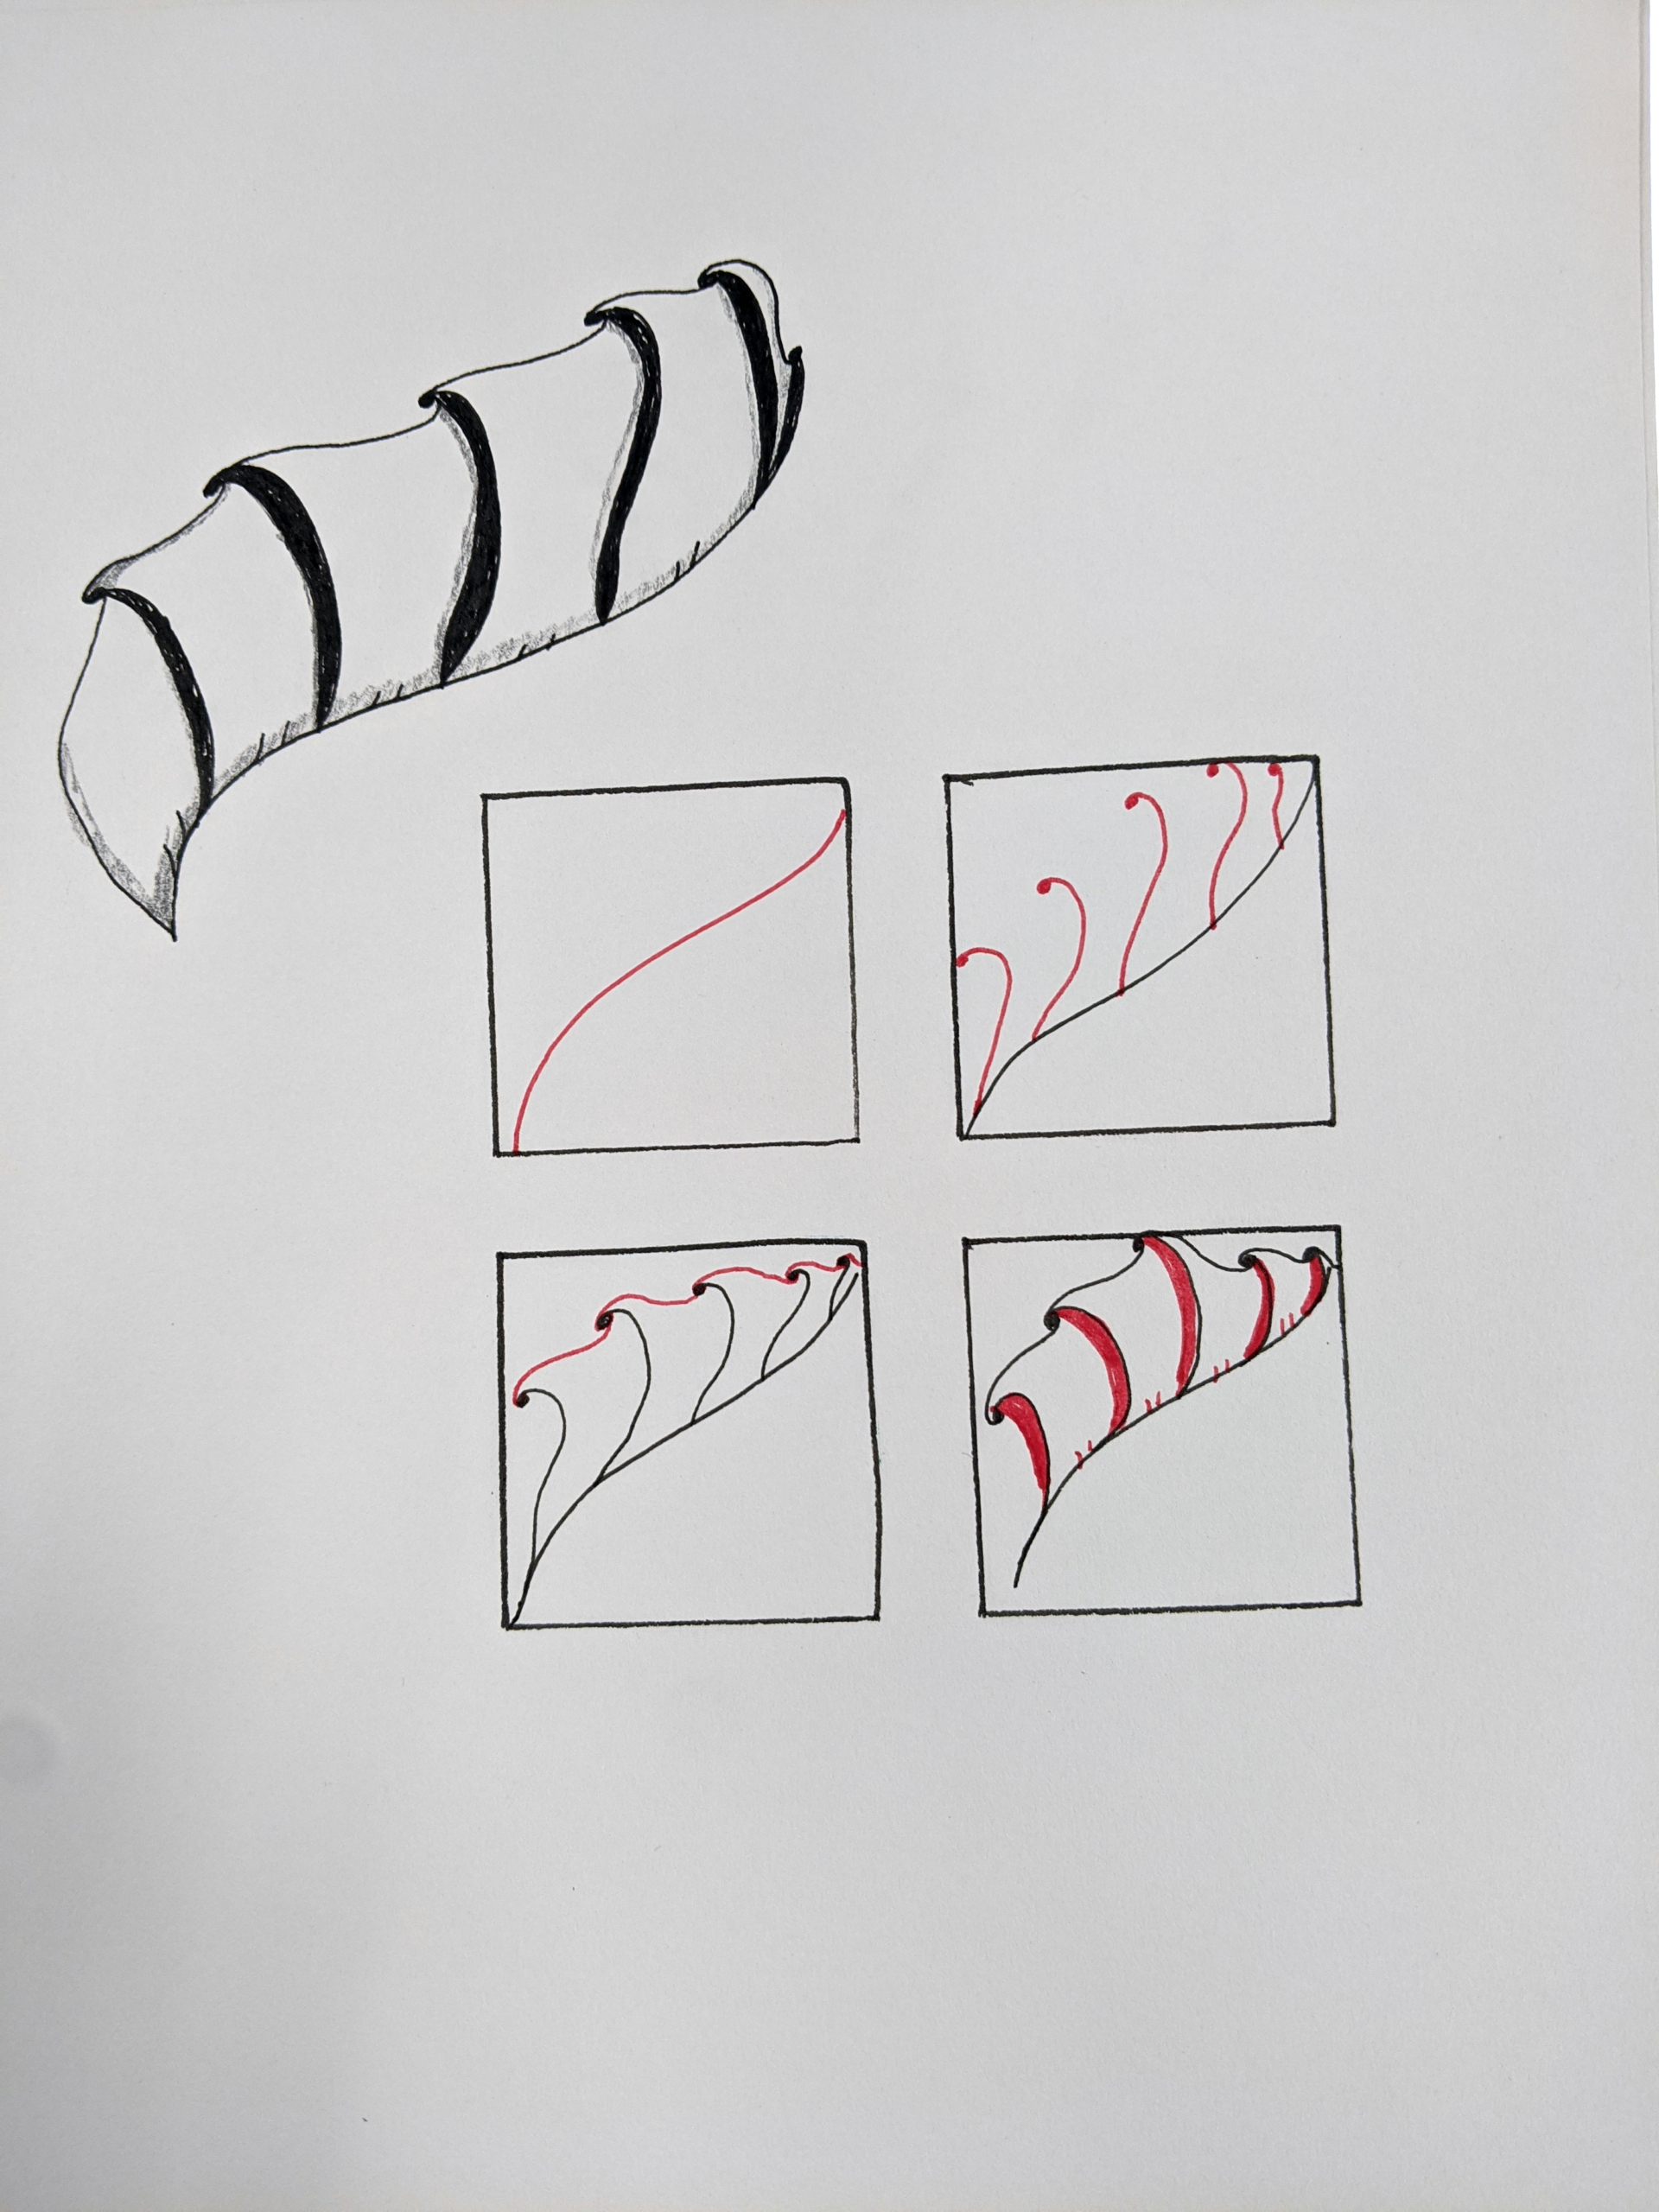
Pattern 3
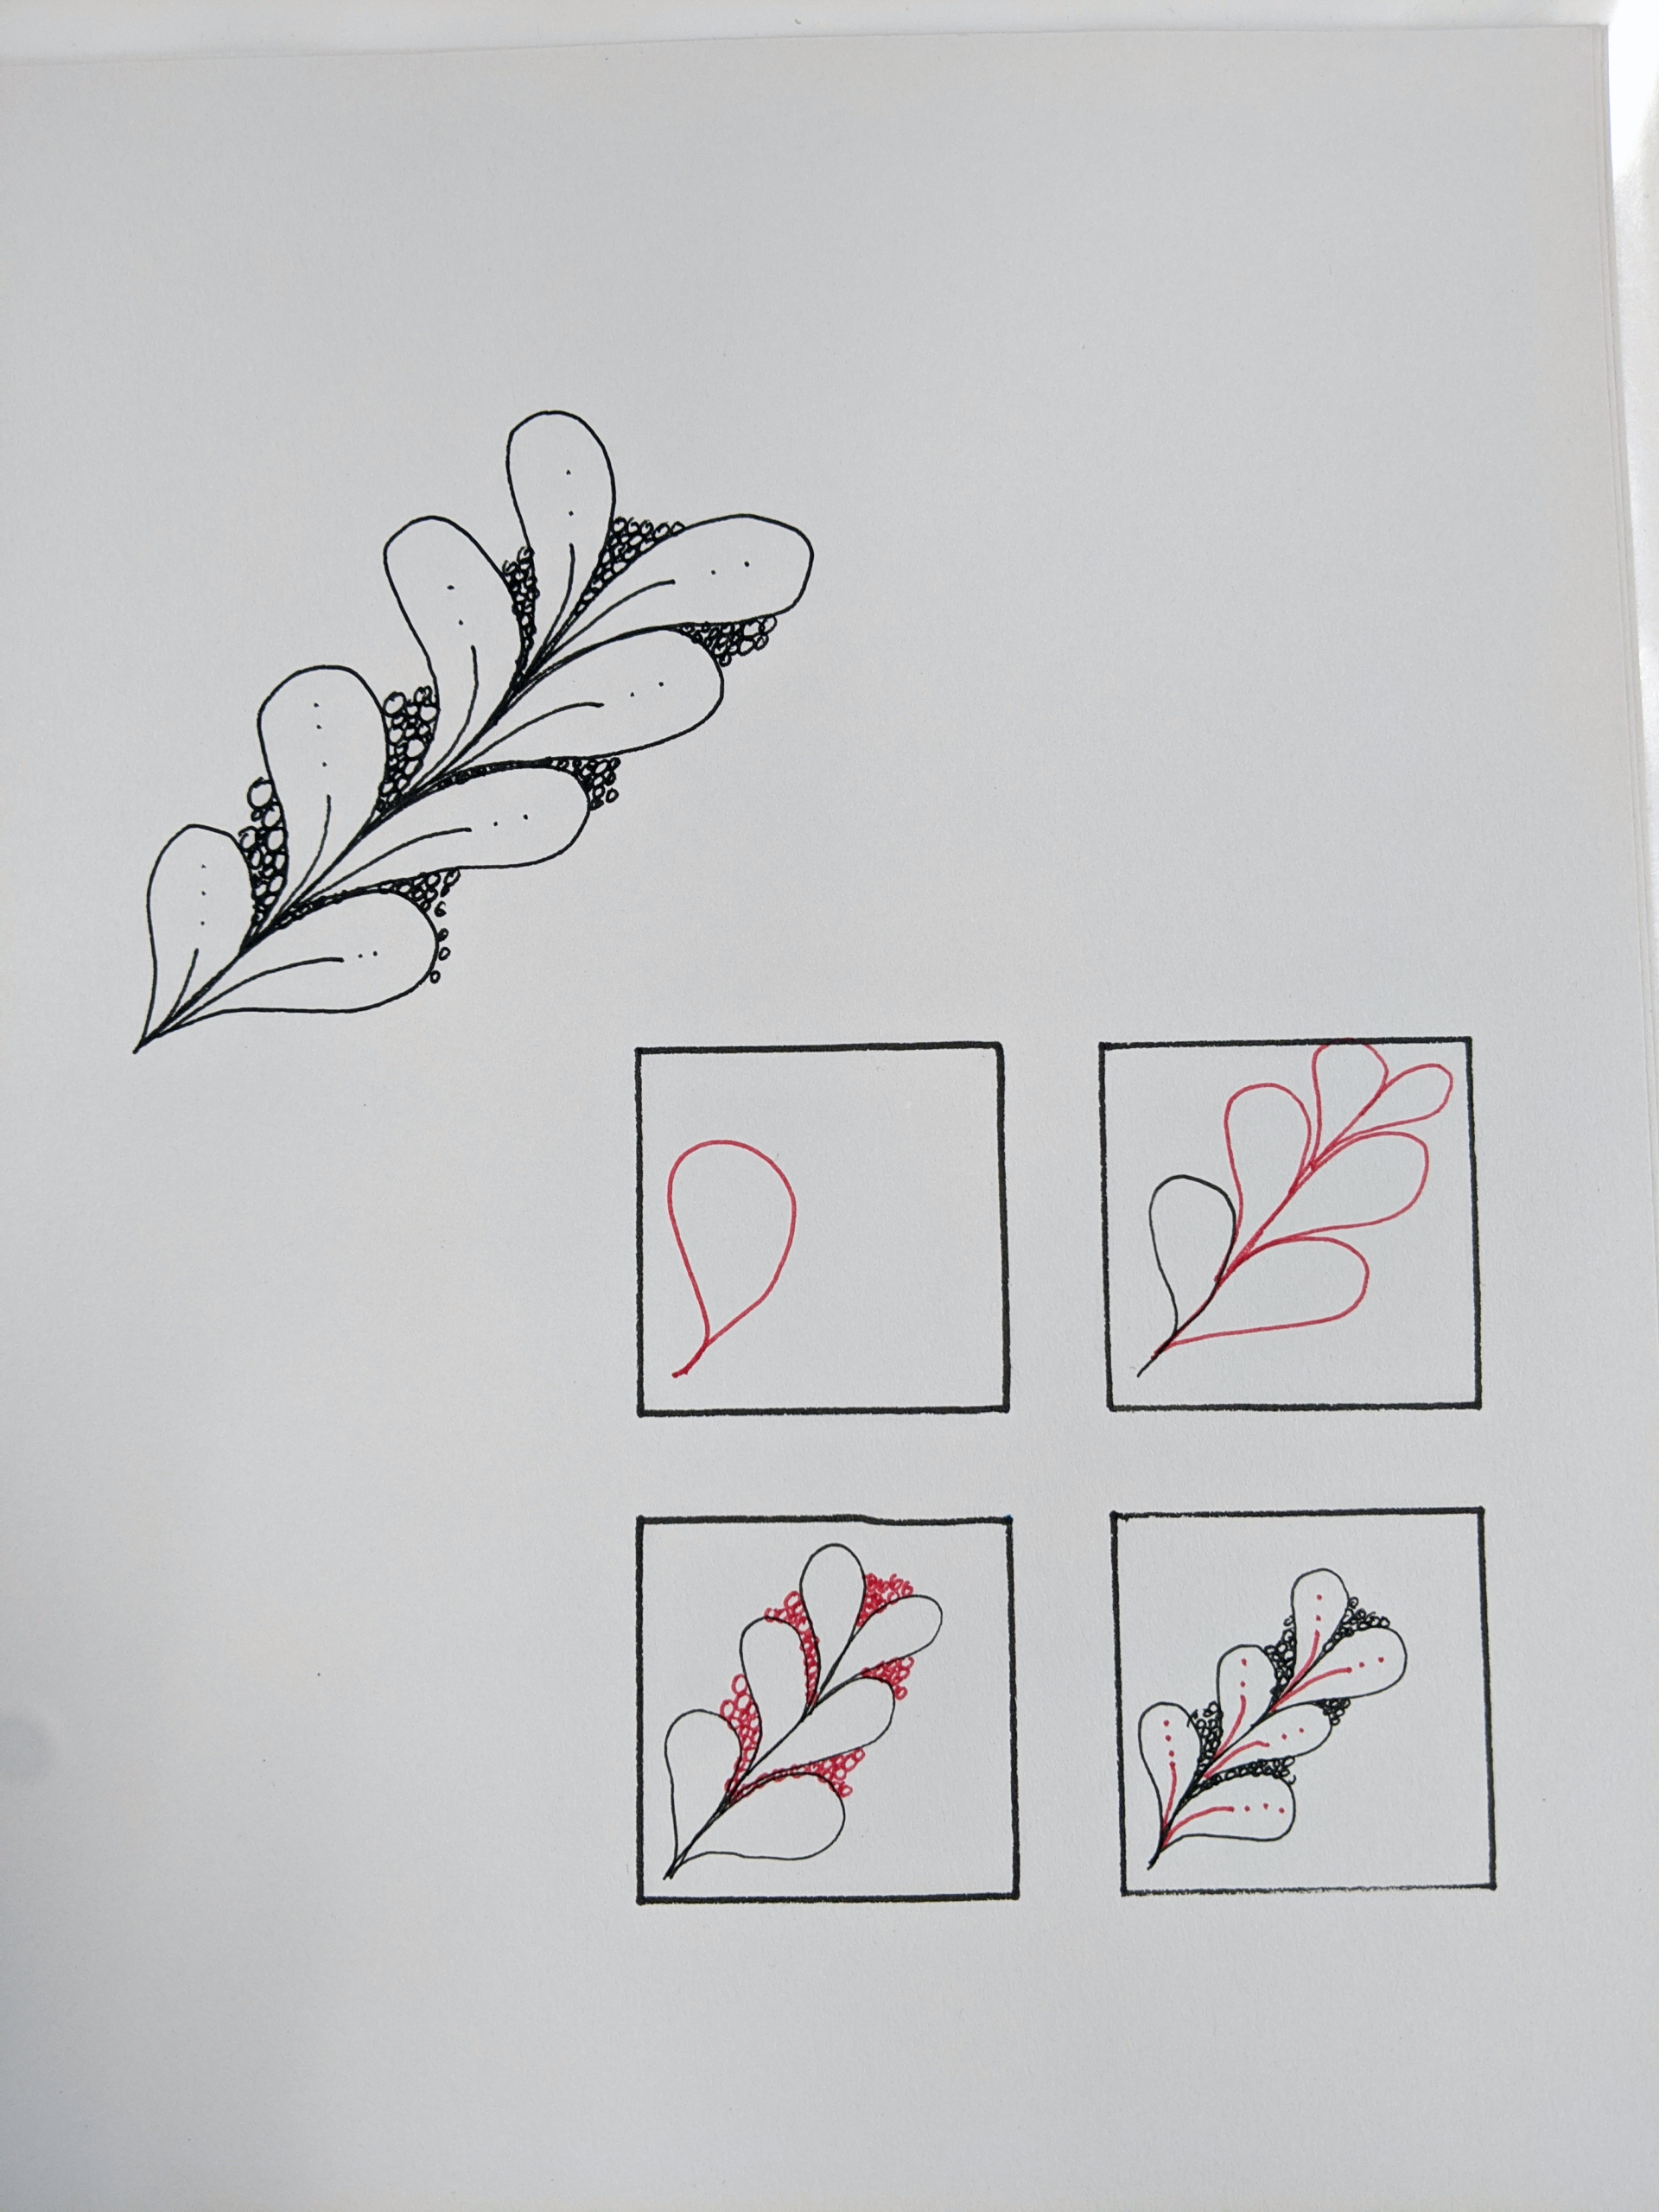
Pattern 4
Inspired Art
Now it’s time to put those patterns together!
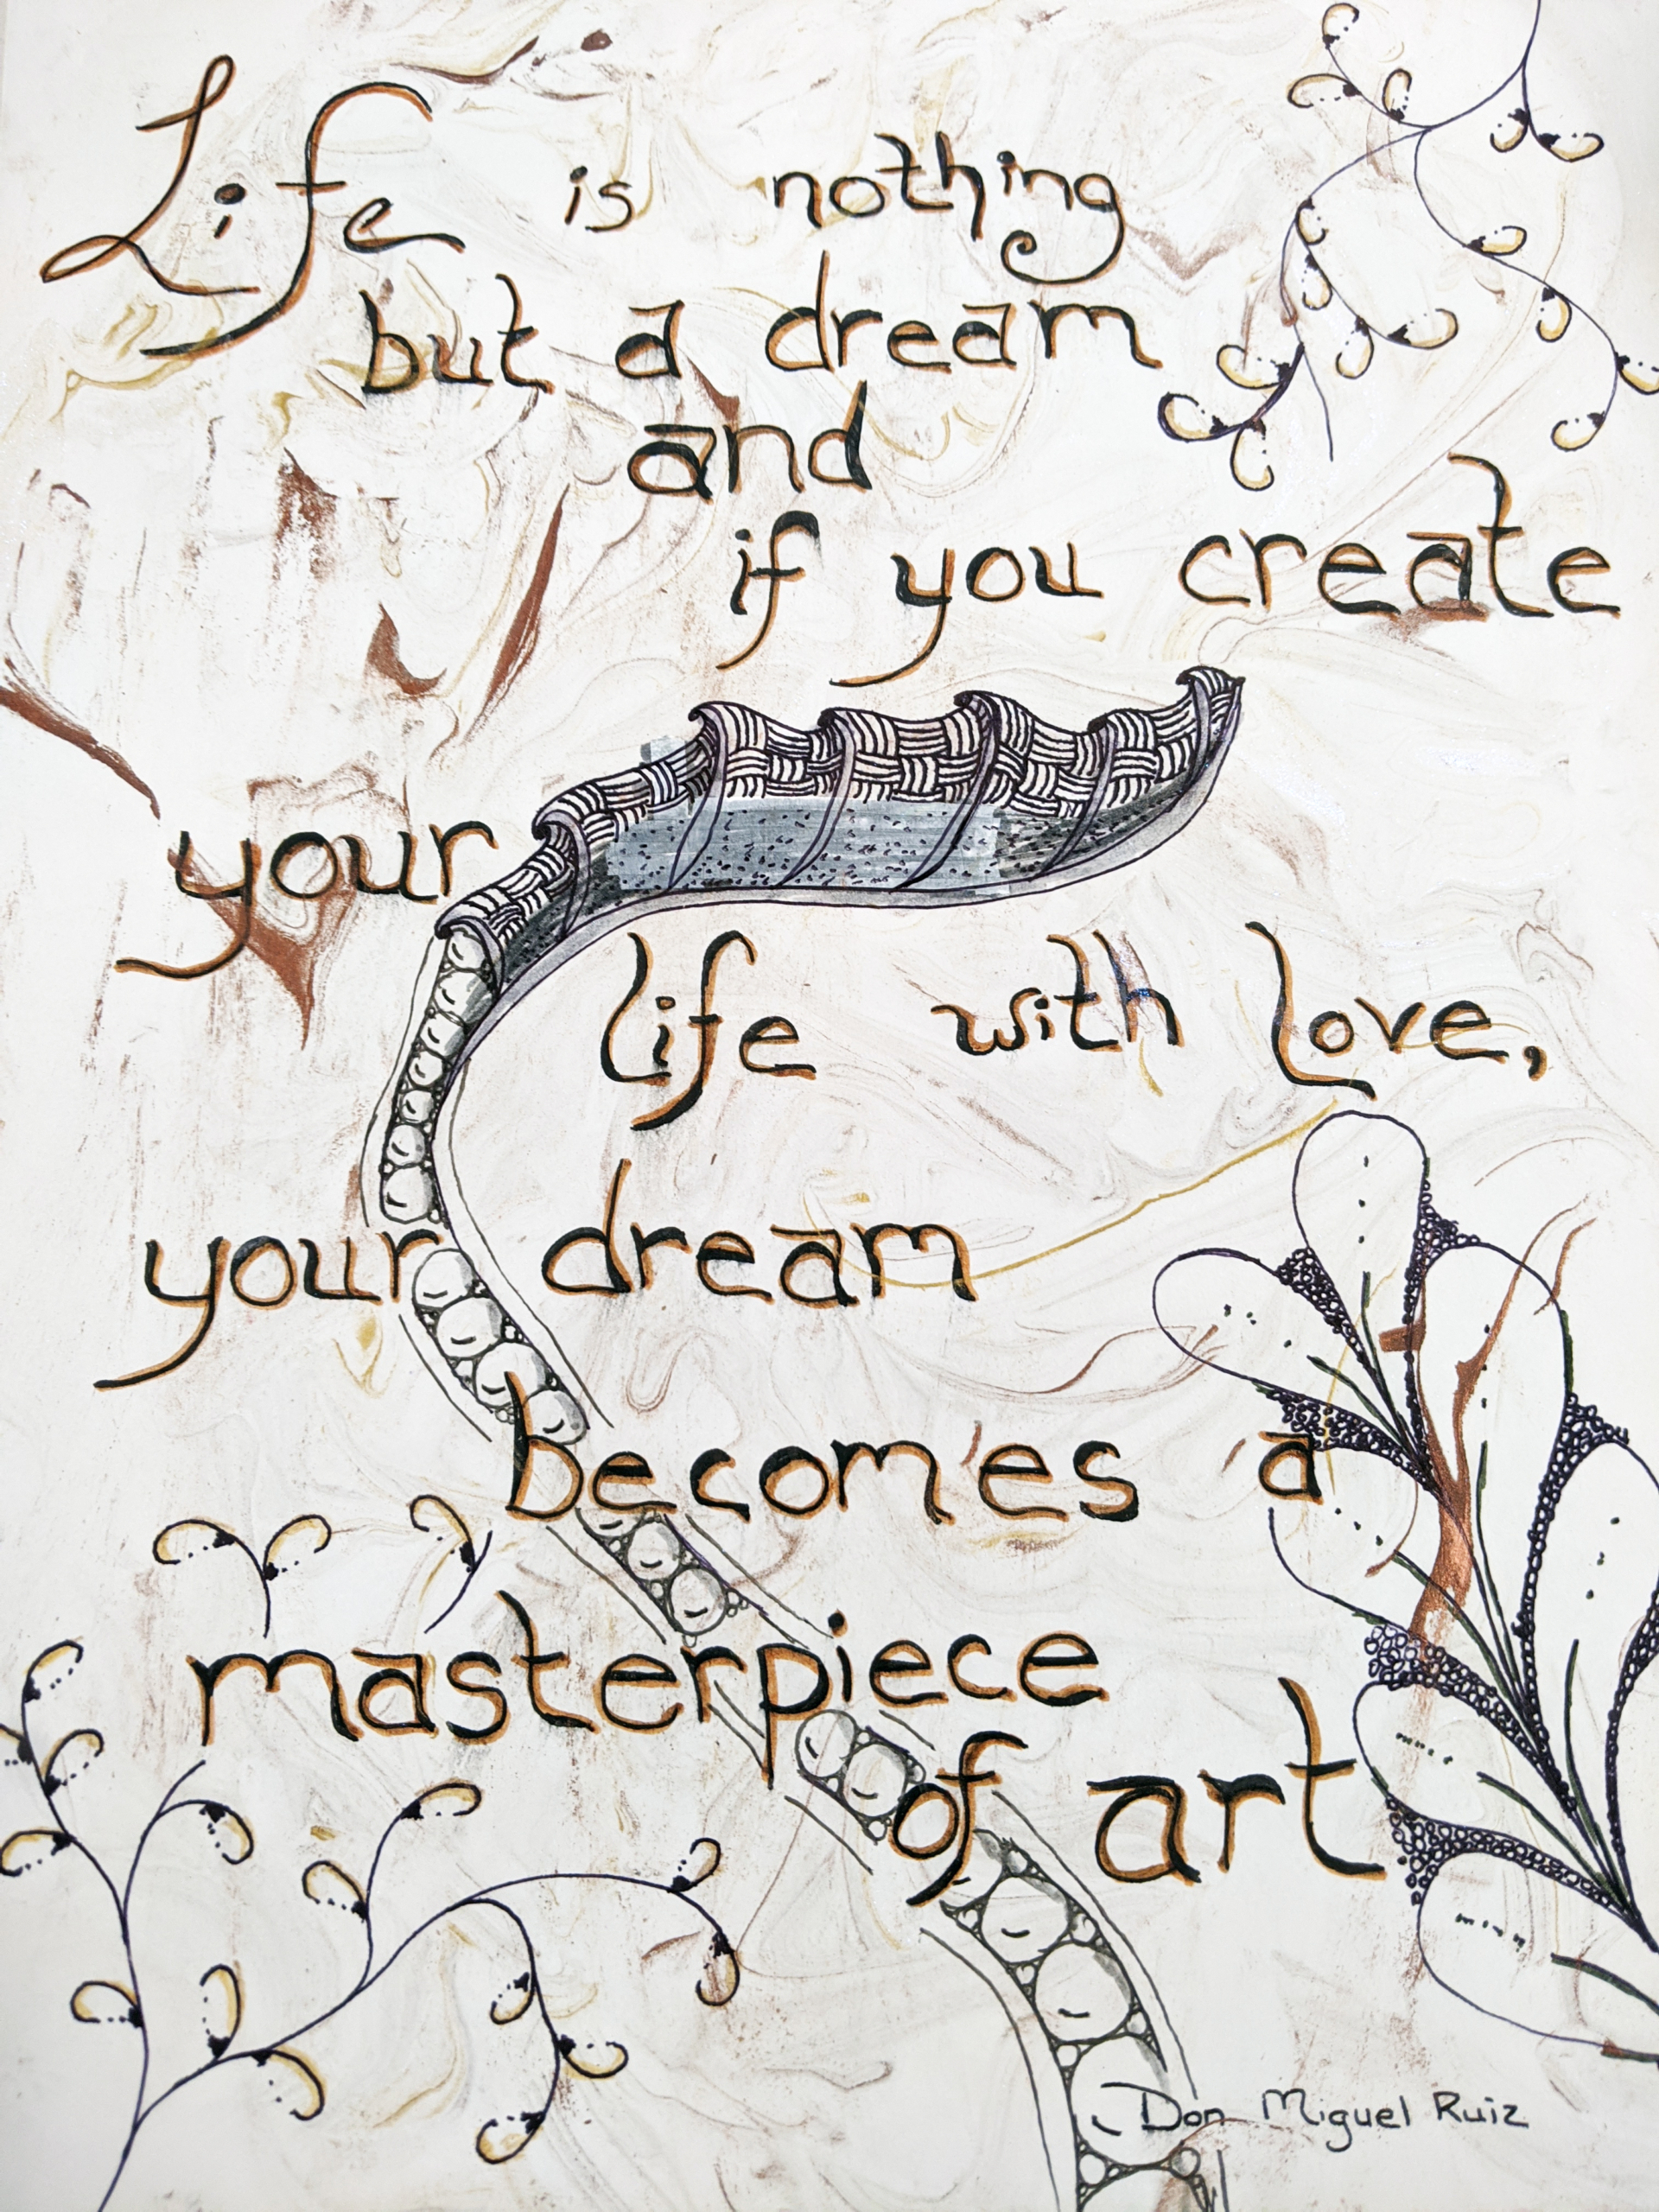
Grab your inspirational quote or pick your favorite from the list I’ve gathered (see below). There is no wrong way to do this, so possibilities are endless! There are templates provided if you don’t want to write out the words, but my suggestion is for you to write them.
Write or print your quote onto a piece of good quality paper, like paint paper or cardstock.
Follow the instructions below for creating your marbled background onto your paper with the quote. (You can also create your background first and then write on the paper.)
Once it’s dried you are ready to add your tangles! In my example I simply added one of each of the patterns that we did, adding in an extra tangle of pattern 1. You can add as many tangles or patterns as you like. This is your inspiration!
Instructions for creating a marbled background for your quote:
You will need:
A quality piece of paper (paint paper, cardstock, something a little thicker than regular printer paper)
A baking sheet
Parchment paper, cling wrap, or aluminum foil
Shaving cream
Paint
Something to stir the shaving cream with
Something to scrap off the shaving cream
Directions:
Grab your baking sheet and line it with the cling wrap.
Spray your shaving cream on the cling wrap, making sure there is a solid layer across the sheet.
Take 3-5 colors of paint and drip them on top of the shaving cream.
Use your stirring stick to swirl the paint through the shaving cream until it makes a pattern you like.
Place your sheet of paper on top of the shaving cream and press down gently.
Carefully pull the paper back up (straight up if possible, but sometimes that just won’t work).
Scrap off the shaving cream and let paper dry.
Once you’ve finished, please send us a picture of your awesome Zentangle Inspired Art! We will post them in a mosaic on our website or Facebook page!
“Inspiration is everywhere, all the time, waiting for us to find it. Sometimes we just have to take a moment to notice.” Christine Castro Hughes Quote 4
“There’s no need to wait for life to come to you. Bring what you have to life and let the adventure begin!” Jamie Ridler
Have you ever thought about how your toys work? There is more to a top or kaleidoscope than meets the eye! Follow these instructions to become a toy-maker and a scientist as you learn the physics behind some of your favorite toys.
Below you will find instructions for making four toys: Spinning Top, Kaleidoscope, Parachute, and Ping Pong Ball Launcher. You will also find explanations for the physics of how these toys work.
Kits are available at the FDL drive-up window (while supplies last). There are some materials you will have to supply yourself such as tape, scissors, etc. The materials in the kits may vary. If you didn’t make it to the library to pick up a kit, most of the materials are things that you may be able to find in your home.
Please always ask a parent’s permission before using supplies from home.
Spinning Tops
Based on the Book Junk Drawer Physics by Bobby Mercer
You will need the following supplies. Items with an asterisk (*) next to them will be included in a supply kit you can pick up via the library’s drive-up window.
Materials List:
Old CD*
Marble*
Soda bottle cap*
Markers, crayons or colored pencils
Hot glue or liquid glue
Instructions:
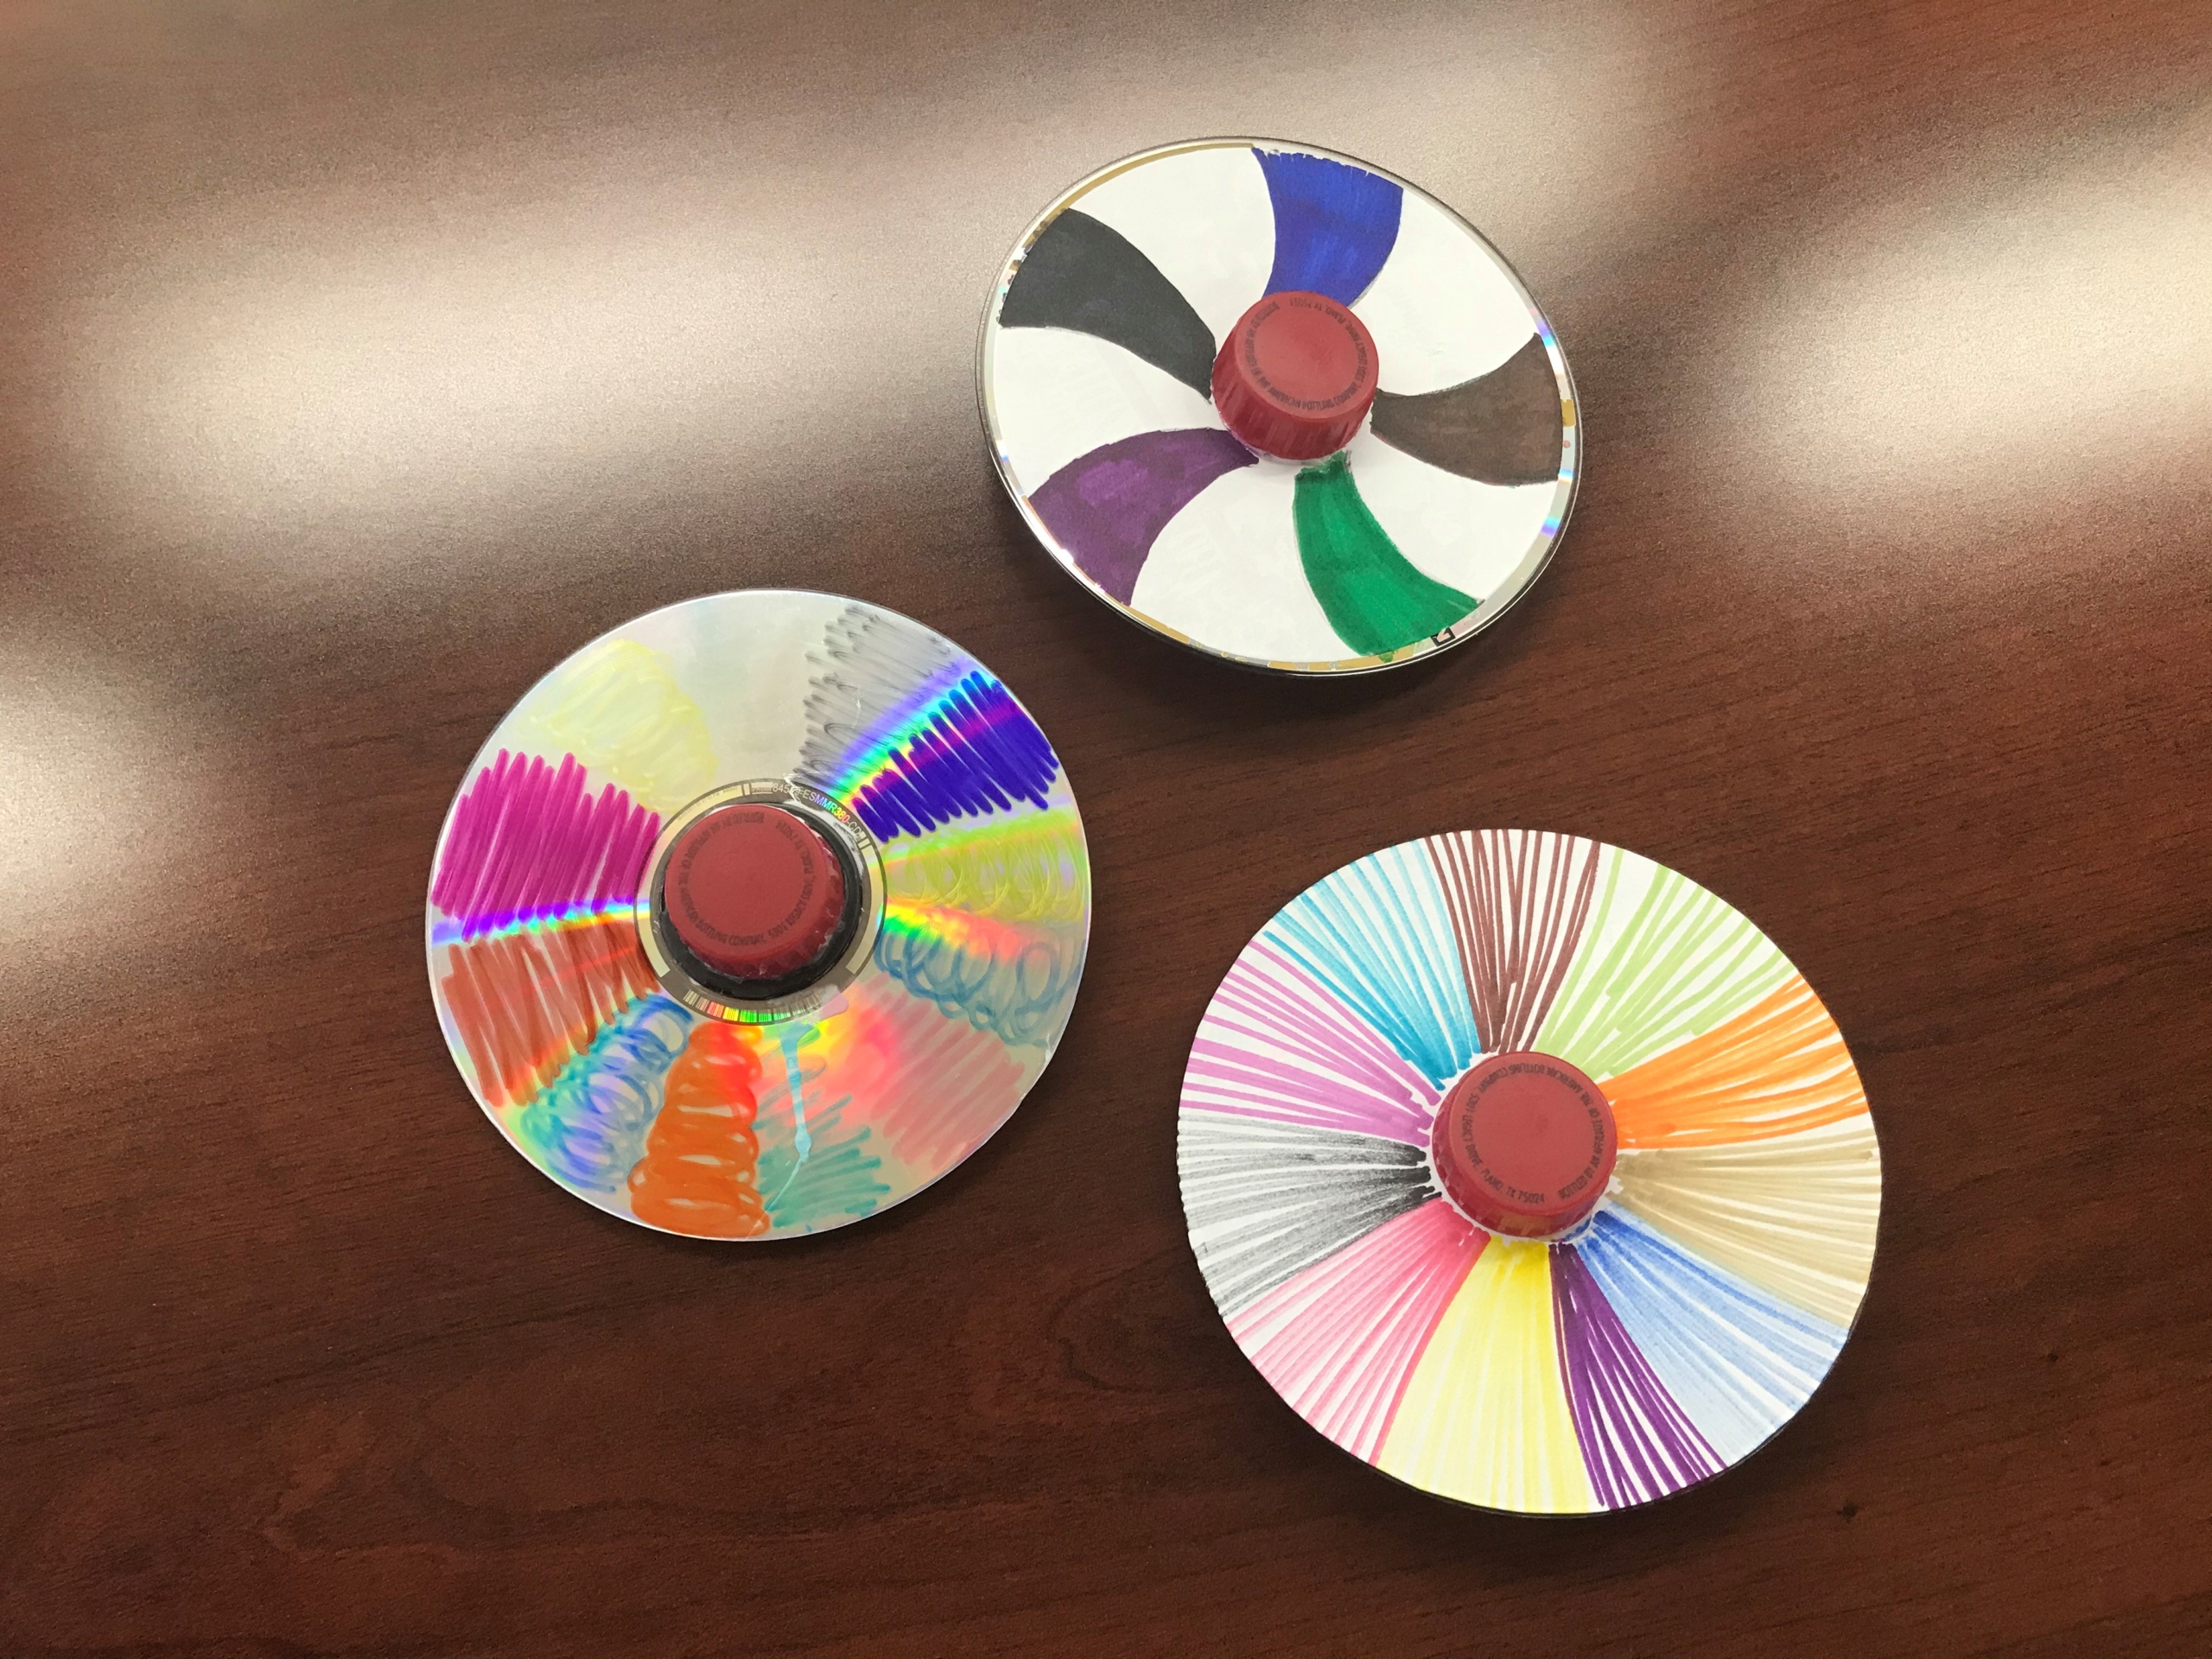
Glue your marble to one side of the CD.
Glue the soda bottle cap, in the center of the other side of the CD.
Decorate your CD.
The Science Behind It
While the spinning top may seem very simple, there is actually a lot of advanced physics and mathematics that go into making a top spin. The spinning tops illustrates several physics concepts including angular momentum, inertia, momentum, centripetal force, potential energy, kinetic energy, torque, friction and gravity.
You are applying a force called torque to start the spinning, and that converts the top’s potential energy into kinetic energy.
A potential energy is the energy that an object has because of its position on a gradient of potential energy called a potential field, or just a potential.
The kinetic energy of an object is the energy that it possesses due to its motion.
Torque is the tendency of a force to turn or twist. If a force is used to begin to spin an object, or to stop an object from spinning, a torque is made.
Now our tops are spinning. The way the top spins around the rotation axis gives it angular momentum, and the angular momentum will remain constant until an external source of torque acts on the spinning top. (Think of a figure skater spinning.)
The Axis of rotation is an imaginary line passing through the center of mass of an object, around which the object rotates.
Moment of inertia, also called “angular mass“, is the inertiaof a rotating body with respect to its rotation.
In physics, the angular velocity specifies the angular speed at which an object is rotating along with the direction in which it is rotating.
This means, if a perfectly balanced, upright, spinning top achieves angular momentum after a source of torque makes it start spinning, the top will keep spinning until an outside source affects it, such as friction, gravity, or someone touching it.
However, our tops are not perfect and that allows other forces, including friction and gravity, to be applied to the top.
Friction is a force that acts to stop the movement of two touching things.
Gravity, or gravitation (in the everyday sense), is the force which causes objects to fall onto the ground.
As friction begins to slow down the spin of the top, it begins to wobble. That tilts the top of the axis to the side, and that allows gravity to exert a force on the top, causing it to begin to spin about another axis, that’s called gravitational torque.
The top continues to slow down and the wobbling get worse eventually the top falls and comes to a stop.
Based on the book Junk Drawer Physics by Bobby Mercer
You will need the following supplies. Items with an asterisk (*) next to them will be included in a supply kit you can pick up via the library’s drive-up window.
Materials List:
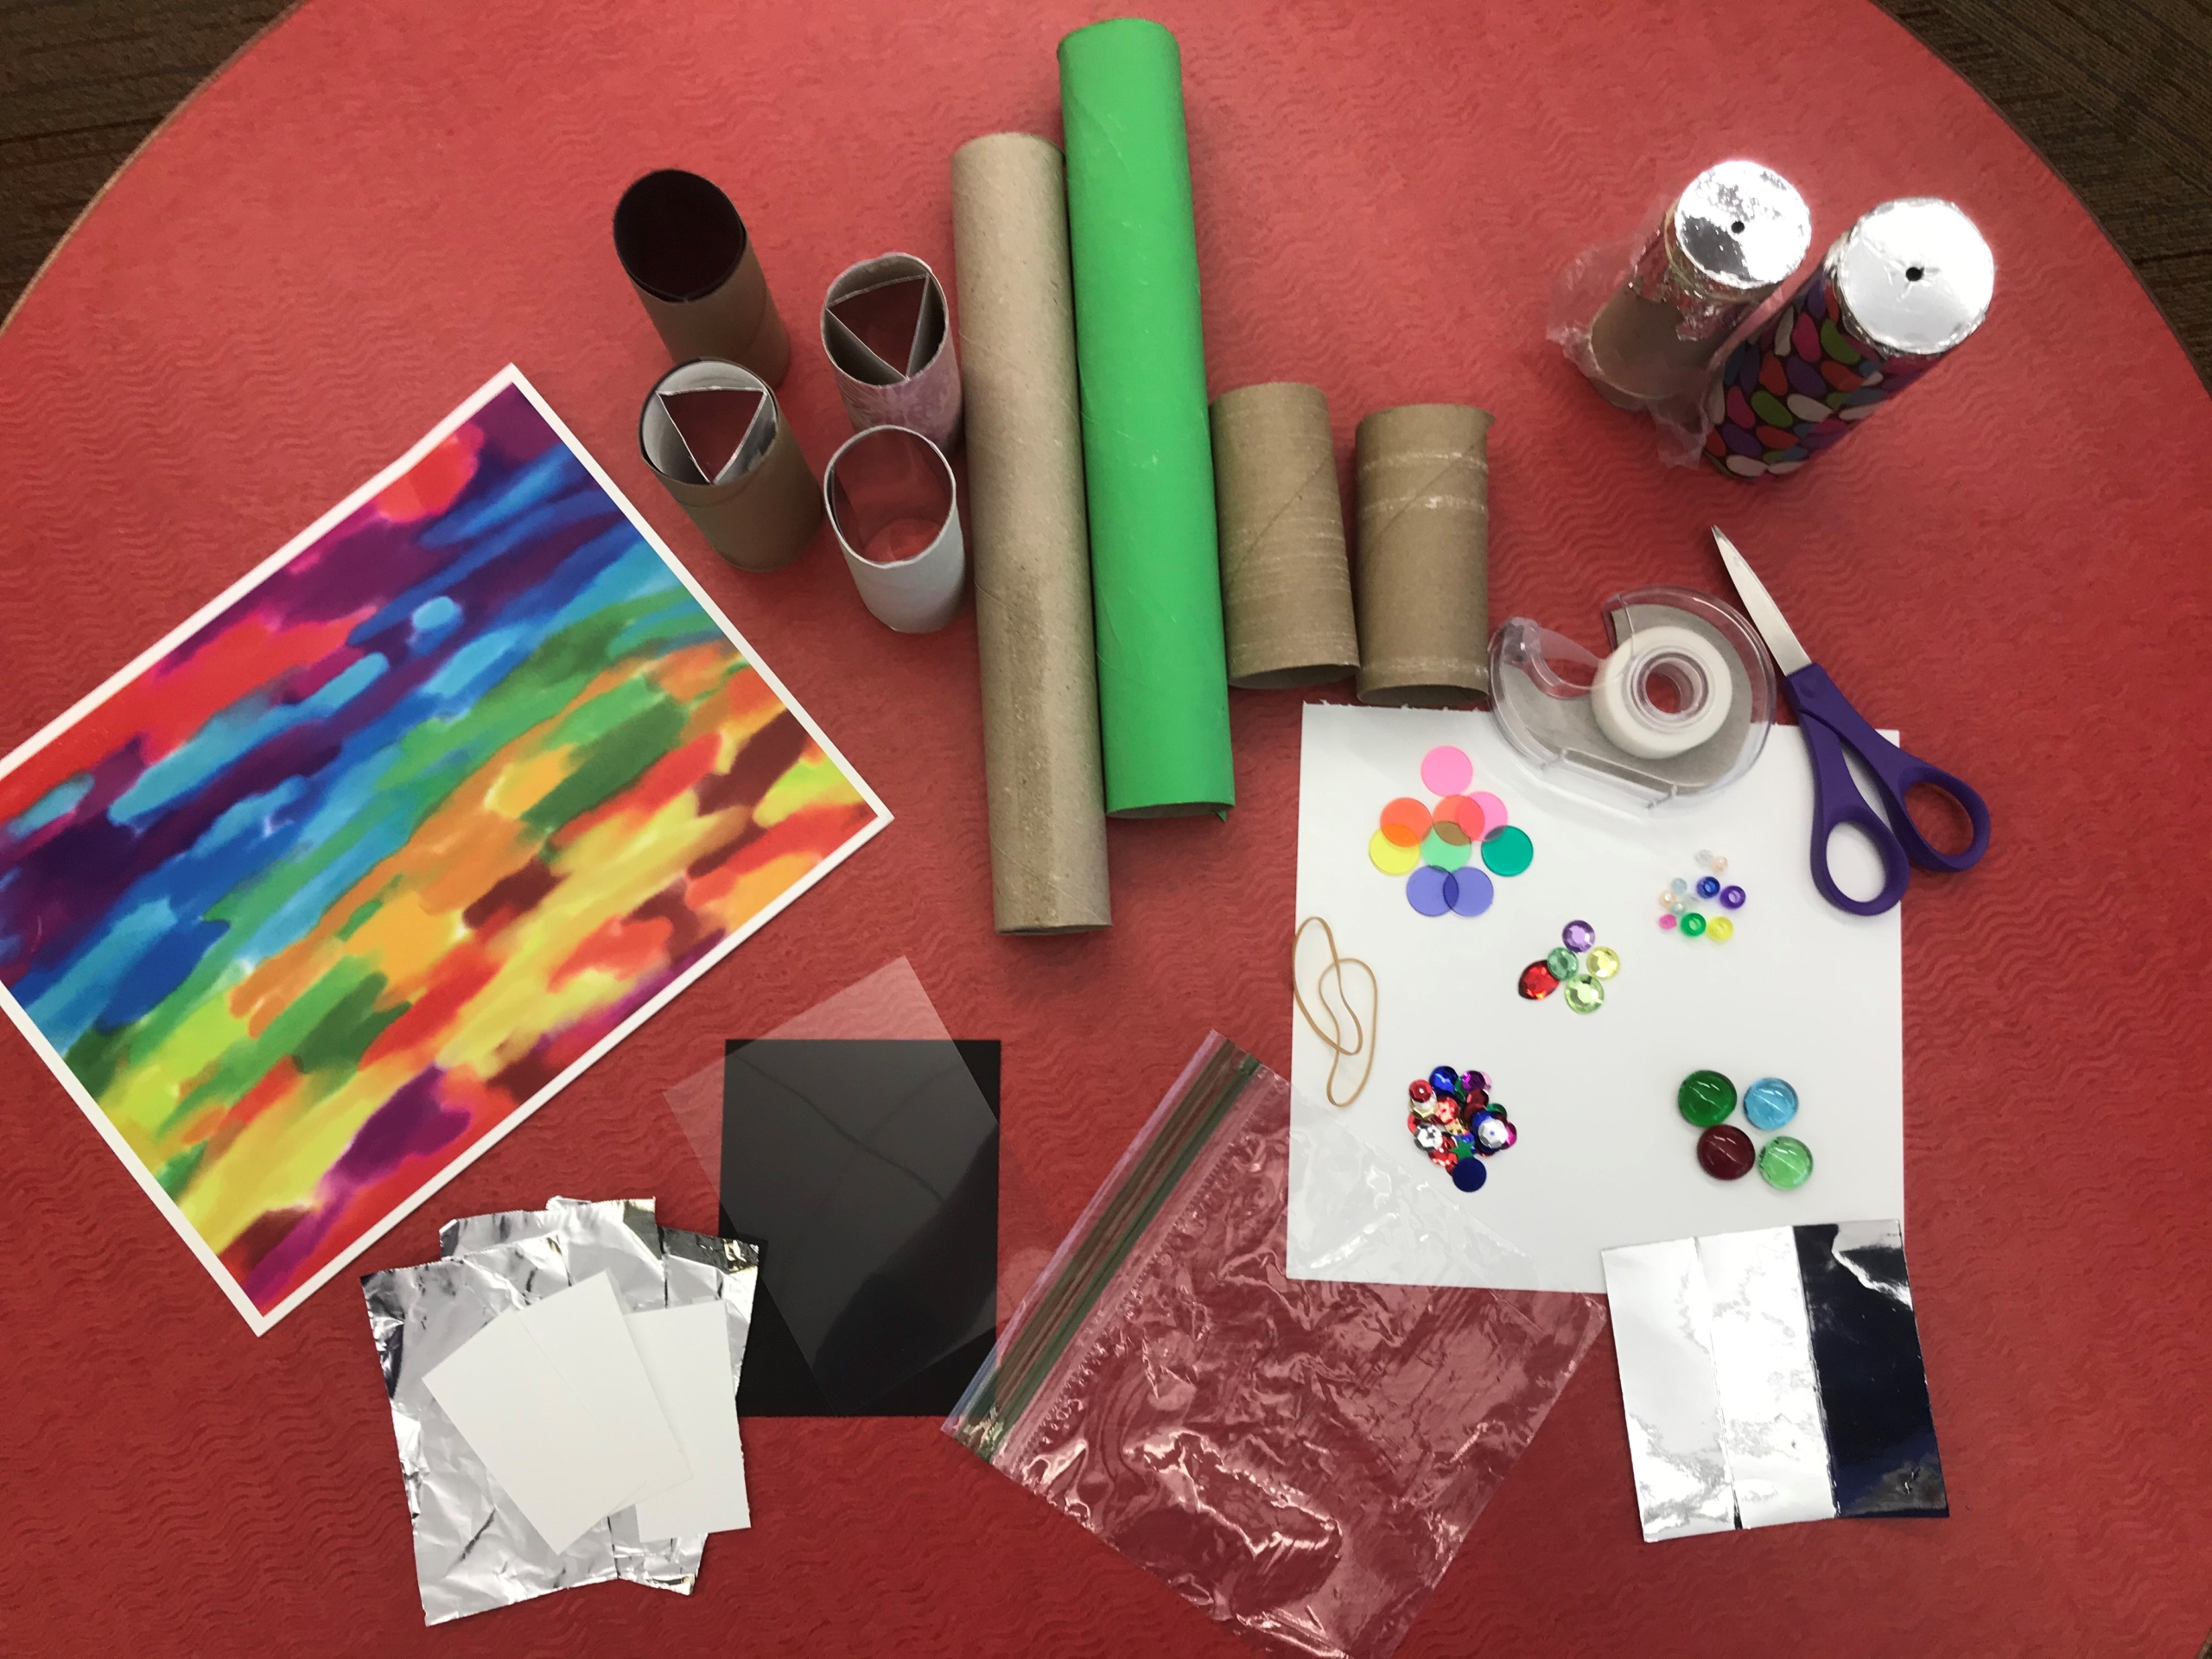
Cardstock,* scrapbook paper, or duct tape
Cardstock*/Aluminum foil or reflective paper (4 x 4”)
(If you are using cardstock/aluminum foil from home: cut 3 pieces of cardstock 1-5/16” x 4”, cover them in aluminum and tape them into a triangle shape with the shiny side toward the middle.)
2 clear plastic disks*
1 clear plastic disk with a hole in the center*
Sandwich bag or plastic wrap*
Small colorful objects*
Empty toilet paper roll or paper towel roll (4-1/4” long)*
2 rubber bands*
Scissors
Pen
Tape
Instructions:
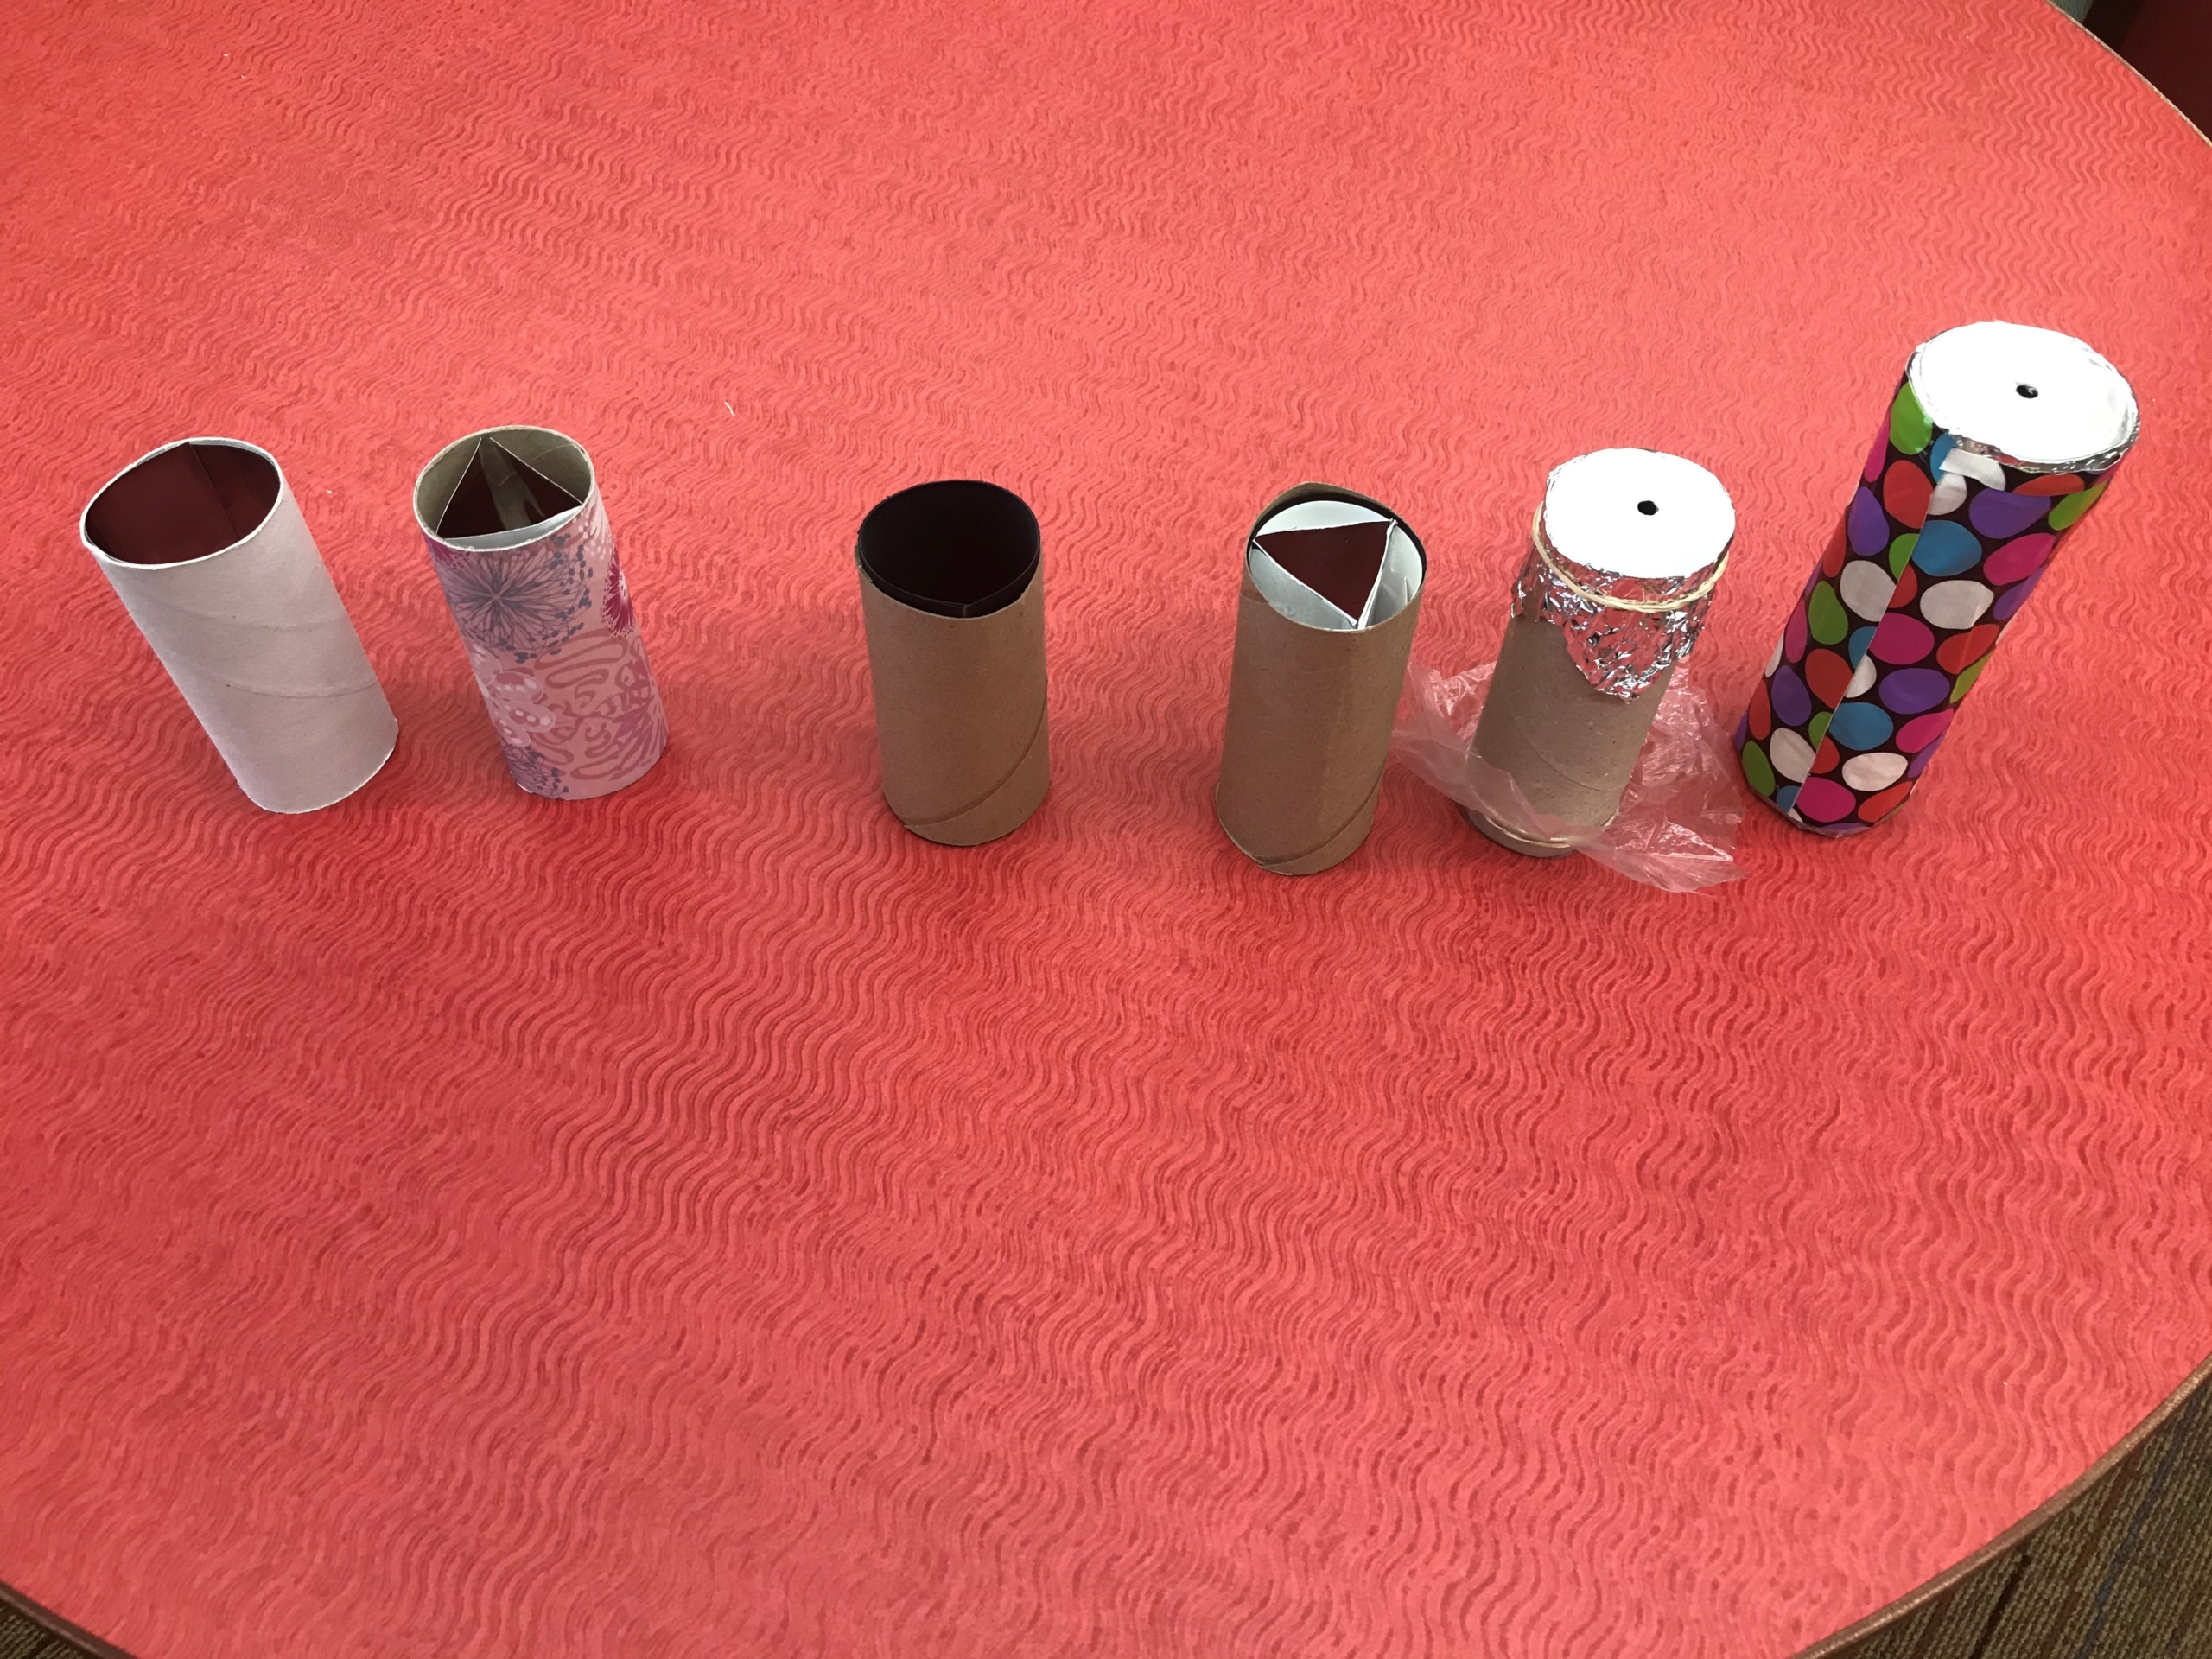
Fold your reflective paper into a triangle and tape the sides and slide it into the paper towel roll. The triangle will be about ¼” shorter that the tube.
Place one clear disk into the top of the tube, resting on the triangle.
Add the shiny objects on top of the clear disk.
Set the other clear disk on the top of the shiny objects.
Cover the end of the tube with the plastic wrap and secure it with one rubber band.
Carefully turn the tube over.
Glue the clear disk with the hole onto the center of the aluminum foil. Poke a hole in the aluminum foil, matching the hole in the clear disk.
Put the clear disk/aluminum foil onto the end of the tube and secure it with a rubber band.
Test it out. Does light go into the bottom of the tube? Can you see the colorful objects? Do the objects move when your turn the tube? If the answer to any of these questions is no, adjust the end of the tube with the shiny objects. Maybe find some different objects or take a few out so that there is room for the objects to move.
Trim the plastic wrap and aluminum foil so that they are not too bulky.
Decorate the tube with paper or duct tape.
The Science Behind It
A kaleidoscope works by reflecting light, using shiny surfaces and colorful objects.
Reflection is the change in direction of a wave at a boundary between two different media, so that the wave moves back into the medium it came from.
We used reflective paper or aluminum foil for our shiny surface.
The light coming in the bottom of the tube travels in a straight line. When the light hits the colorful objects, it changes directions, and the colors are reflected back and forth between the shiny surfaces inside the tube.
As you turn the kaleidoscope, the colorful objects move and create new images.
You will need the following supplies. Items with an asterisk (*) next to them will be included in a supply kit you can pick up via the library’s drive-up window.
Materials List:
A napkin*
Four (4) 12-inch pieces of string*
A small, lightweight toy to suspend from the parachute
Scotch tape (optional)
Hole punch (optional)
Instructions:
Unfold your napkin and lay it on a flat surface.
***Skip Steps 2 and 3 if you do not have a hole punch.***
2. Reinforce the corners of the napkin with 4 pieces of tape.
3. Punch a hole through each piece of tape for a total of 4 holes.
4. If you used a hole punch, thread each of the 4 strings through a corner hole of the napkin and knot them twice so they stay in place. If you do not have a hole punch, you will instead tie each piece of string to a corner of the napkin using a double knot.
5. Gather the threads together tie them to each other like you would tie a knot to close up a balloon. Leave enough string after the knot so you can tie the ends of the strings to your toy.
6. Take your toy and use the ends of the strings to tie it to the parachute. Alternatively, you can use scotch tape to secure your toy to the ends of the strings.
7. Test out your parachute toy! Throw the parachute high in the air and watch it slowly fall to the ground, or drop it from a high place with adult supervision. You and a friend or sibling can both make one and see whose can stay in the air the longest when dropped from the same height. Have fun!
The Science Behind It
Gravity is the force that exists between any two objects that have mass. Weight is a measure of the force of gravity pulling on an object. So, does that mean heavier objects will fall faster?
In about 1590, as the story goes, Galileo Galilei went to the top of the Leaning Tower of Pisa and simultaneously dropped many pairs of items, such as cannon balls, musket balls, gold, silver and wood. Each time, one object was heavier than the other, yet they otherwise had the same shape and size. They both hit the ground at the same time! Up until then, people figured that heavier objects fell faster than light objects. But Galileo determined that gravity accelerates all objects at the same rate, regardless of their mass or composition.
So, what happens if you drop two items that weigh the same but are different in size or shape? You can test this yourself using objects around your house to see that some objects will fall faster than others. Resistance and friction are what cause these changes in acceleration. Air resistance (also called drag) slows down the heavier objects. Drag opposes the direction that the object is moving and slows it down. So, regardless of weight, the more resistance/friction an object has, the slower the fall.
To slow down a fall of an object, you will want to create more drag. That’s the goal of a parachute! The larger the surface area of the parachute, the more air molecules that will be slowed down through air resistance and slow the fall of the object.
You will need the following supplies. Items with an asterisk (*) next to them will be included in a supply kit you can pick up via the library’s drive-up window.
A plastic bottle with a cap* (The bottle has been cut in half and the cap has a small hole poked through it)
2 rubber bands*
A heavy bead*
1 12-inch piece of string*
A ping pong ball*
Scissors
Instructions:
Take the pre-cut water bottle from the supply kit and cut four equally-spaced, one-inch long slits in the edges of the plastic.
Insert one side of your first rubber band into two slits that are across from each other. Wrap the rest of the rubber band around the outside of the water bottle. Your rubber band should look like a half-circle. Repeat this step with the second rubber band and the remaining two slits.
A small hole has already been made in the lid of your water bottle. Thread a 12-inch strand of string through the hole and tie it around the place where the two rubber bands meet, or the middle of the X.
Tie the heavy bead to the other end of the string.
Your ping pong ball launcher is ready to test out! Just place the ball inside the open end of the bottle on top of the rubber bands, pull the string, and send your ball flying!
The Science Behind It
Energy is the ability to do work. There are many different kinds of energy, such as light, sound, and heat.
We need energy for our homes to power lights, refrigerators, air conditioners, and computers. We use energy when we drive cars or pedal a bike. We power our devices with energy stored in batteries. Even sleeping requires energy!
Energy transfer takes place when energy moves from one place to another. Energy can move from one object to another, like when the energy from your moving foot is transferred to a soccer ball.
When we pull back the string on our ping pong ball launcher, we are using kinetic energy, or the energy an object has due to motion. That kinetic energy is then released when we let go of the string, and the rubber bands attached to the string pull the bead forward, which smacks against the lid of the water bottle. This allows the transfer of energy to take place between the bead and the ping pong ball resting on top of the rubber bands, sending it flying.
Experiment with your launcher by trying it out before tying the bead to the end of the string. Notice how far the ball moves. Now tie the bead onto the string and try it again. Does the ball move farther or less far? Why do you think the bead makes such a big difference?
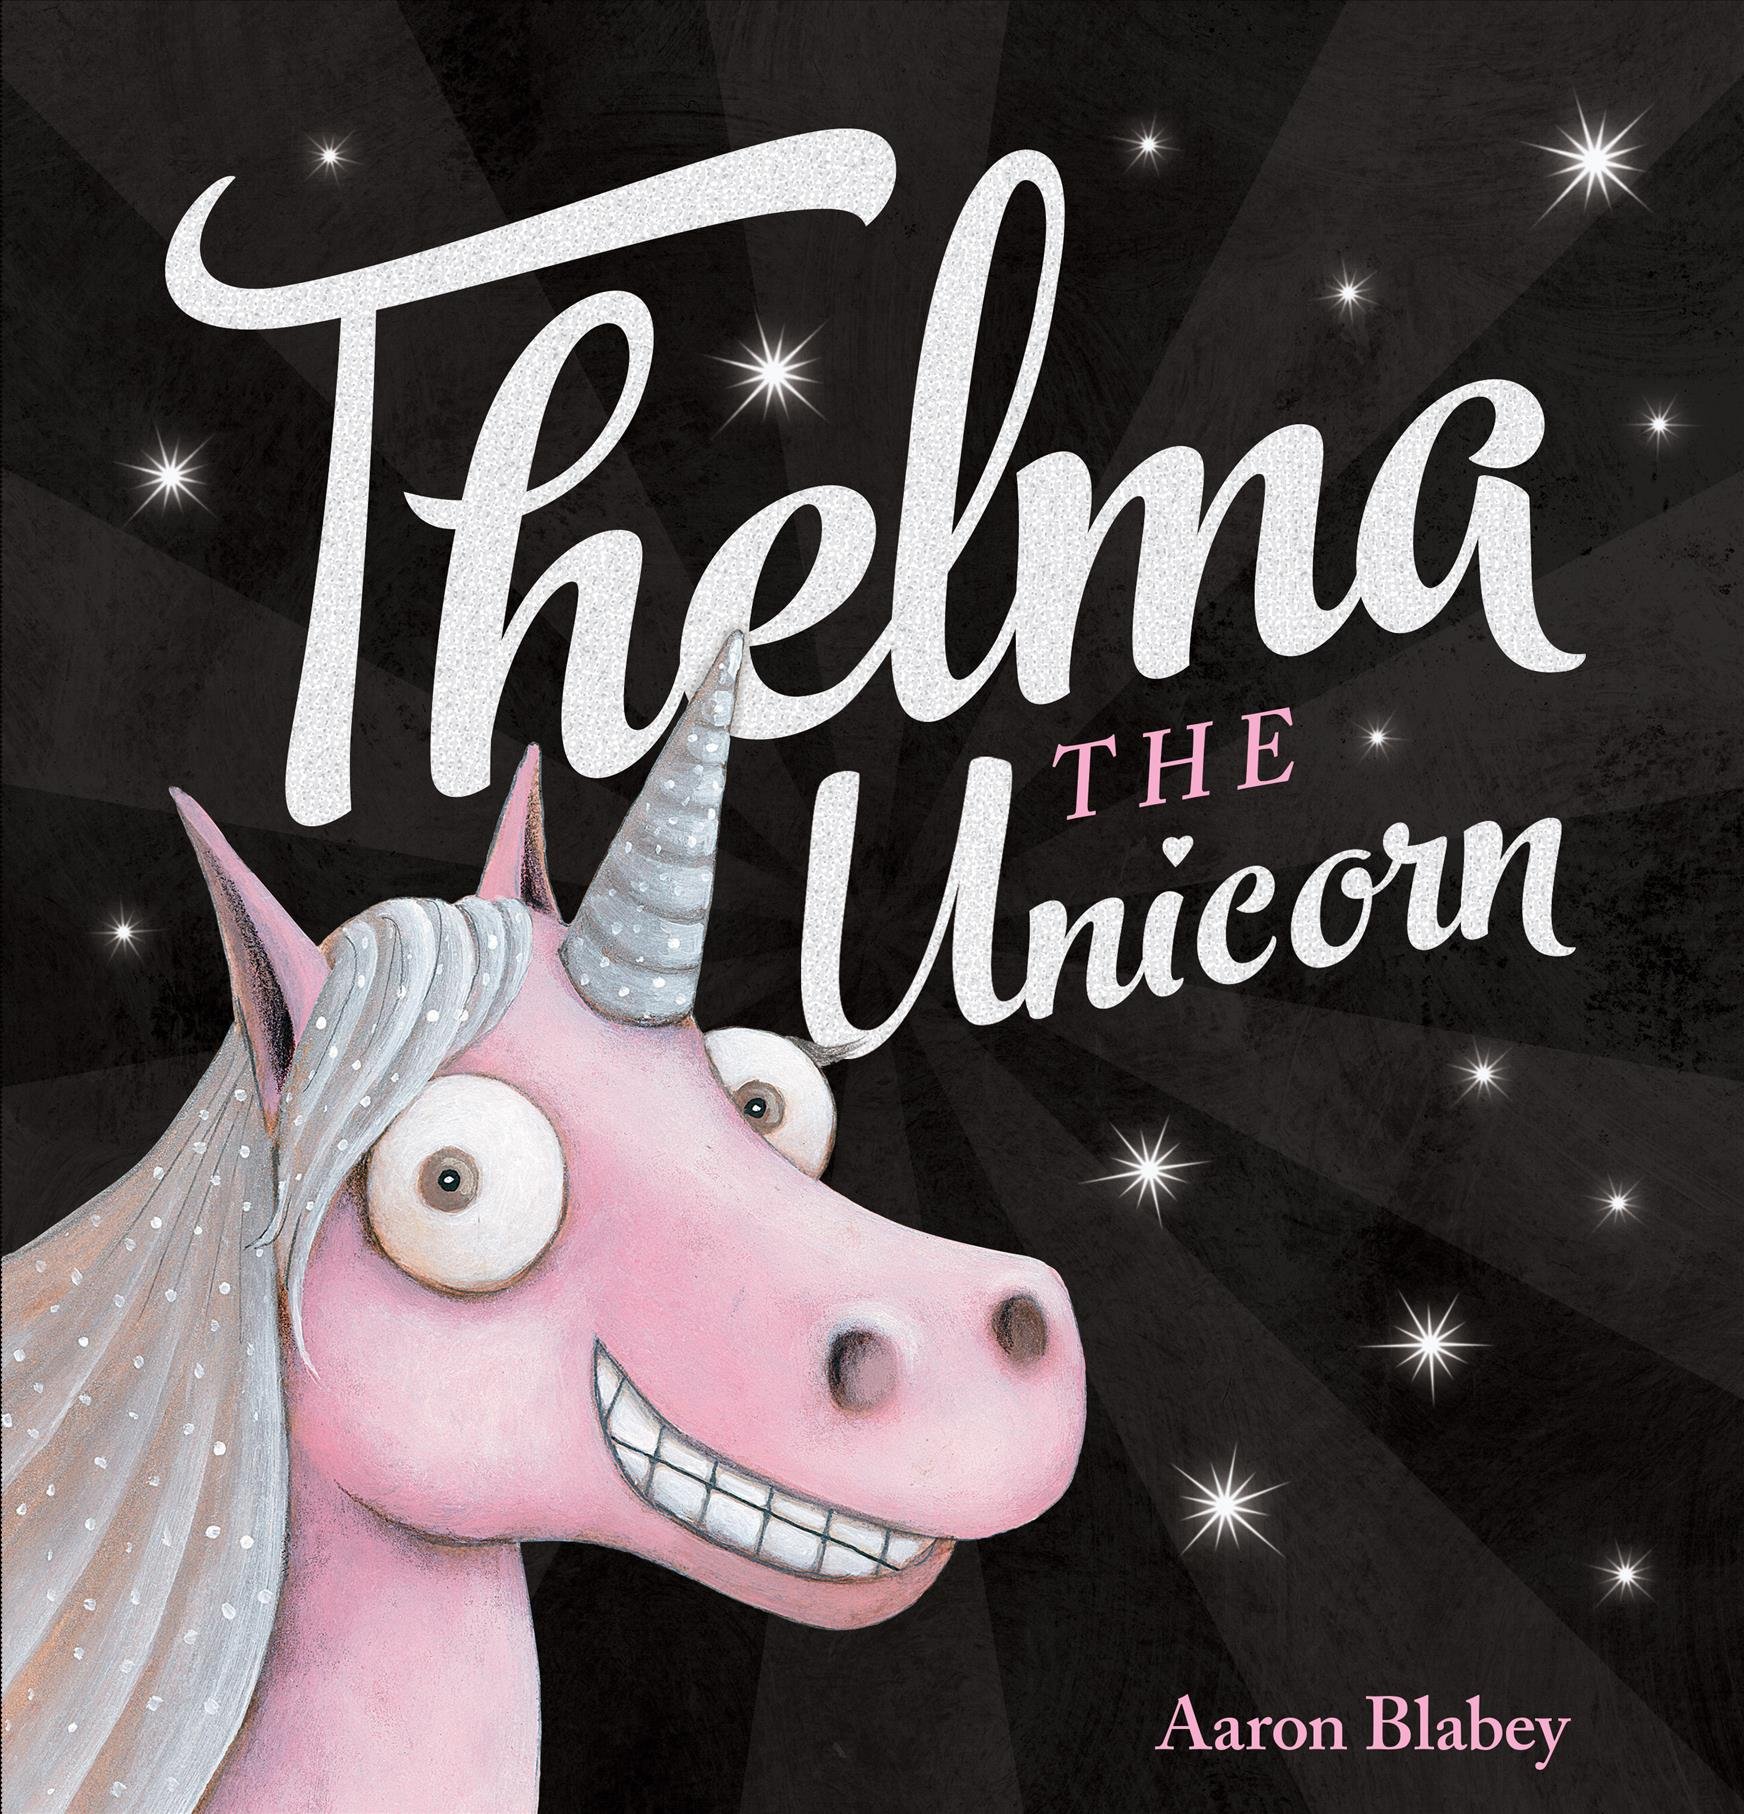
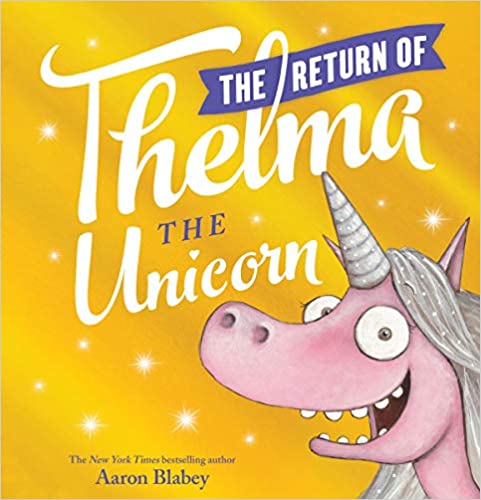
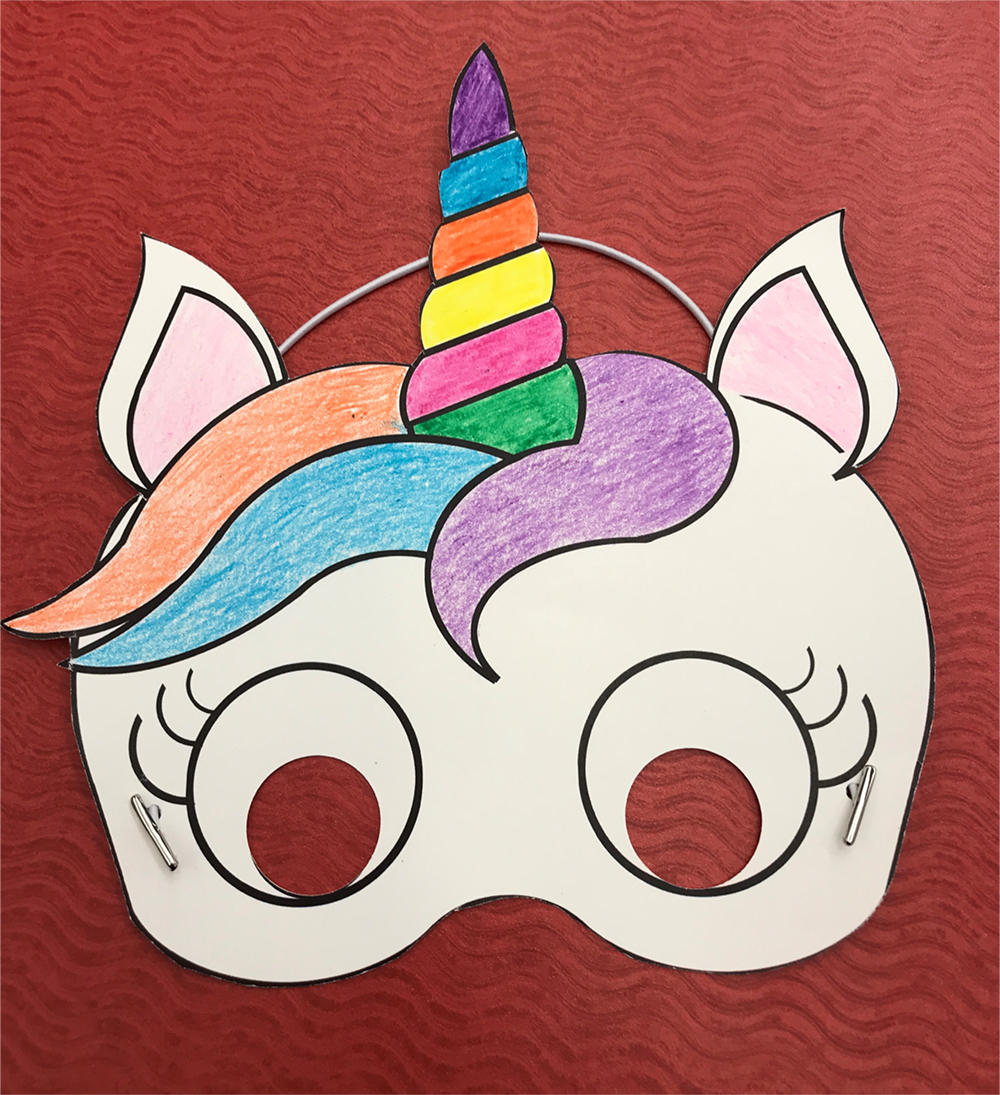
While you can’t come to story time at the library, Miss Sharon brings story time to you! Enjoy books, songs and finger plays. Starting Monday, June 22, stop by the drive-up window at the library to pick up your own DIY Unicorn Mask, available while supplies last.
A-B-C-D-E-F-G
H-I-J-K-LMNOP
Q-R-S
T-U-V
W and X
Y and Zee
Now I know my “ABCs”
Next time won’t you sing with me?
Fingerplay – Itsy Bitsy Spider
The itsy bitsy spider went up the water spout.
Touch the thumb of one hand to the index finger of the other hand. Then touch the index finger to the thumb of the other hand. Do it over again while lifting your hands up.
Down came the rain,
Bring you hands down. While you are doing this, wiggle your fingers to simulate rain.
and washed the spider out.
Sweep your hands away from one another while hand palms are pointing towards the floor.
Out came the sun, and dried up all the rain,
Form a circle with your hands (sun), and rise your hands (the sun is rising).
and the itsy bitsy spider went up the spout again.
Repeat step one.
The wheels on the bus go Round and Round,
Round and round,
Round and round.
The wheels on the bus go Round and Round,
all through the town.
(Roll hands around each other)
The wipers on the bus go Swish, swish, swish;
Swish, swish, swish;
Swish, swish, swish.
The wipers on the bus go Swish, swish, swish,
all through the town.
(“Swish” hands in front of you like windshield wipers)
The horn on the bus goes Beep, beep, beep;
Beep, beep, beep;
Beep, beep, beep.
The horn on the bus goes Beep, beep, beep,
all through the town.
(Slap palm in front of you like honking a horn)
The doors on the bus go open and shut;
Open and shut;
Open and shut.
The doors on the bus go open and shut;
all through the town.
(Push hands back and forth in front of you)
The Driver on the bus says “Move on back,
move on back, move on back;”
The Driver on the bus says “Move on back”,
all through the town.
(Point thumb over your shoulder)
The babies on the bus says “Wah, wah, wah;
Wah, wah, wah;
Wah, wah, wah”.
The babies on the bus says “Wah, wah, wah”,
all through the town.
(Rub fists in front of eyes)
The mommies on the bus says “Shh, shh, shh;
Shush, shush, shush;
Shush, shush, shush.”
The mommies on the bus says “Shh, shh, shh”
all through the town.
(Hold index finger in front of mouth as if saying shhh)
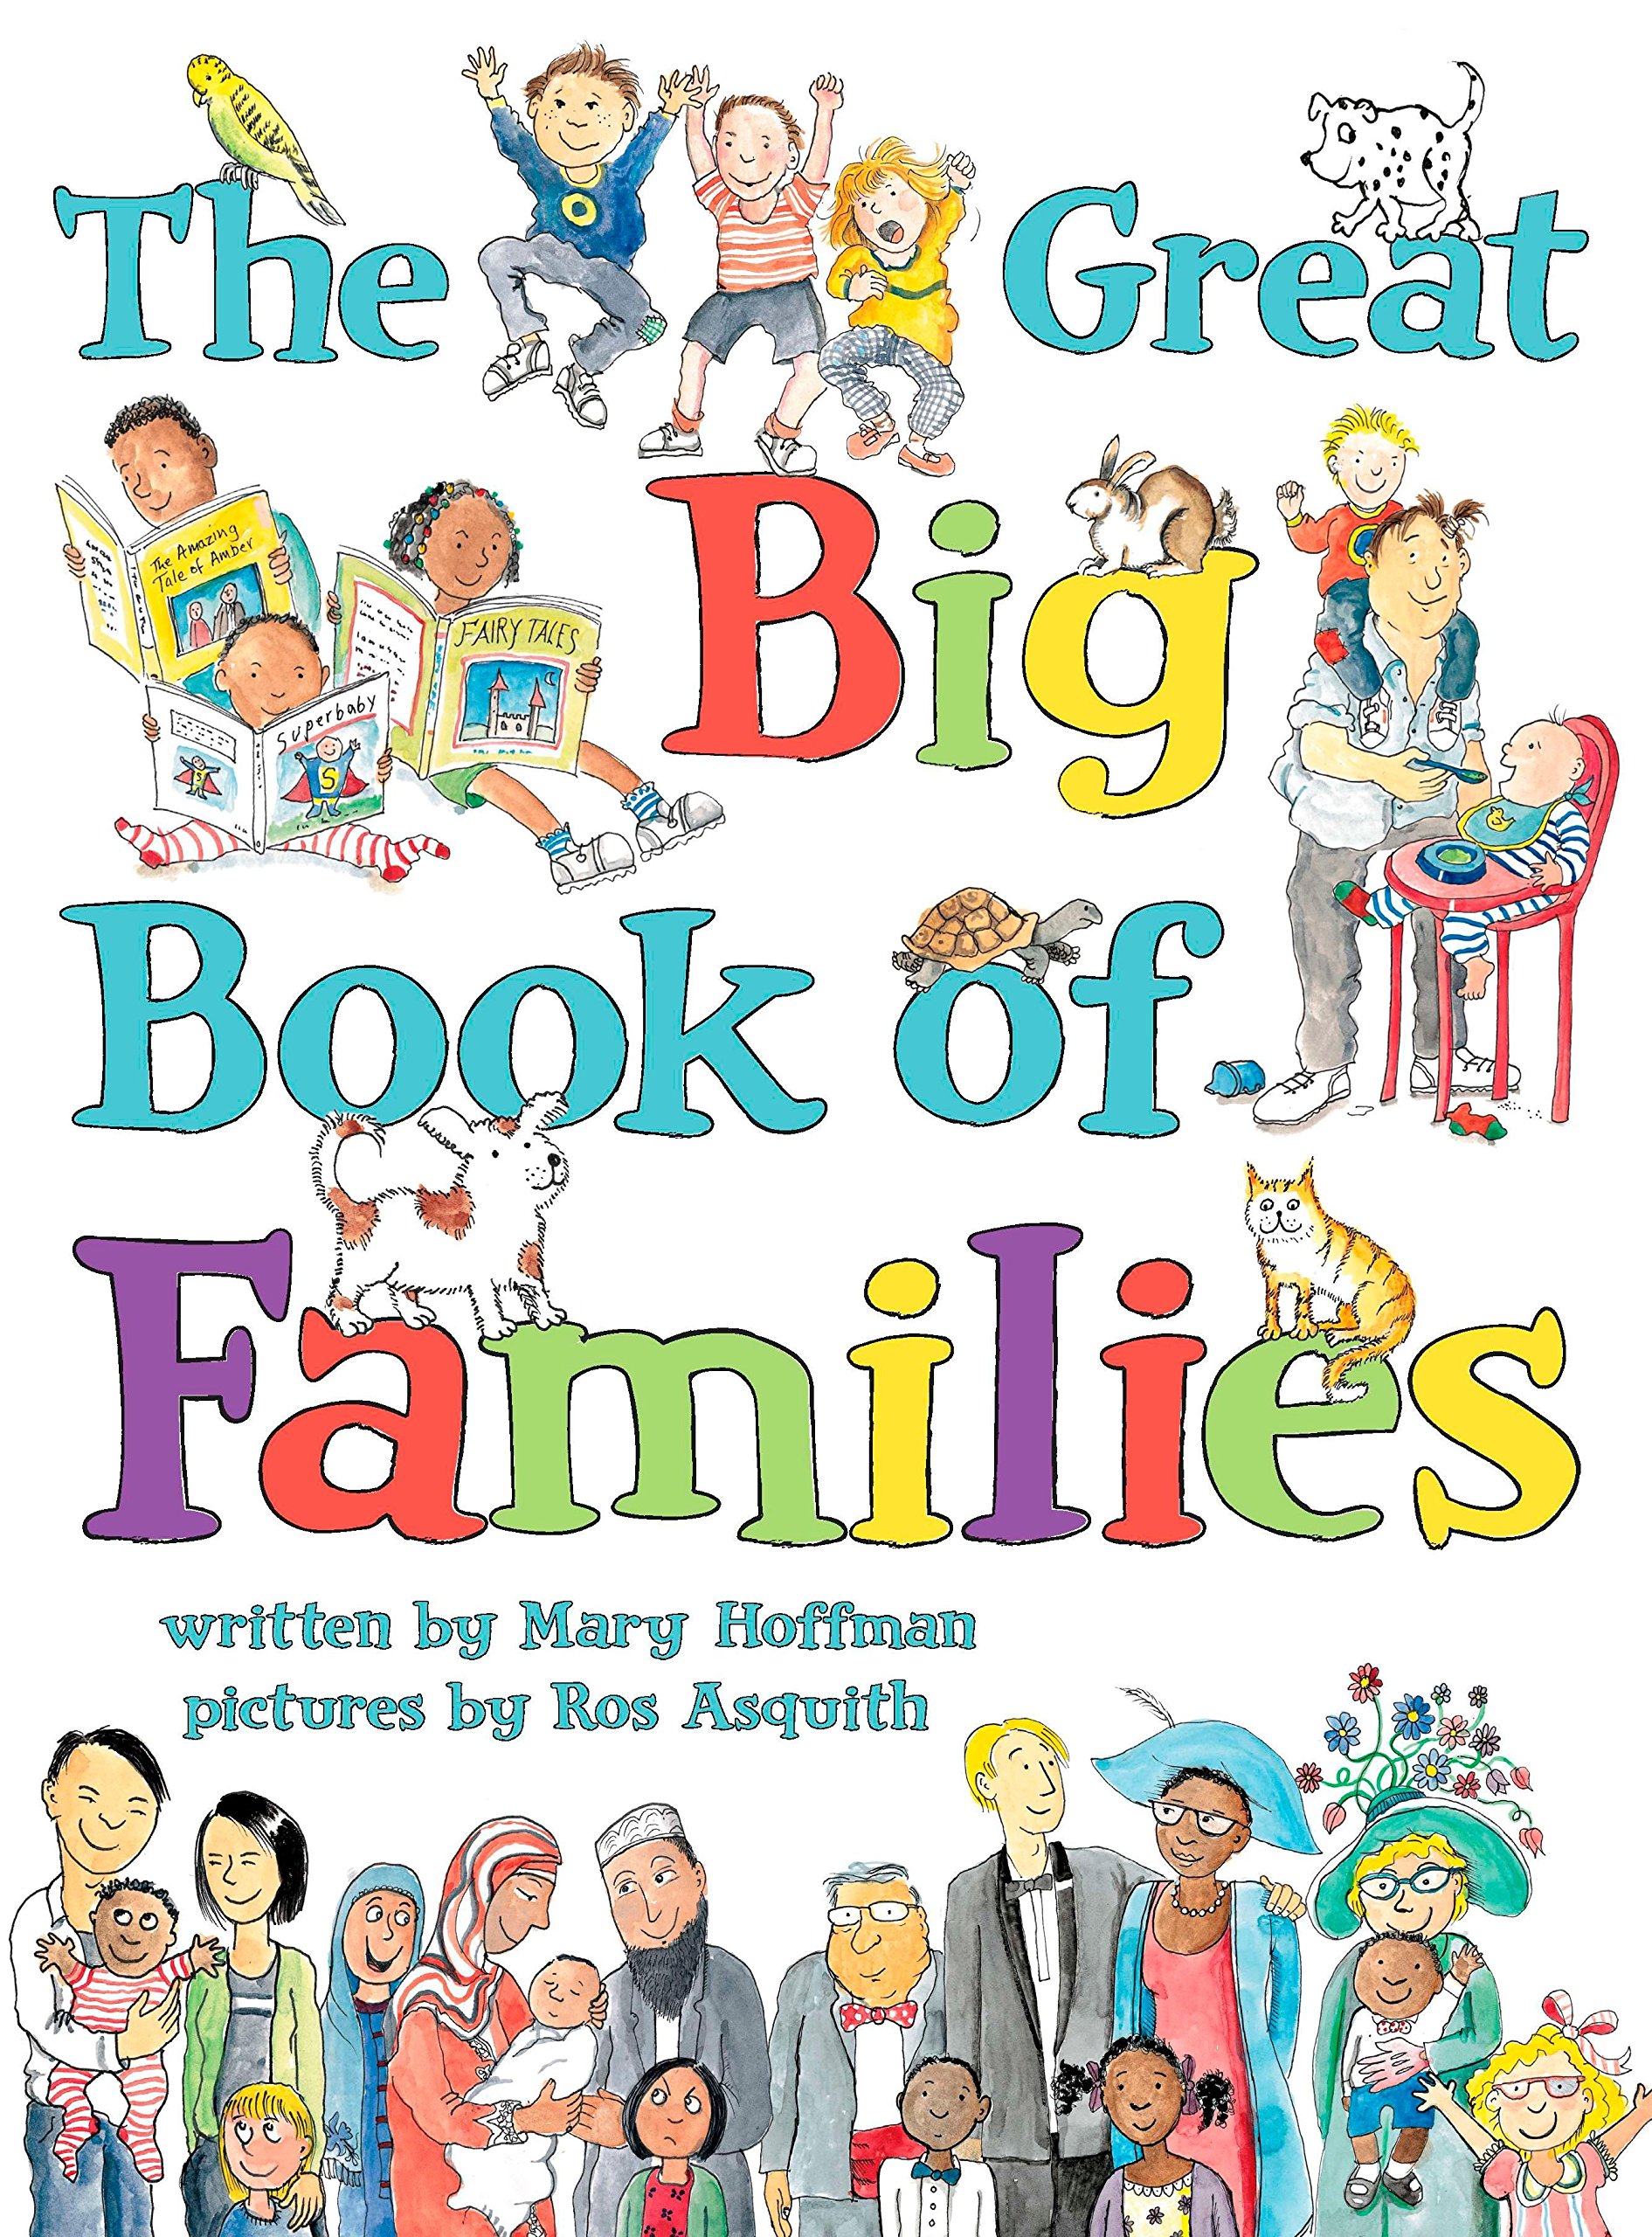
Whether you’re looking for a book that finally shows a family like yours or simply looking for a good book to read to the children in your life, we’ve got you covered. These books make great tools for teaching children about diverse family structures, self-expression, and how to be respectful towards people who are different than you. They also show kids that no matter who they grow up to be, their life can be full of love and possibilities.
The movie docket for 2020 was originally loaded with several adaptations of books slated to come to the big screen. However, many movie release dates have been thrown out of whack by current events. With release dates altered, you may have more time to read it before you see it. Copies of the books can be placed on hold through our online catalog, or enjoy the eBook or audiobook version with your FDL card.
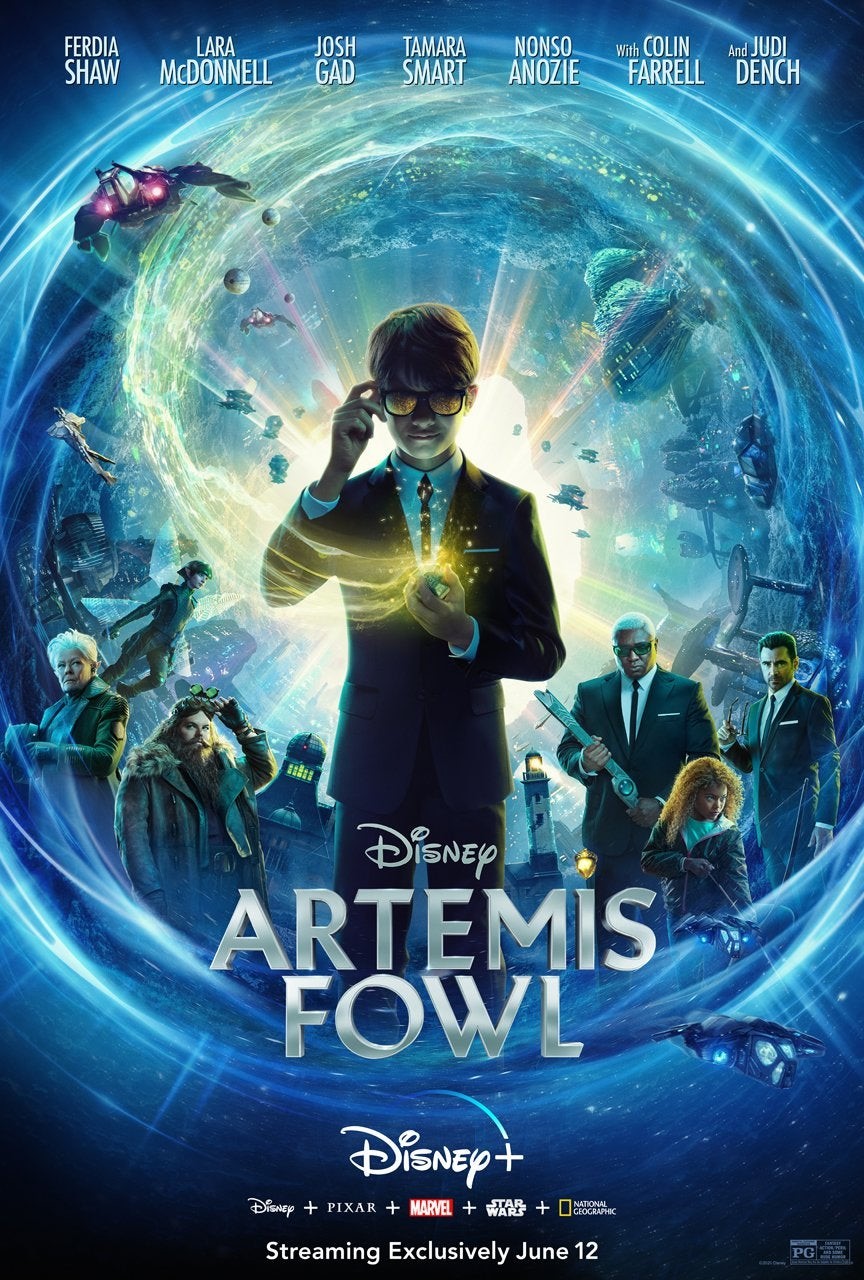
First up, the long-awaited movie adaptation of Artemis Fowl by Eoin Colfer was originally going to be released in theaters. However, it was just released direct-to-streaming by Disney on June 12, 2020. If you haven’t read any of the series yet, the boy-genius and criminal mastermind, Artemis Fowl pits himself against secretive, underground fairies. Can his tech know-how win against fairy magic and win him the gold he covets?
Several eBooks, e-audiobooks, and digital graphic novels are available through the Axis 360, Overdrive/Libby, and hoopla apps. Find it at the library…
Disney is also set to release the movie adaptation of the children’s book The One and Only Ivan by Katherine Applegate in theaters August 14,2020. This acclaimed book is geared toward grades 4 through 6 and is based in part on a real-life gorilla, Ivan, who spent 27 years living in a mall. The book is a journey of friendship and hope.
The hoopla app has the e-audiobook. The Overdrive/Libby apps have both the eBook and e-audiobook. Find it at the library…
Also set to come out in theaters on August 14 is a new movie version of Frances Hodgson Burnett’s The Secret Garden. In this classic, Mary is orphaned and sent to live with her uncle on the moors in the U.K. As she and her cousin discover the mysteries of a secret garden, the more they discover about themselves.
Hoopla has several eBook and e-audiobook versions available. The Overdrive/Libby apps eBooks are always available for checkout. Find it at the library…
Part 1 of the newest movie adaptation of the classic science fiction novel Duneby Frank Herbert is set to be released in theaters on December 18, 2020. Starring Timothée Chalamet, Zendaya, Oscar Isaac, and other well-known actors, this remake is set to be truly epic. The 1965 novel follows the young Paul Atreides as his royal house is politically manipulated and betrayed over the most coveted substance in the galaxy, Melange. Presumed dead on the desert world of Arrakis, the only source of Melange, how will Paul survive? Are the mysterious and nomadic Fremen friend or foe? Can they help him avenge his murdered family and friends?
The eBook is available through Axis 360 and the e-audiobook is available on the Overdrive/Libby apps. Find it at the library…
Set to be released on Christmas day, the movie adaptation of News of the World by Paulette Jiles will star Tom Hanks. Hanks will portray Captain Jefferson Kyle Kidd who travels throughout post-Civil War Texas performing live readings of the news. Along the way he is hired to transport an orphaned girl back to her family, but the situation is much more complicated than that. Does the girl belong with family she doesn’t know? What does it mean to be family in the first place?
Looking for a fun way to beat the heat this week and learn a little about chemistry? You can make ice cream in a bag at home, and observe how the interaction of ice and salt causes the temperature of the ice to drop!
Have oven mitts, gloves or a towel so that your hands don’t get too cold.
Directions:
Make the ice cream base mixture by combining the sugar, milk, and vanilla in the quart seal-able bag. Squeeze as much air out as you can and seal tight!
In the gallon bag, put the ice, salt, and the quart bag containing the ice cream base mixture. Seal it tight!
Put on the oven mitts or wrap the bag in the towel.
Shake the bag for about 5-10 minutes, until the ice cream hardens.
Carefully remove the small bag from the large bag and quickly rinse it off the zipper opening. There will be salty water on it and you don’t want to get that in your ice cream.
Open the small bag, put the ice cream in a bowl, and add your favorite toppings.
Enjoy!!!
Clean up!!!
How did you do that? Science!
Some chemical reactions make substances colder. These are endothermic reactions.
Adding salt is the key component in this experiment. Heat flows from hot to cold. The ice is colder than the base mixture, so as heat leaves the base mixture the ice starts to melt. By adding the salt to the ice, the freezing point of the ice/salt mixture is lowered. (Remember the directions? Put on the oven mitts or wrap the bag in the towel. You need to do that to protect your hands from the cold.) Since the ice/salt mixture is now colder, even more heat leaves the base mixture. As the base mixture loses heat, it begins to freeze. The frozen water molecules in the milk are what creates the ice cream in the bag.
Do-It-Yourself Slushy
Don’t like ice cream? You can substitute juice for the ice cream base mixture and make a homemade slushy. Just add juice to the quart bag and seal it tight. Put the small juice bag into the ice/salt mixture and shake, shake, shake. After about 5 to 10 minutes, you’ll have a juice slushy! Remember to give the slushy bag a quick rinse, especially the zipper opening. Enjoy!!!
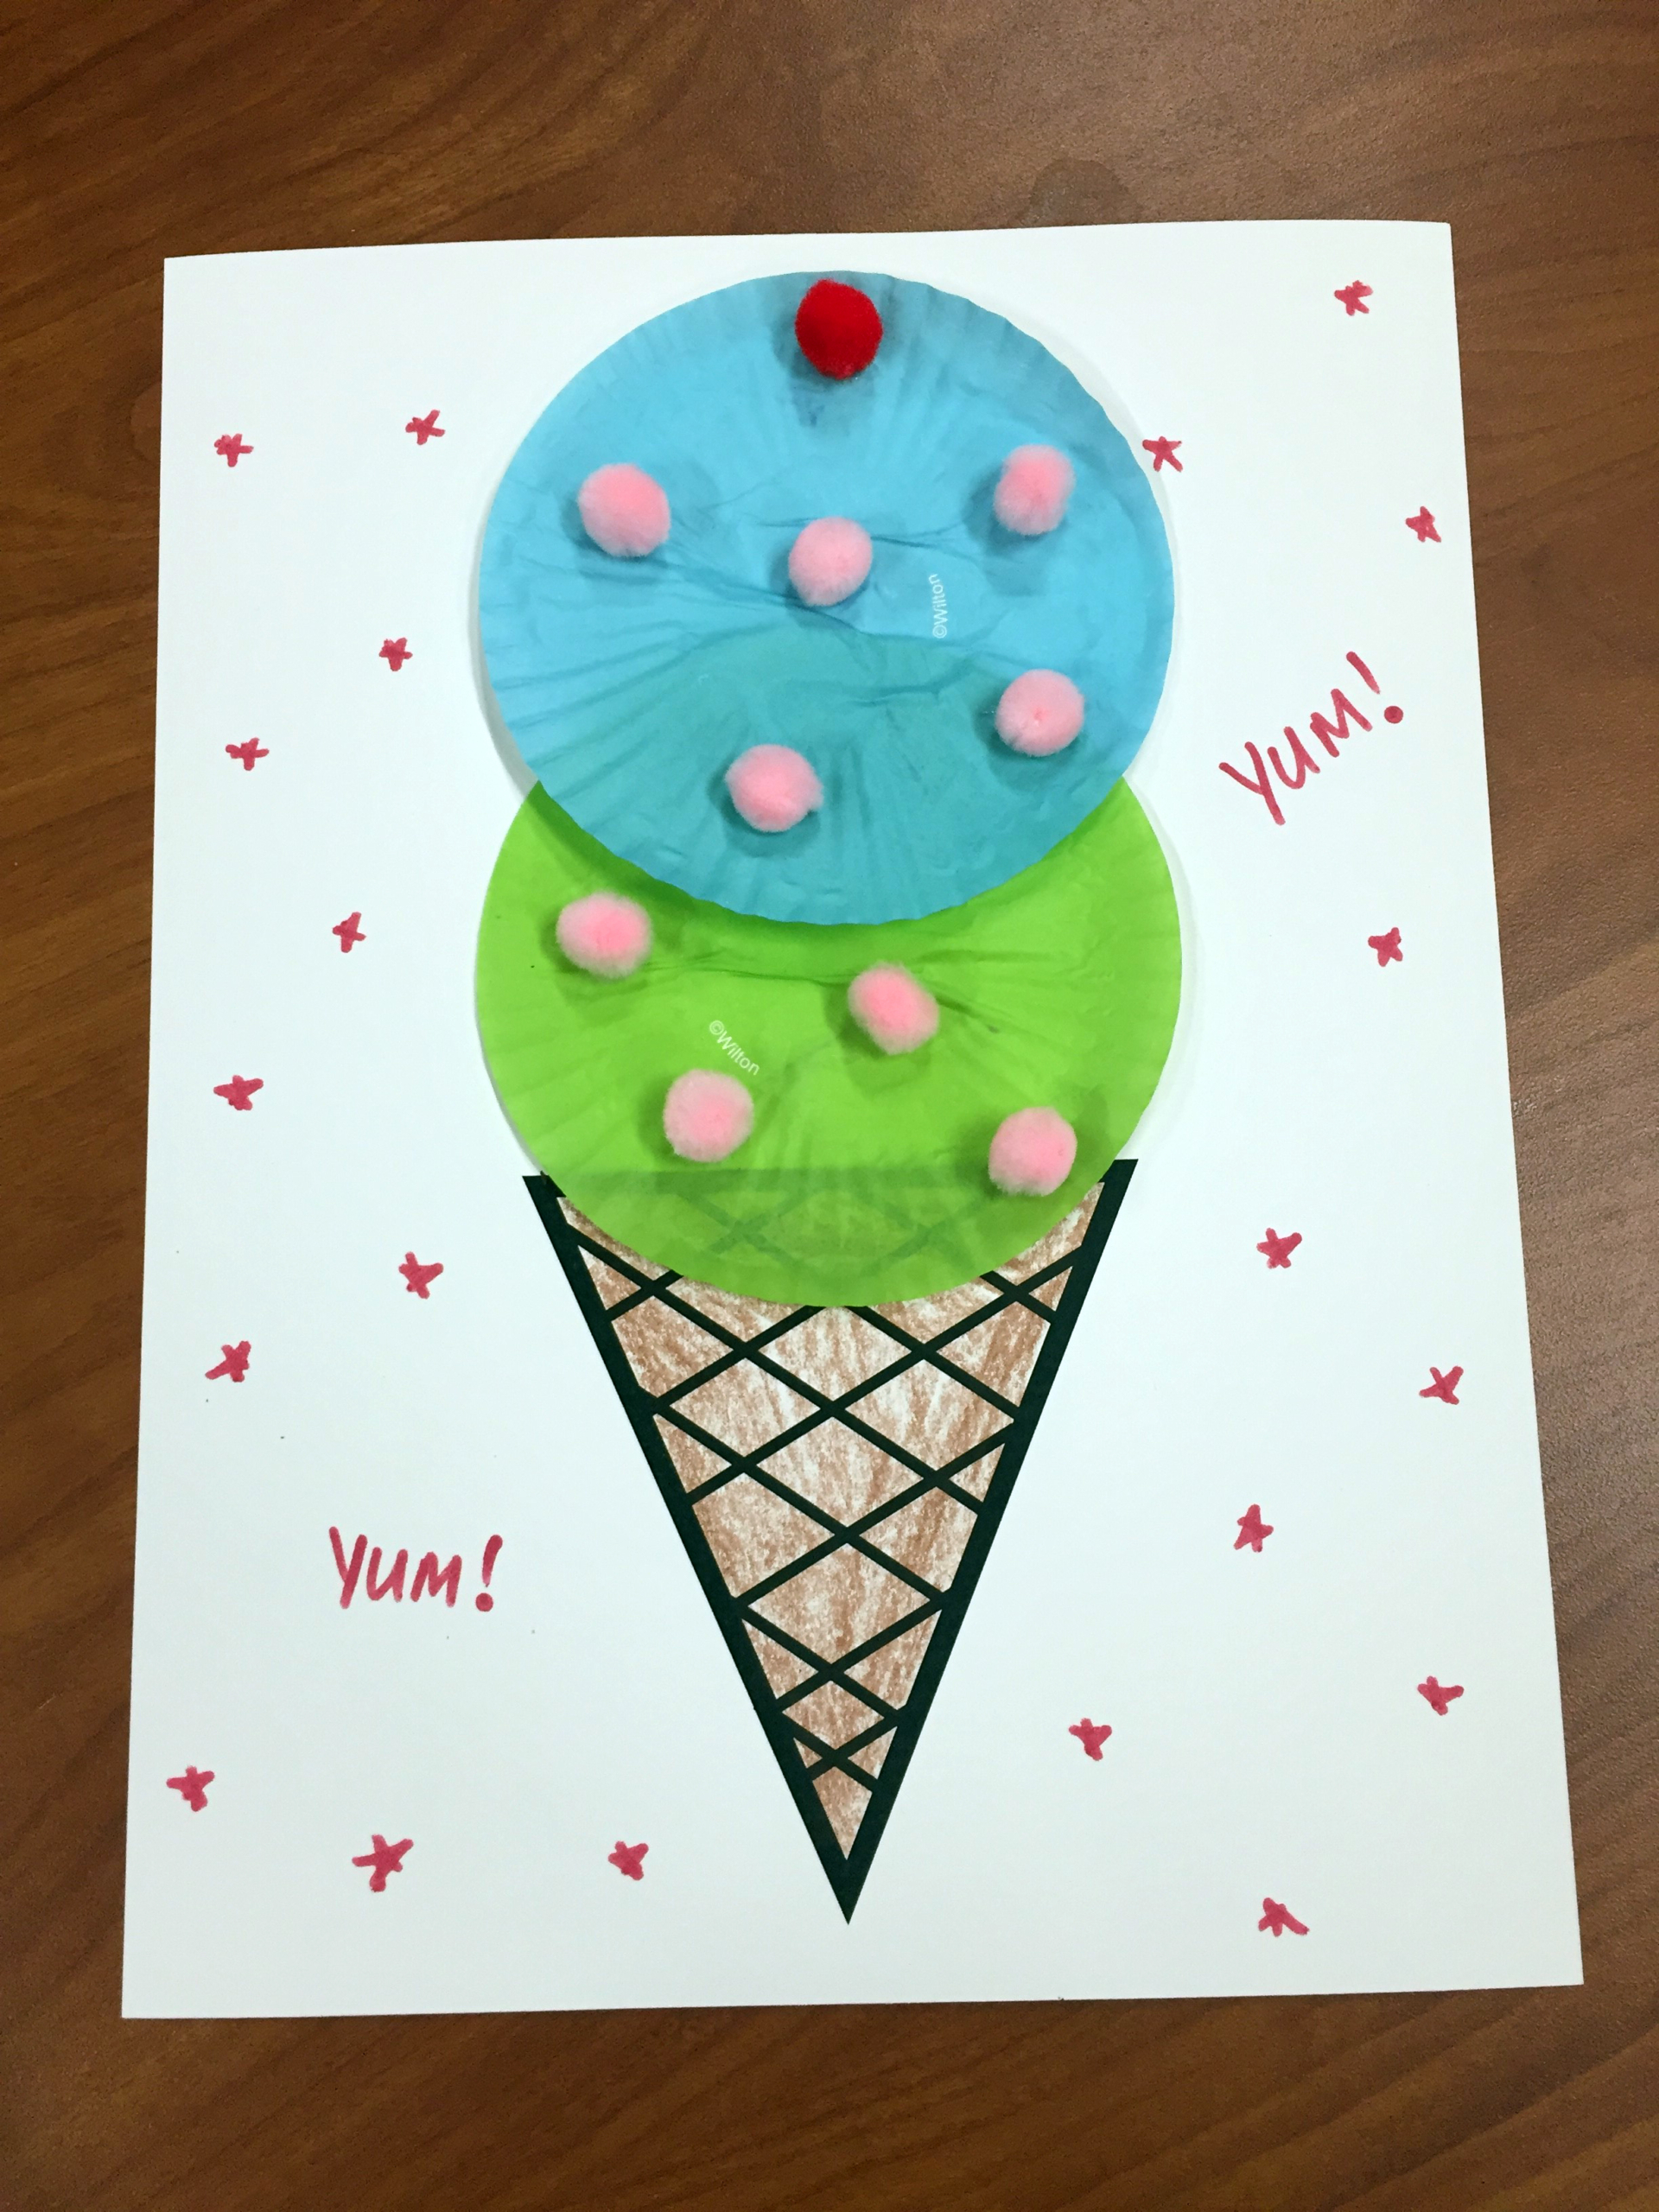
Join Miss Laura (and her friend Winnie the Pooh) for a Story Time (Online) all about friendship! Listen to two stories and follow along with two fingerplays. Starting Monday, June 15, stop by the drive-up window at the library to pick up your own DIY Ice Cream Cone craft kit, available while supplies last.
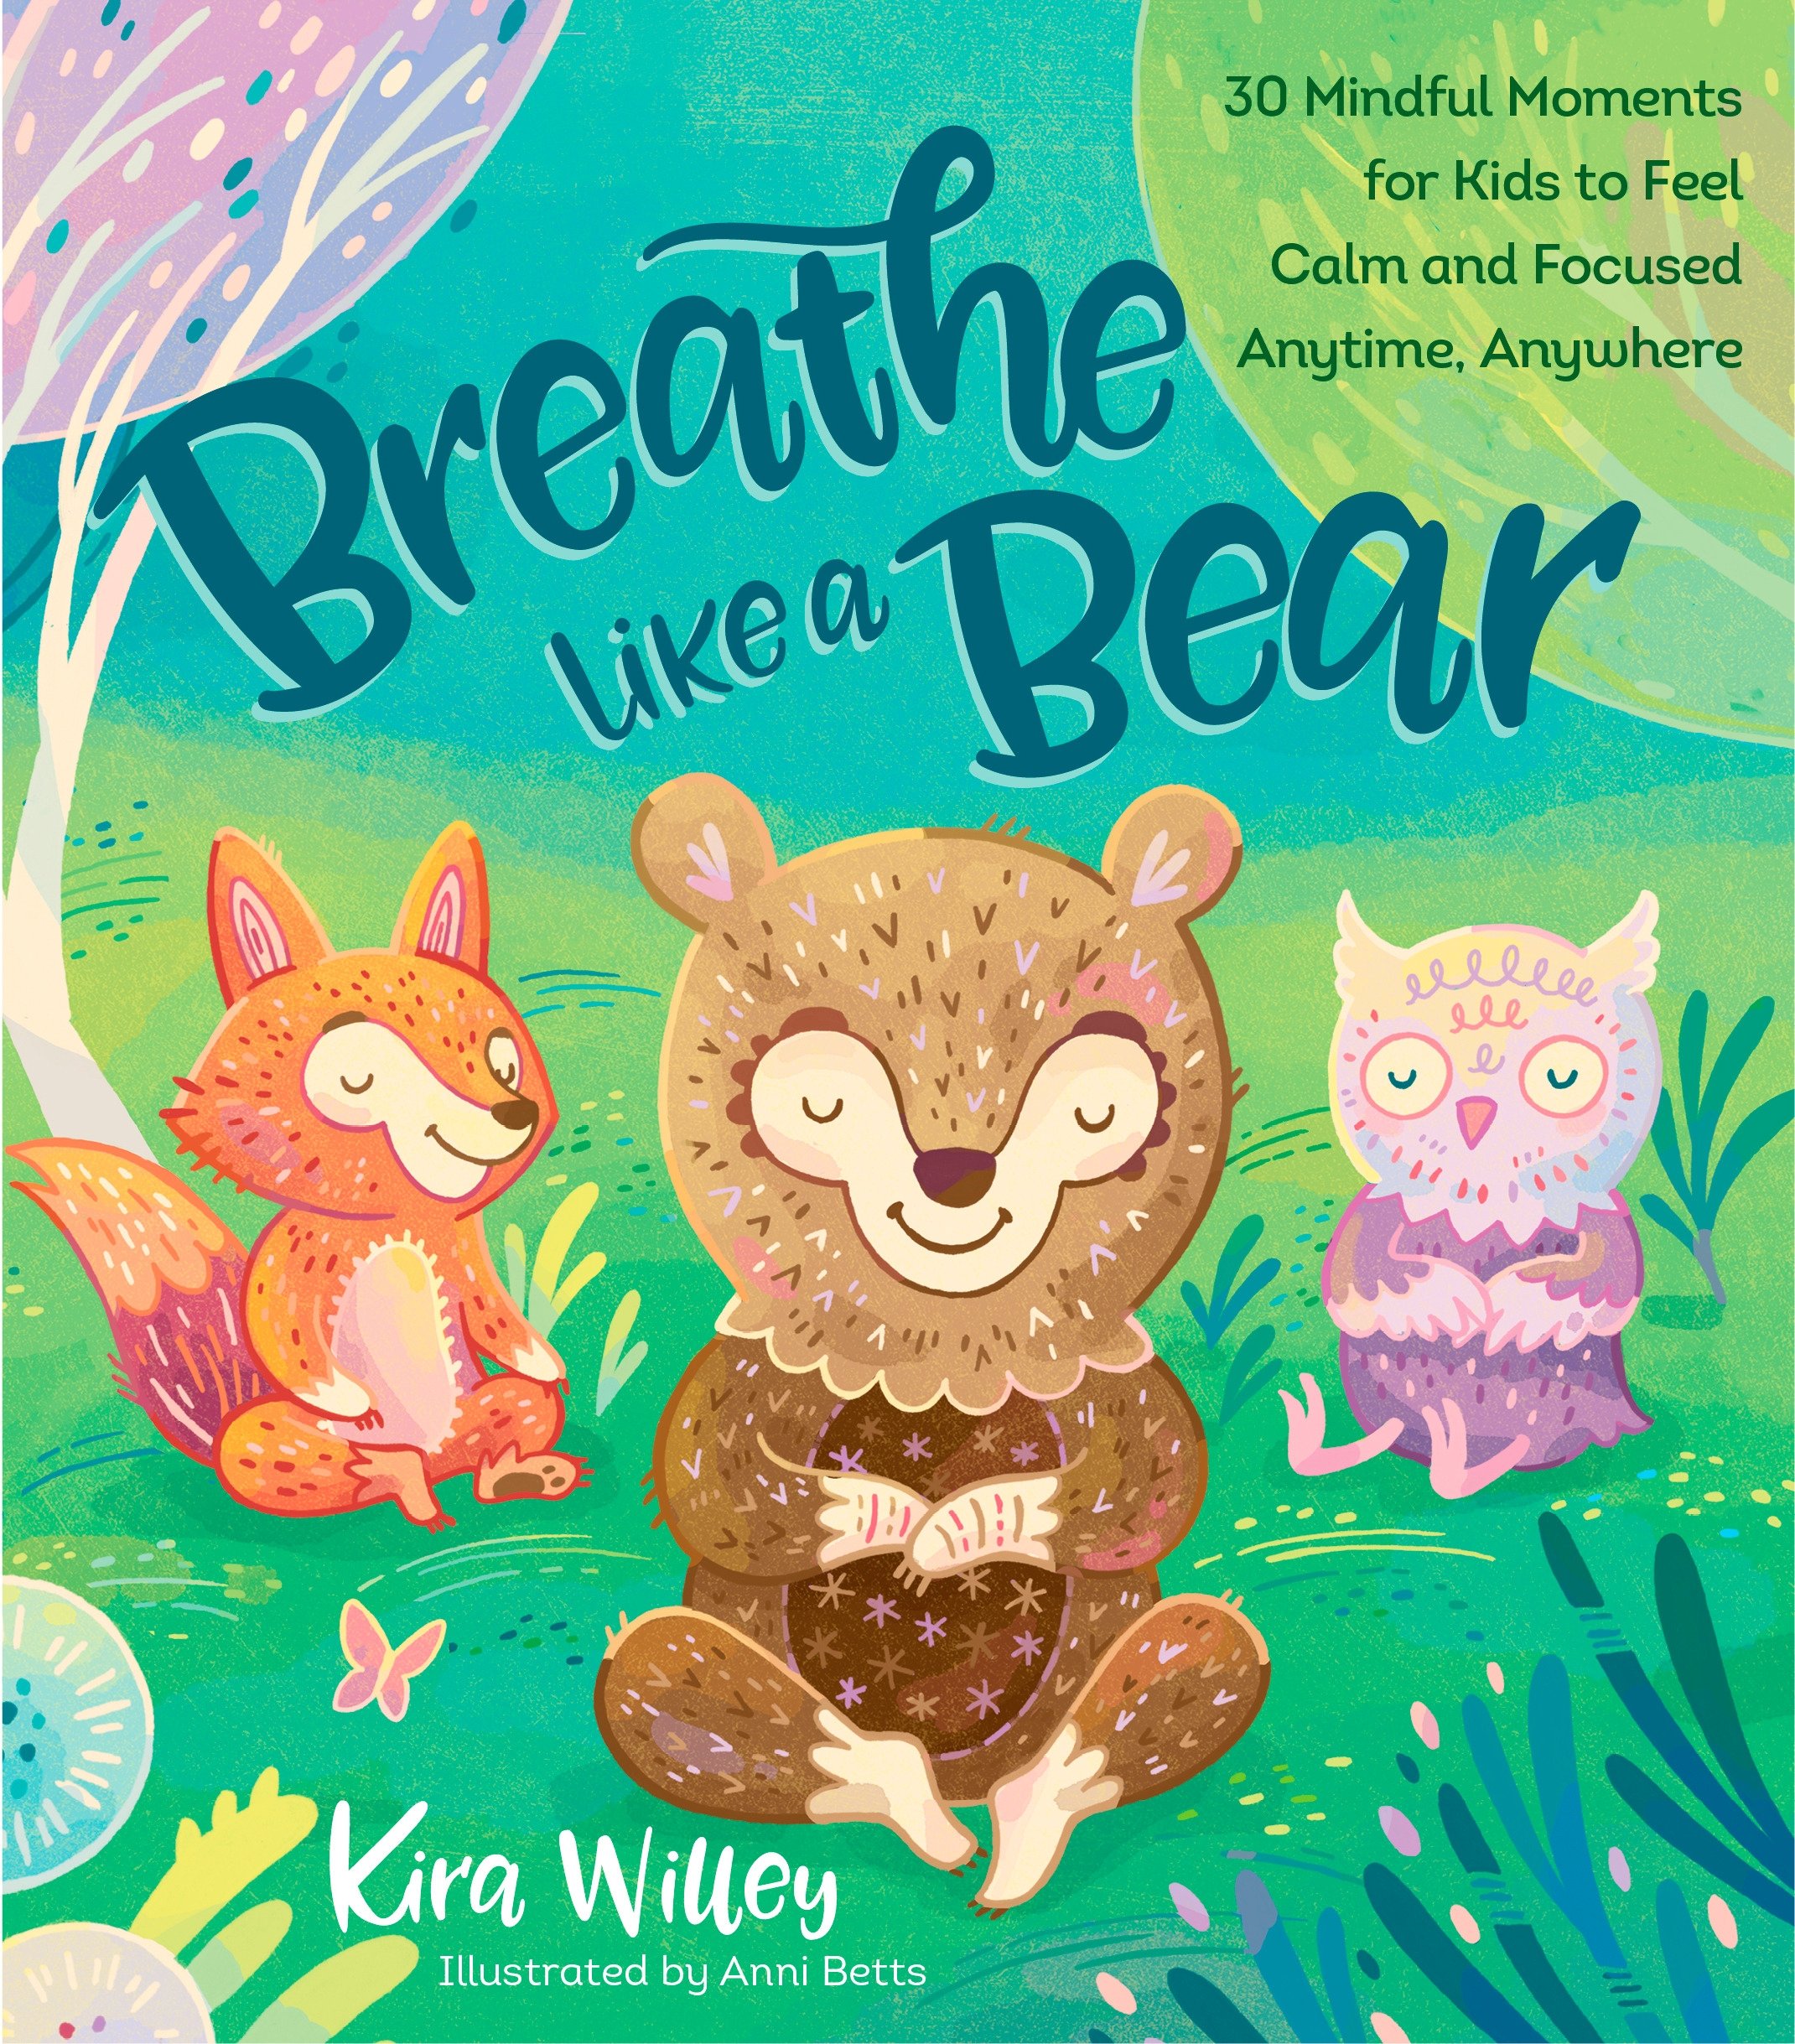
Before we create a beautiful, calming place for our busy hands with our Zen Garden, let’s work a couple soothing exercises for our imagination! We’ll use two exercises from Breathe Like a Bear by Kira Willey. In one, we imagine what kind of cloud we are, and in the next we bring ourselves back to earth and imagine ourselves as a tree!
For more meditation exercises, check out the book from FDL, or read, watch, or listen to the entire book on hoopla. More yoga and meditation books for kids are available from our collection, including Stretch by Doreen Cronin on Tumblebooks and I Am Yoga by Susan Verde on hoopla.
Zen Garden Craft
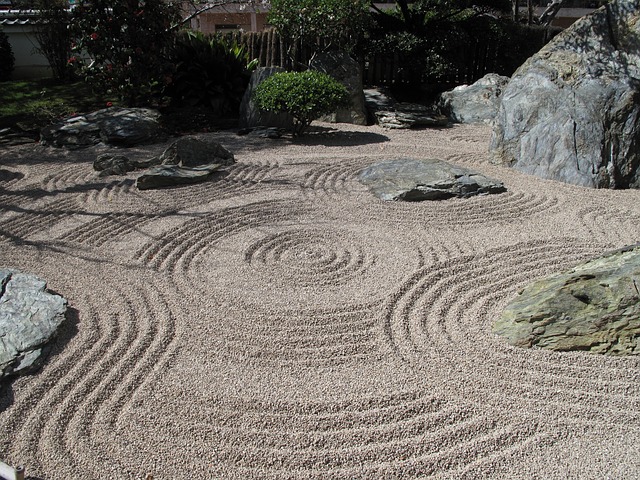
Zen gardens are a beautiful way to introduce a sense of calm and peace into your life! Long ago, Buddhist monks created the first zen gardens to aid in meditation. They are traditionally composed of fine sand, stones, and trees, and a rake is used to create patterns in the sand to represent water.
This mini zen garden craft is something you can easily create in your home with materials you already have on hand. You’ll need flour, crushed oatmeal or sugar (though sugar will harden up over time), rocks from your backyard, a Tupperware container or shoe box, and a fork to make designs. To add the pagoda all you need is marshmallows, spaghetti noodles, brown paper bags, or a cereal box and glue.
Materials:
18 3-inch pieces of spaghetti noodles
10 4-inch pieces of spaghetti noodles
1 smaller noodle
9 marshmallows
Glue
4 triangles cut out of a brown paper bag or cereal box
Pagoda Instructions:
Take four of the 3-inch pieces of spaghetti and four of the marshmallows. Make a square with the spaghetti noodles, connecting them in the corners with the four marshmallows.
Place two 4-inch pieces of noodle like an X across the center of the square poking the noodles in the marshmallows of the opposite corners.
Lay that square flat on your table and place four 3-inch pieces of noodle in the marshmallows at each corner so that they are vertical (perpendicular to the table).
Place a marshmallow at the top of each vertical noodle. Place two 4-inch noodles in the shape of an X in each of the four sides of the pagoda. This will make the structure more stable and is also a good way to teach some building basics to your child.
Place a 3-inch noodle across the top of each side, parallel to the bottom noodle. Each side should look like a square with an X running through the center.
Take two 4-inch noodles and push them through a marshmallow in an X shape, so the marshmallow is in the center of the X. Place this X at the top of the cube.
Place the smaller noodle in the marshmallow vertically.
Take the 4 triangle paper bag pieces and glue the top of the triangle to the marshmallow at the top of the vertical noodle with the corners of the bases at each corner of the pagoda. I used hot glue, which requires adult assistance.
Once the glue is dry, gather your Tupperware container and place the pagoda inside.
Pour flour (or oatmeal) and glitter (optional) into the container, filling it up about ⅓ of the way. Place your rocks in the “sand” in a pattern or randomly. Then use a fork to make your wave designs and enjoy your garden!
We’re big fans of Scooby-Doo here, and we want to celebrate the new Scoob! movie by thinking back to the original cartoon series. Below you’ll find activities inspired by each member of The Gang, plus some recommendations from FDL’s online collection to help you meet your summer reading goals. Each activity has an adjustable difficulty level and can easily be done at home. Feel free to do the activities in any order and share the results with us on Facebook.
The villains and monsters on Scooby-Doo have worn a lot of crazy masks over the years, and now you get a chance to make your own. Print and cut out the mask template of your choice from the link below and decorate it however you want using crayons, markers, stickers, or any other crafting supplies you have on hand. To wear the mask, simply cut or punch a small hole on the left and right sides, and tie on a piece of string or ribbon.
Jinkies! Velma bought extra glasses in case of emergencies, but she lost every pair! You’ll need to help her find them so she can get back to solving mysteries. To play this game, you’ll need at least two players, pictures of glasses frames, and a pair of scissors. Print out a few copies of the attached pictures of Velma’s glasses or draw some on pieces of paper, cut them out, and have each player take turns hiding the glasses around your home. The game can be as easy or as difficult as you want depending on where you hide the glasses and whether or not you set a time limit.
Everyone knows that Shaggy loves sandwiches, but can you make the coolest one he’s ever seen? How many different ingredients and colors will it have? For this craft, all you need to do to get started is to grab a piece of paper and some crayons or markers and start drawing the most ridiculous sandwich you can imagine. If you need help figuring out how to draw a sandwich, try following along with this tutorial from doodlekat1 on YouTube, or you can fill in this coloring page we made instead.
Daphne is hard at work solving a mystery, and she wants you to help her find clues. Follow along with this activity from the Children’s Museum of Indianapolis to learn how to dust for fingerprints. It only takes a few minutes and some basic household items to start becoming a junior detective just like Scooby Doo’s friends.
Time for Scooby Snacks!
After all that hard work, it’s time for a break, and the best way to do that is to eat some Scooby Snacks. Follow along with this recipe from Chex to make a sweet treat sometimes referred to as “puppy chow.” The recipe doesn’t require any baking, and you can easily substitute the ingredients based on your family’s taste or allergy needs.
While we can’t hold our regular story times at the library, please join us for Story Time (Online) from your home! Today, Miss Kris brings you Tiny Tot Time, full of nature-themed stories, songs, and activities. Enjoy!
Clap and Sing Hello!
We clap and sing hello,
We clap and sing hello,
With our friends at story time,
We clap and sing hello!
(Wave and sing hello; stomp and sing hello.)
The itsy bitsy spider
Went up the water spout
Down came the rain and
Washed the spider out
Out came the sun
And dried up all the rain
Now the itsy bitsy spider
Went up the spout again

 First up, the long-awaited movie adaptation of Artemis Fowl by Eoin Colfer was originally going to be released in theaters. However, it was just released direct-to-streaming by Disney on June 12, 2020. If you haven’t read any of the series yet, the boy-genius and criminal mastermind, Artemis Fowl pits himself against secretive, underground fairies. Can his tech know-how win against fairy magic and win him the gold he covets?
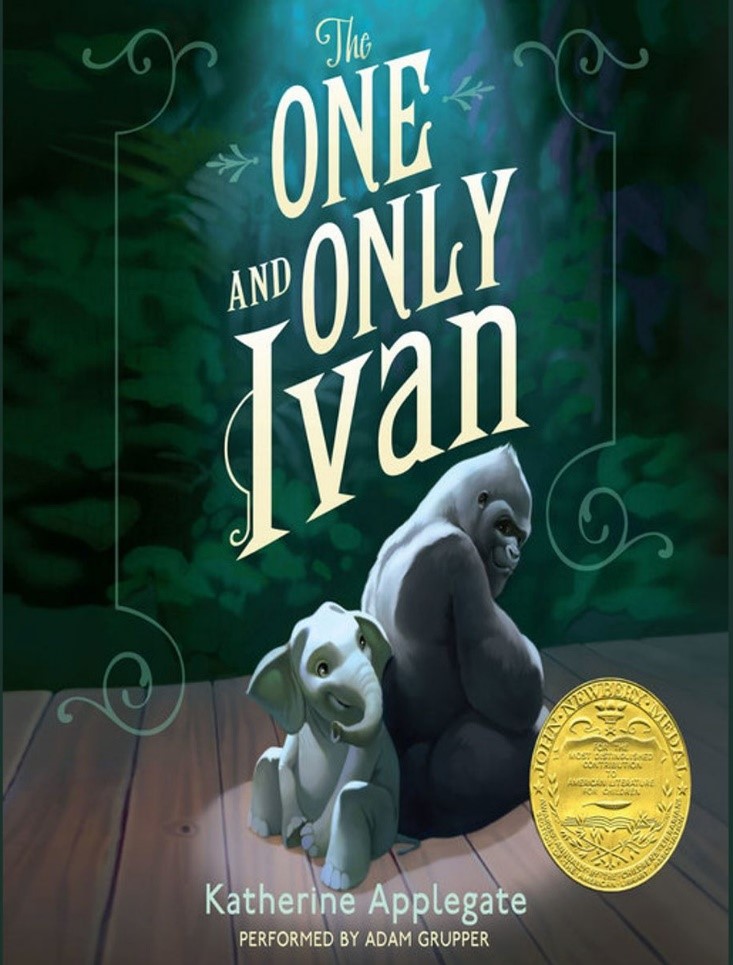 Disney is also set to release the movie adaptation of the children’s book The One and Only Ivan by Katherine Applegate in theaters August 14, 2020. This acclaimed book is geared toward grades 4 through 6 and is based in part on a real-life gorilla, Ivan, who spent 27 years living in a mall. The book is a journey of friendship and hope.
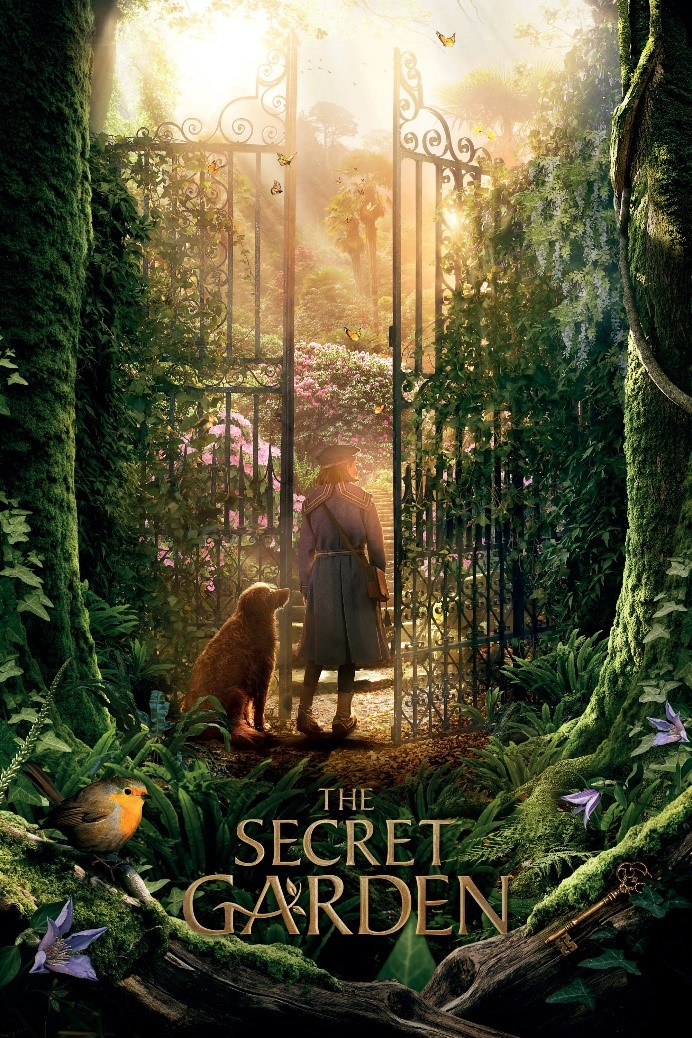 Also set to come out in theaters on August 14 is a new movie version of Frances Hodgson Burnett’s The Secret Garden. In this classic, Mary is orphaned and sent to live with her uncle on the moors in the U.K. As she and her cousin discover the mysteries of a secret garden, the more they discover about themselves.
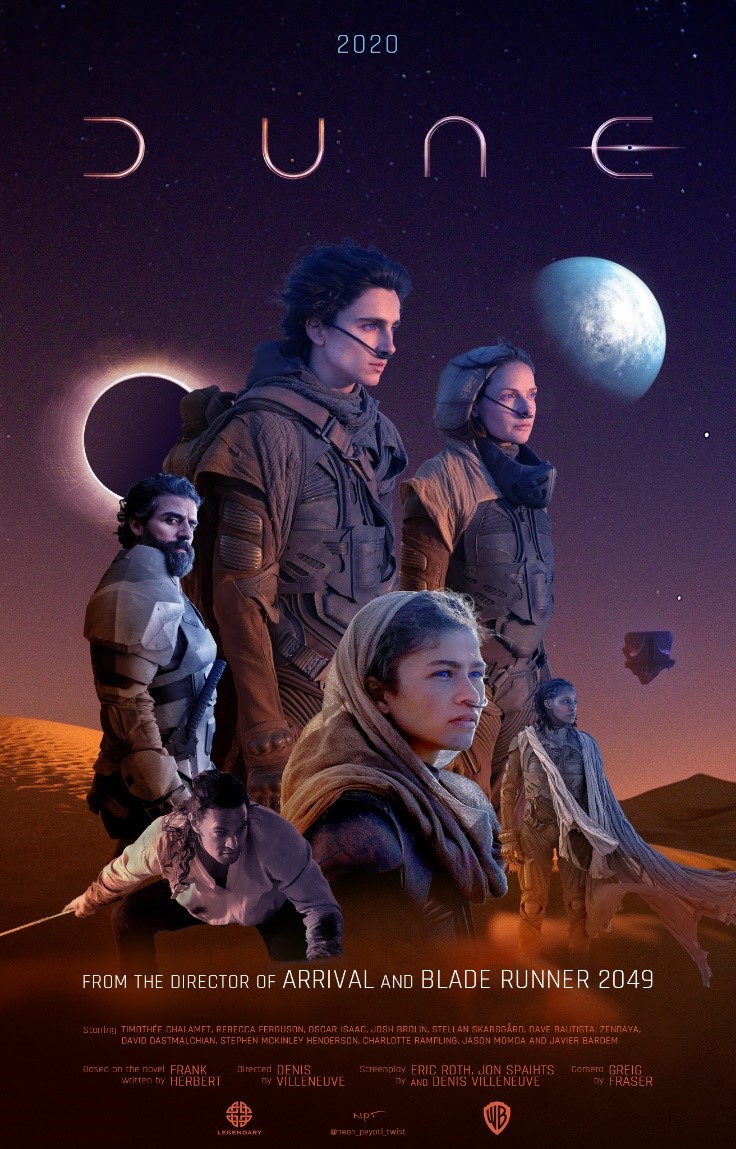 Part 1 of the newest movie adaptation of the classic science fiction novel Dune by Frank Herbert is set to be released in theaters on December 18, 2020. Starring Timothée Chalamet, Zendaya, Oscar Isaac, and other well-known actors, this remake is set to be truly epic. The 1965 novel follows the young Paul Atreides as his royal house is politically manipulated and betrayed over the most coveted substance in the galaxy, Melange. Presumed dead on the desert world of Arrakis, the only source of Melange, how will Paul survive? Are the mysterious and nomadic Fremen friend or foe? Can they help him avenge his murdered family and friends?
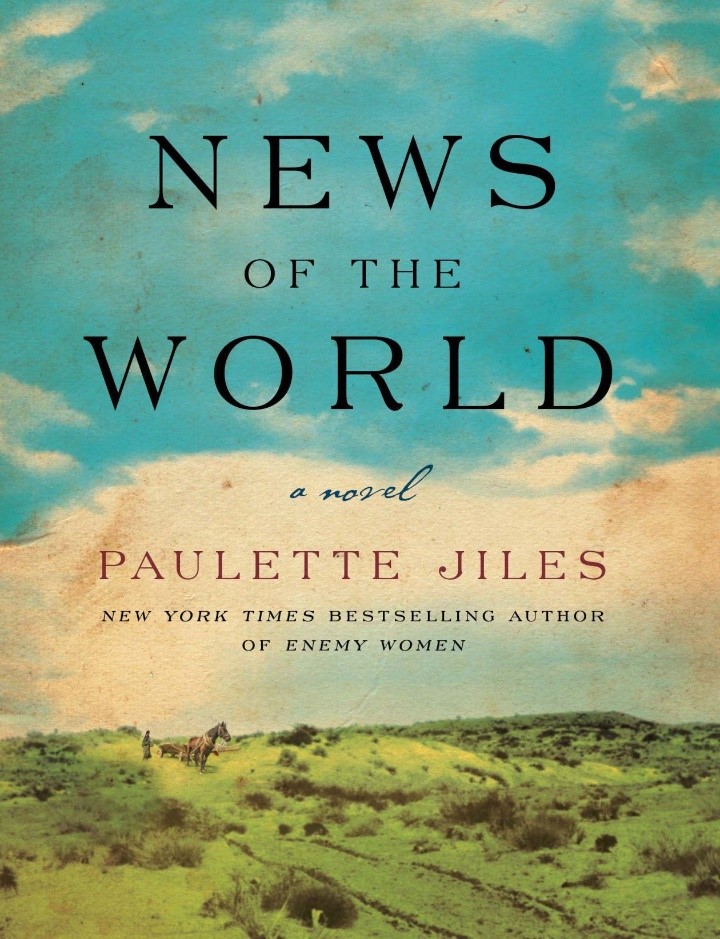 Set to be released on Christmas day, the movie adaptation of News of the World by Paulette Jiles will star Tom Hanks. Hanks will portray Captain Jefferson Kyle Kidd who travels throughout post-Civil War Texas performing live readings of the news. Along the way he is hired to transport an orphaned girl back to her family, but the situation is much more complicated than that. Does the girl belong with family she doesn’t know? What does it mean to be family in the first place?
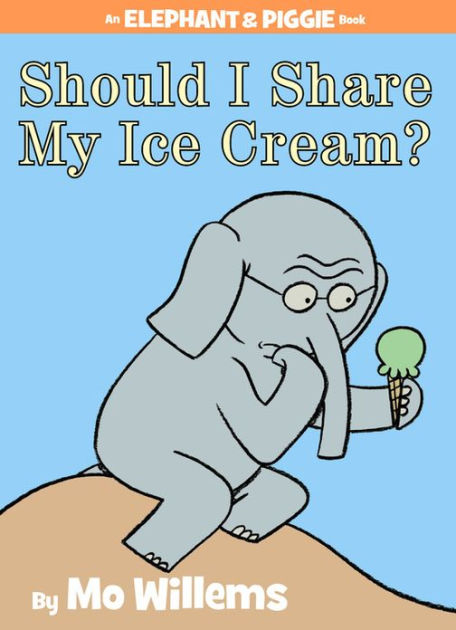

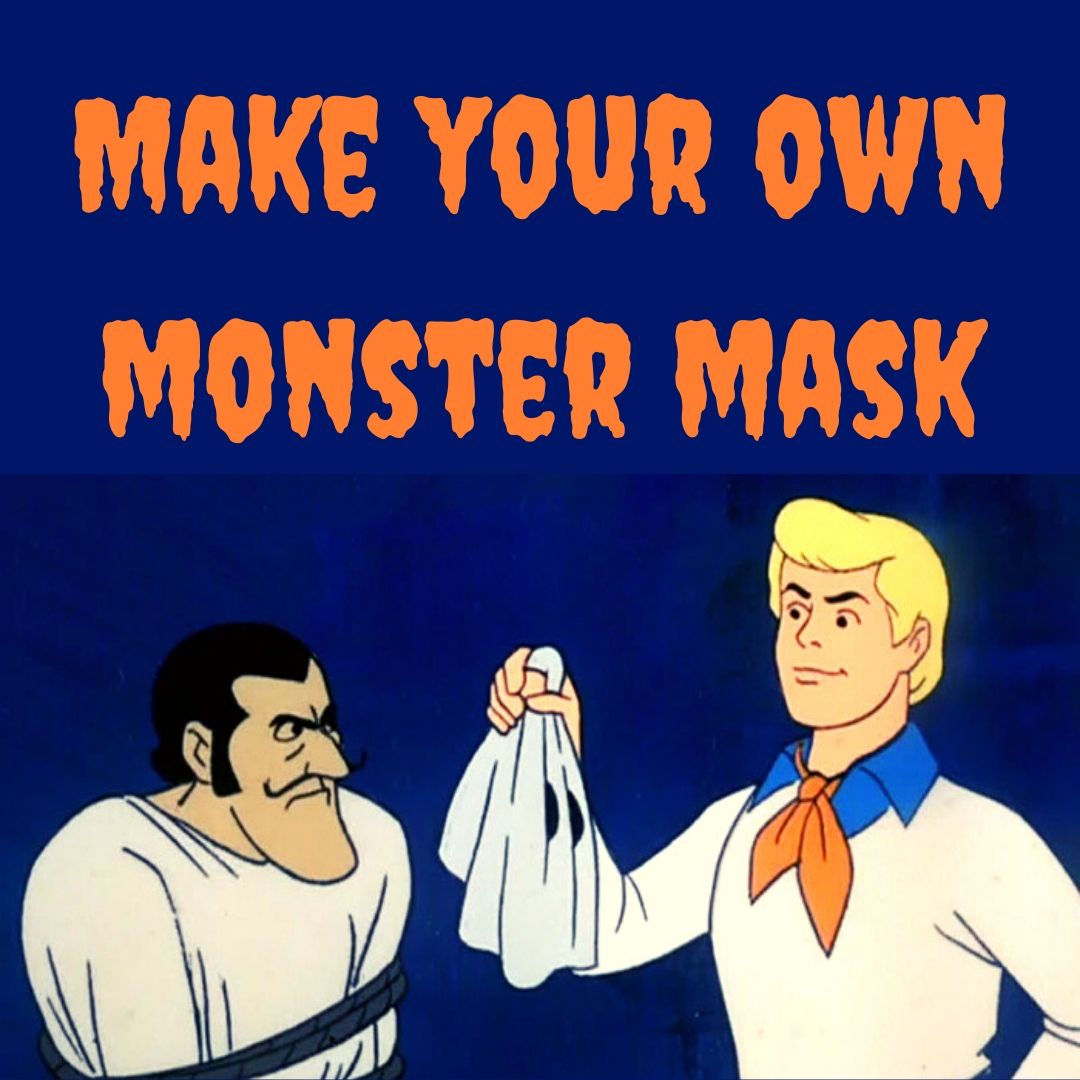 Make Your Own Monster Mask
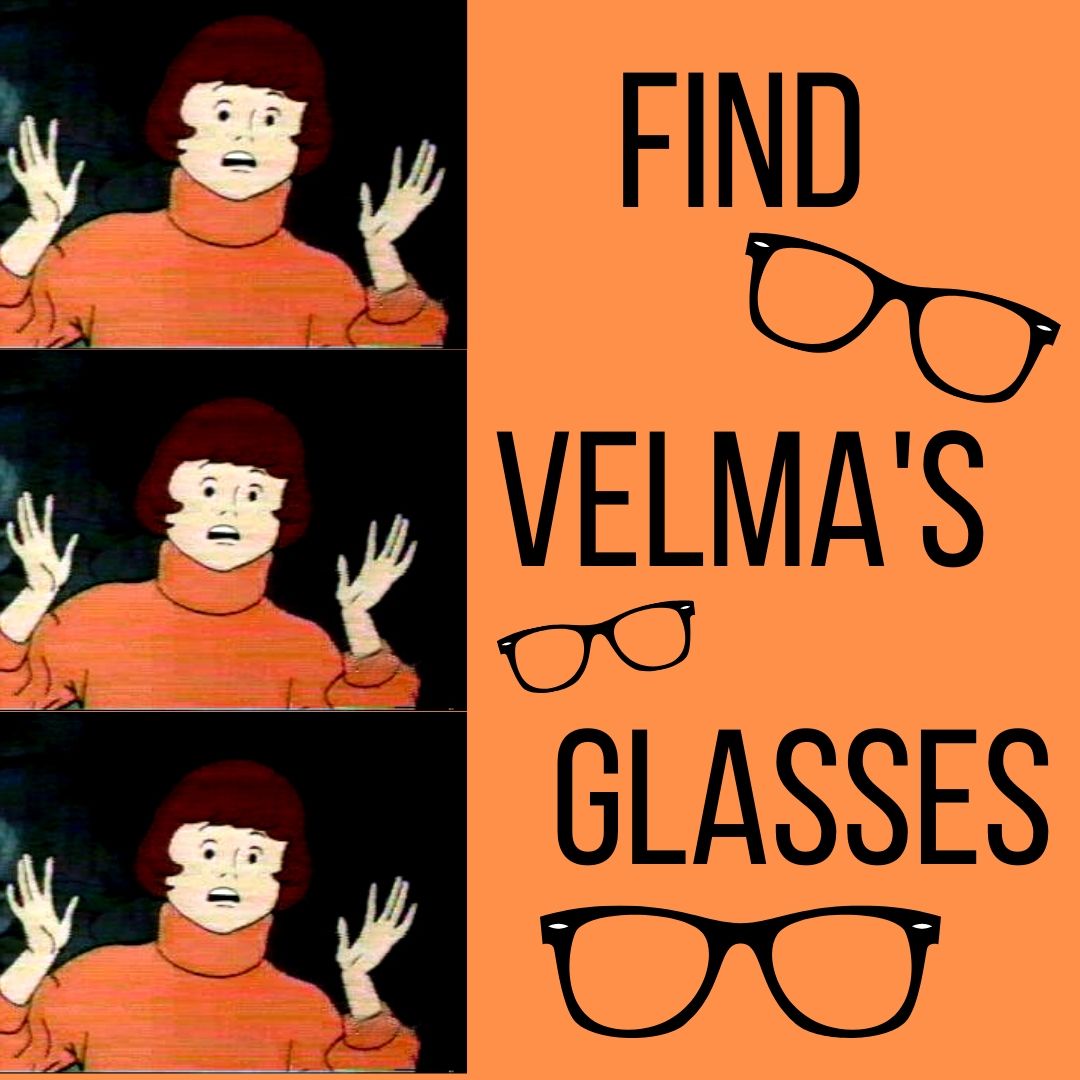 Find Velma’s Glasses
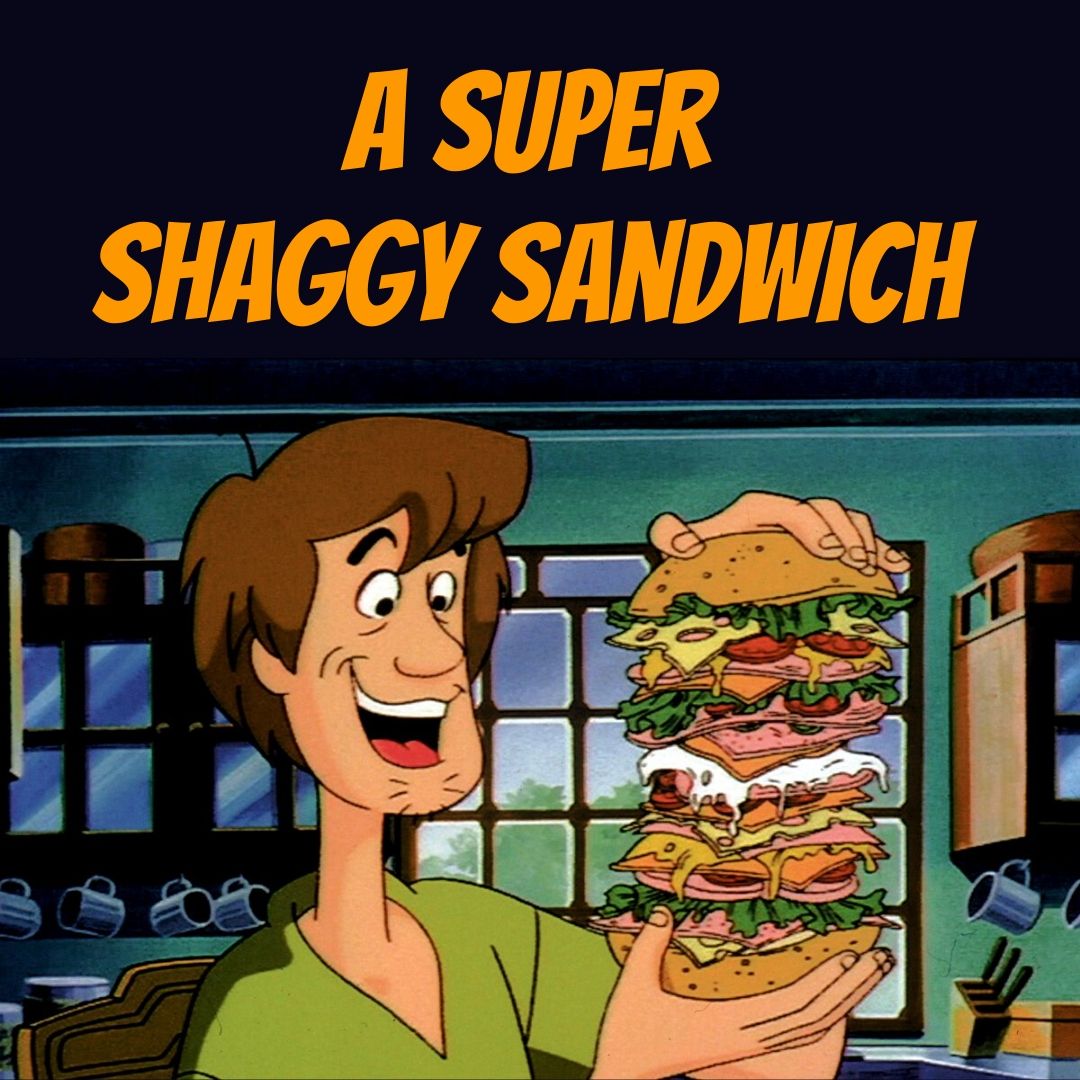 A Super Shaggy Sandwich
 Search for Fingerprints
 Time for Scooby Snacks!